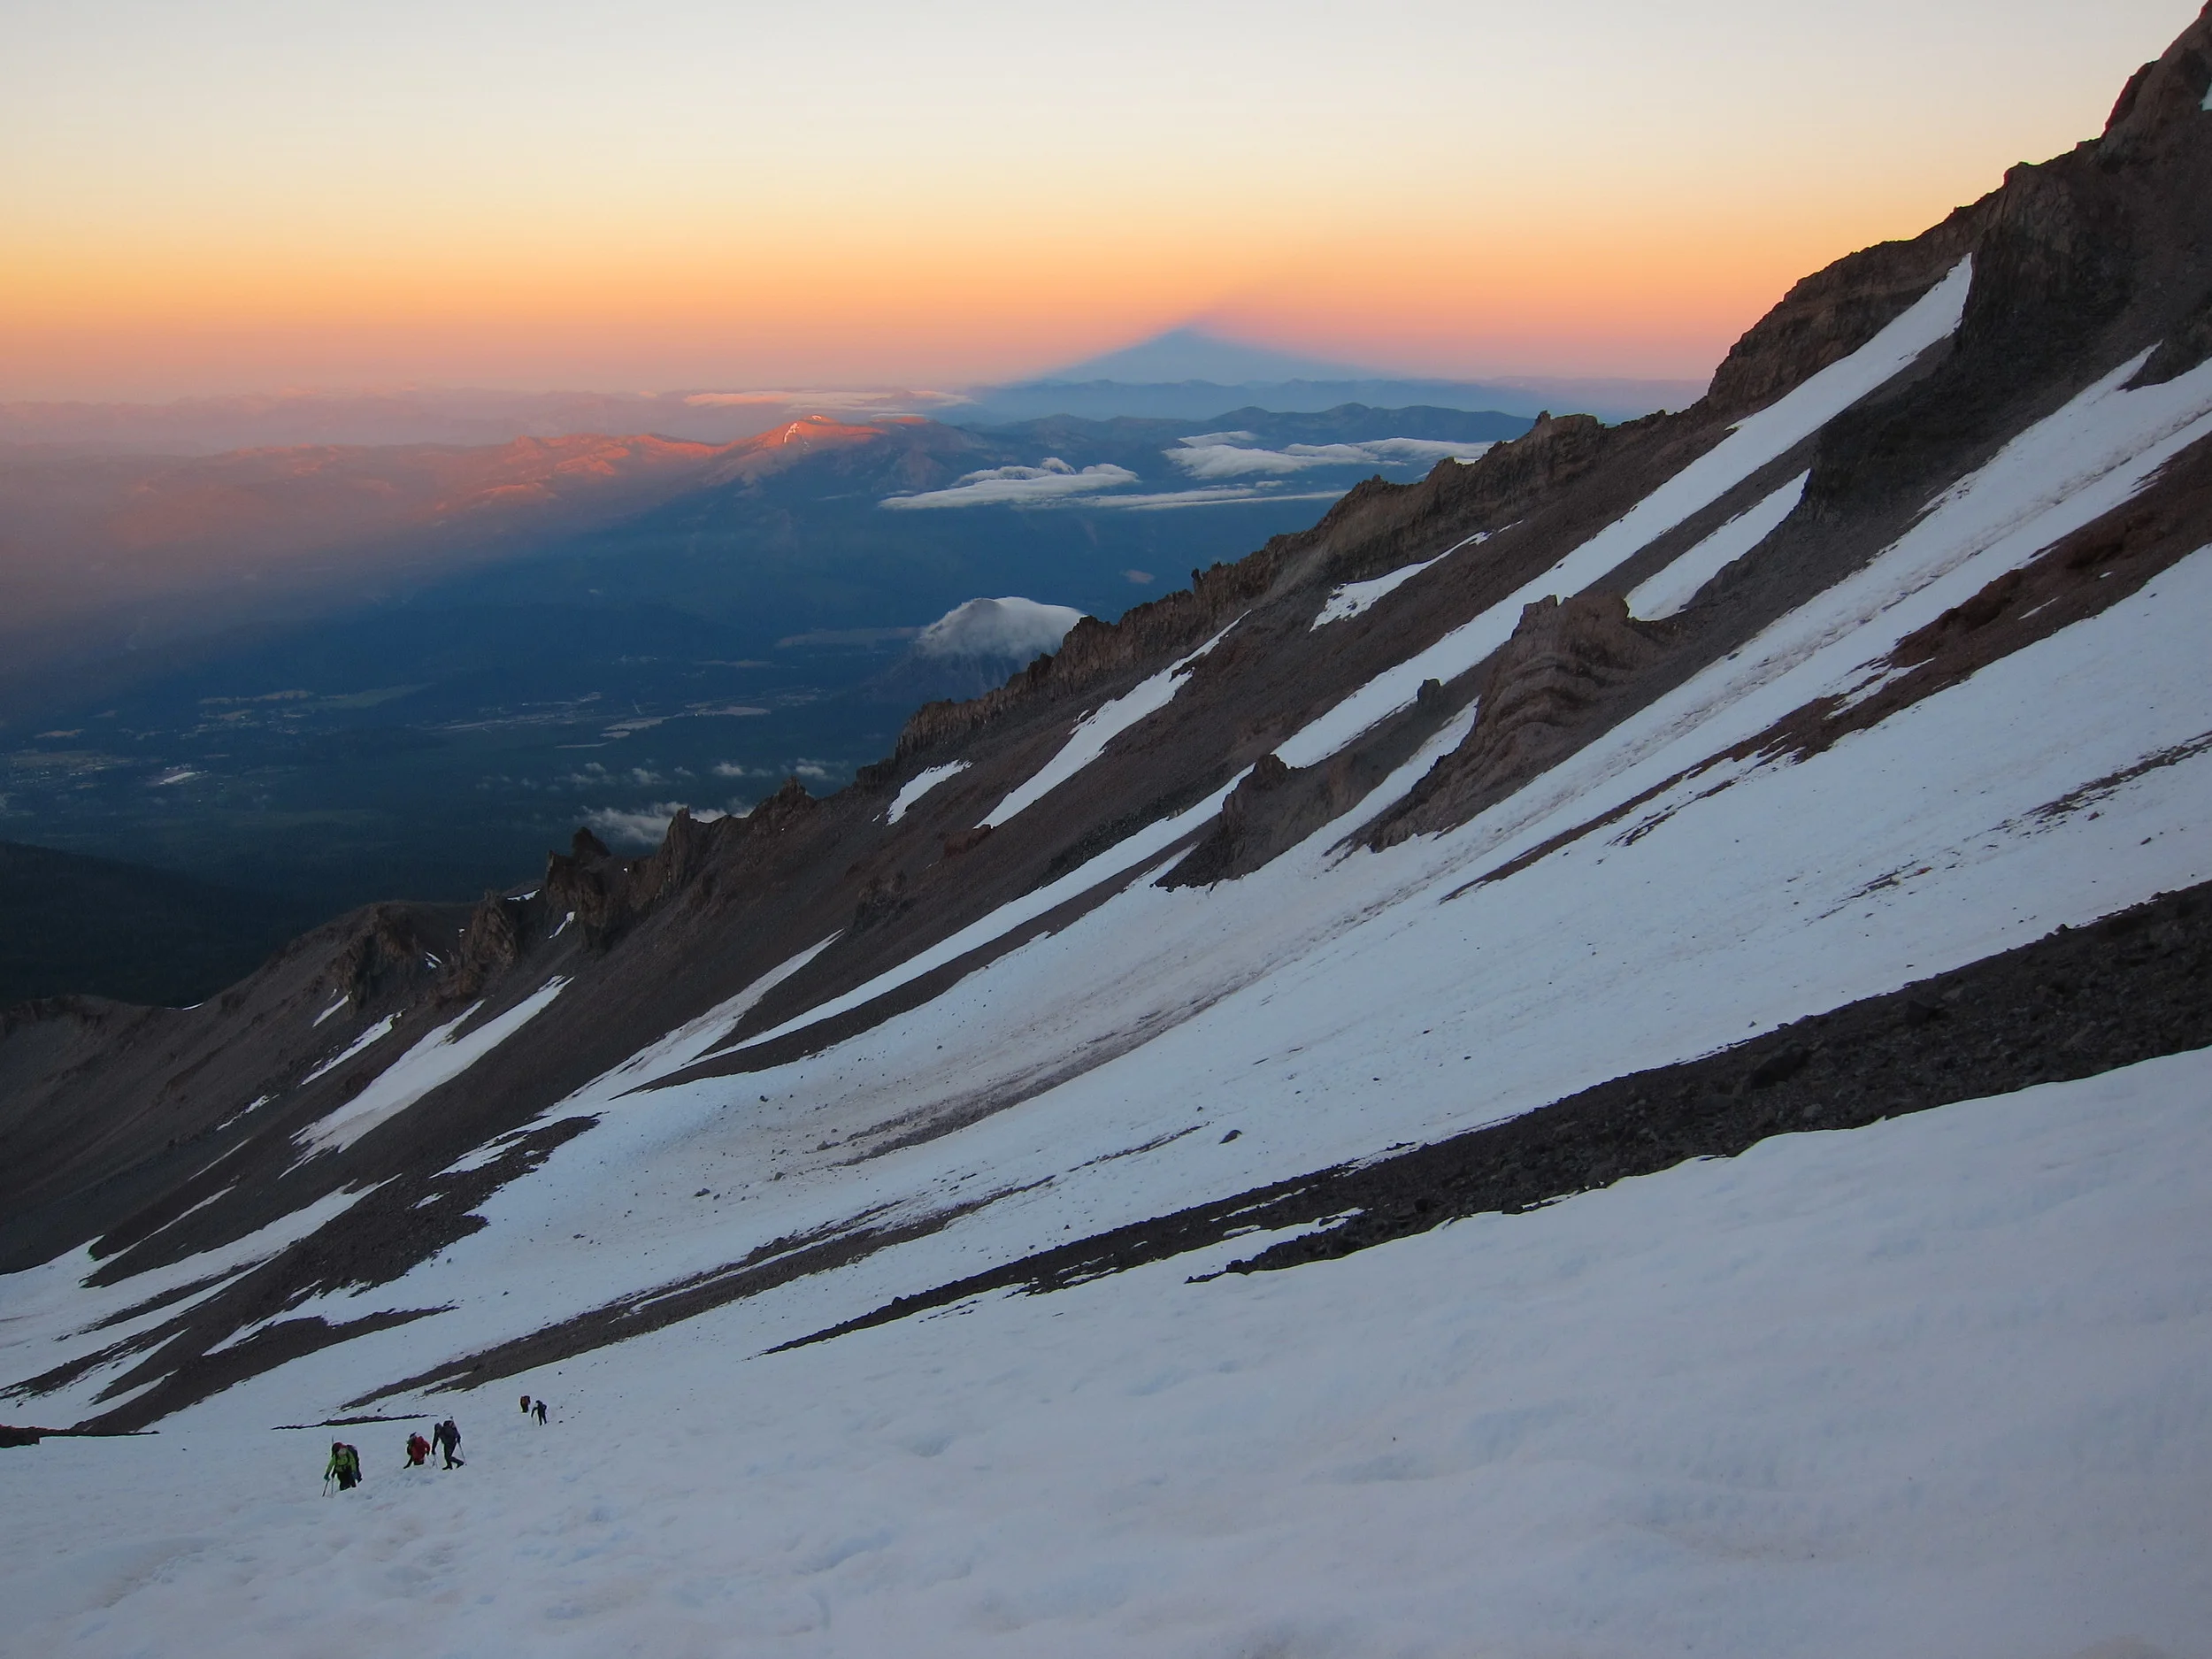
Summit approach, Mount Shasta
So, you want to climb Mount Shasta? Be warned, like anything else in life, it is a task fraught with perils, challenges, and heartbreak. But, like anything else in life, should you have the mental fortitude to address each of these tribulations, you will be rewarded with an enormous sense of accomplishment and the glory of a fine view. Whether Mount Shasta is the first major mountain you are attempting to summit, or the thousandth peak you have bagged, in my opinion, your best chance of reaching the summit is the tried-and-true Avalanche Gulch route. Full disclosure: the Avalanche Gulch route is the most popular route on the mountain, bar none. But let’s pause for a second here: there’s popular routes like the Mt. Whitney Trail, which have a packed lottery system and actual hordes of people on the trail; and there’s popular routes, which just mean that it’s the best and quickest route to the summit.


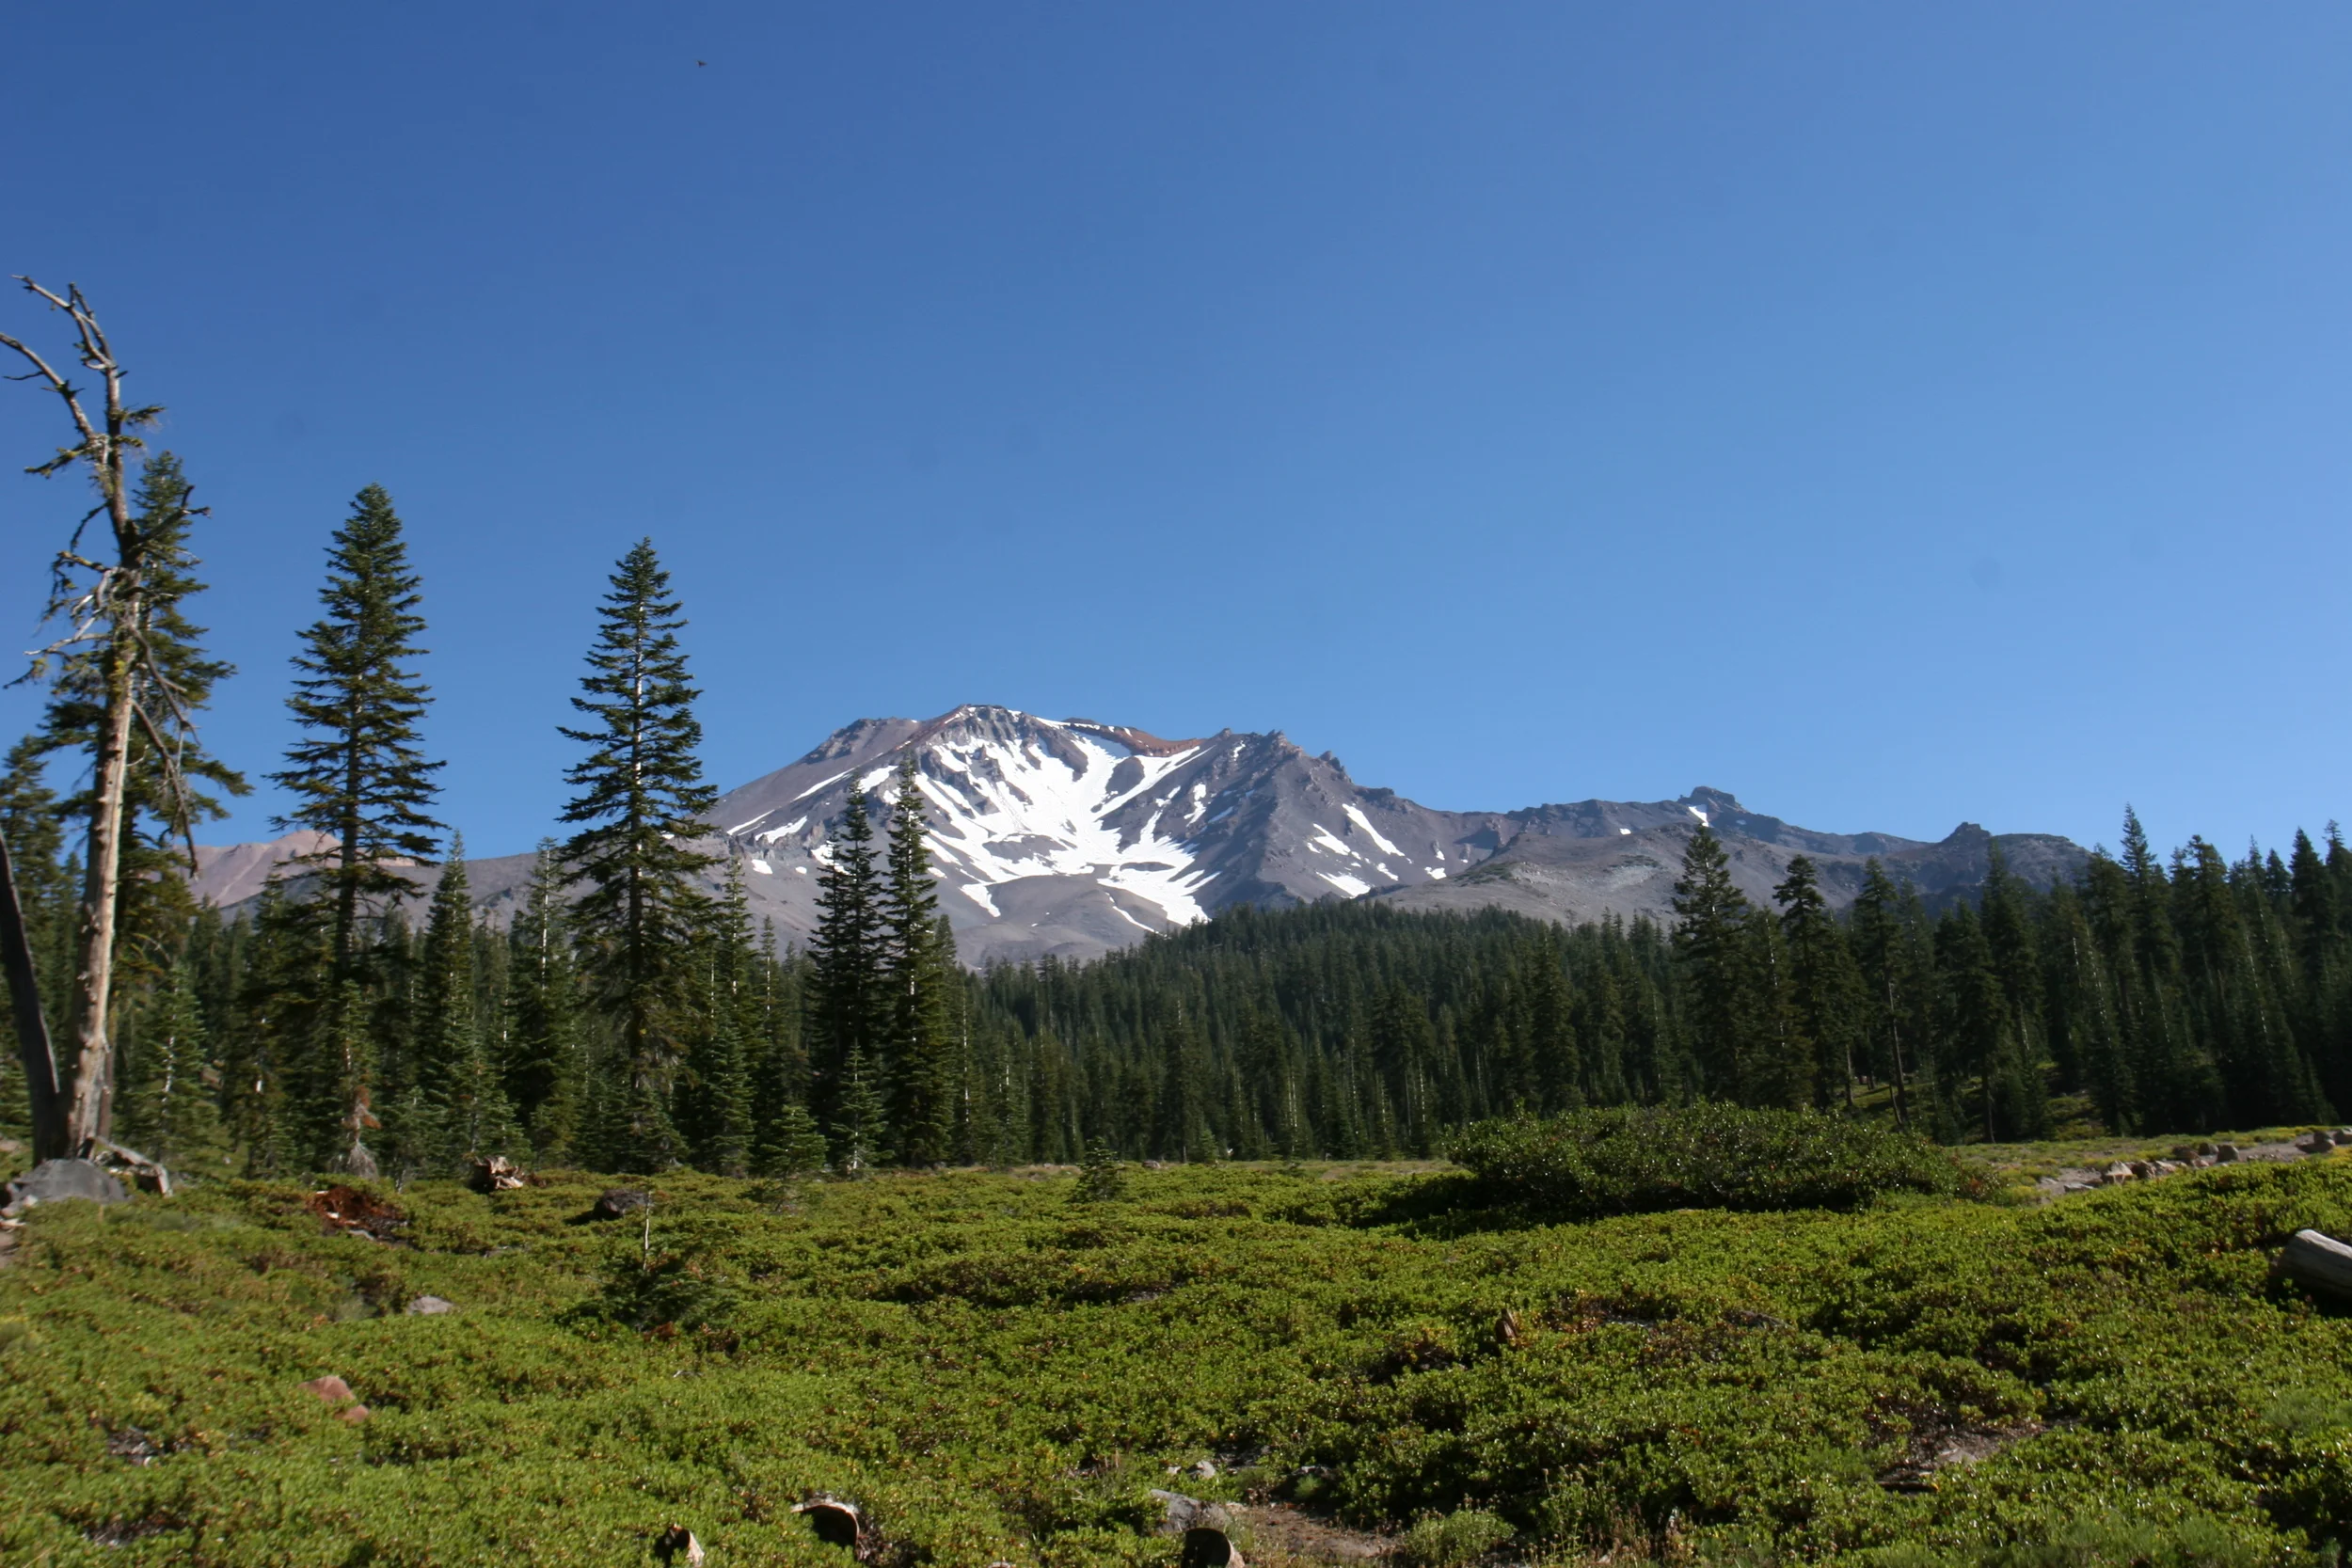
The Avalanche Gulch route falls into the second category: sure, during the “high” season, when conditions are good, you’ll see people on the trail; however, the volume of traffic on Mt. Shasta is never going to confuse anyone with Mt. Whitney. I’ve been on this route four times over the last fifteen years – only once (in 2010, on Labor Day weekend), did I see more than 25 people on the trail attempting to summit. So yes, there may be people on the route: the key word being “may”. Again, in my opinion, you shouldn’t let this possibility influence you from not taking this route, as it is the shortest – and most direct. One last note about the mountain: it is big. This may seem like a no-brainer, as it’s a Cascade peak, which means it’s a semi-active volcano, but it’s big. While it’s not as tall as Mt. Whitney, which clocks in at 14,495 feet; it is no slouch either, as it is 14,179 feet tall. It’s also considered the most voluminous strato-volcano in the Cascade range. It also stands alone in Northern California for many miles, so it generates its own weather – something to remember when you are climbing it! There’s also a lot of other interesting things about the mountain, but I’ll get into those later this week. For now, just the facts on how to climb it!
Directions: The jumping off point for this route is the Bunny Flat Trailhead, which is located eleven miles up the Everett Memorial Highway. The Everett Memorial Highway leaves from the town of Mt. Shasta, California, and there are plenty of signs in town to direct you to this road. The trailhead has a pit toilet, and as it is in the National Forest, camping sites off the road nearby, and it is well marked. In terms of red tape, this is the best – and easiest spot to register for the hike. There is a kiosk with self-register permits; and as of 2012, the summit pass is still $20.00 per person. During the summer, there is usually a climbing ranger present at Lake Helen, so avoid a ticket/fine, and pay the registration fee! Equally as important, the kiosk contains wag bags! Yes, this zone of Mt. Shasta is a pack-out-your –waste area. However, do not fret! Unlike Mt. Whitney, you can take as many wag bags as you want, as long as you carry them back out!
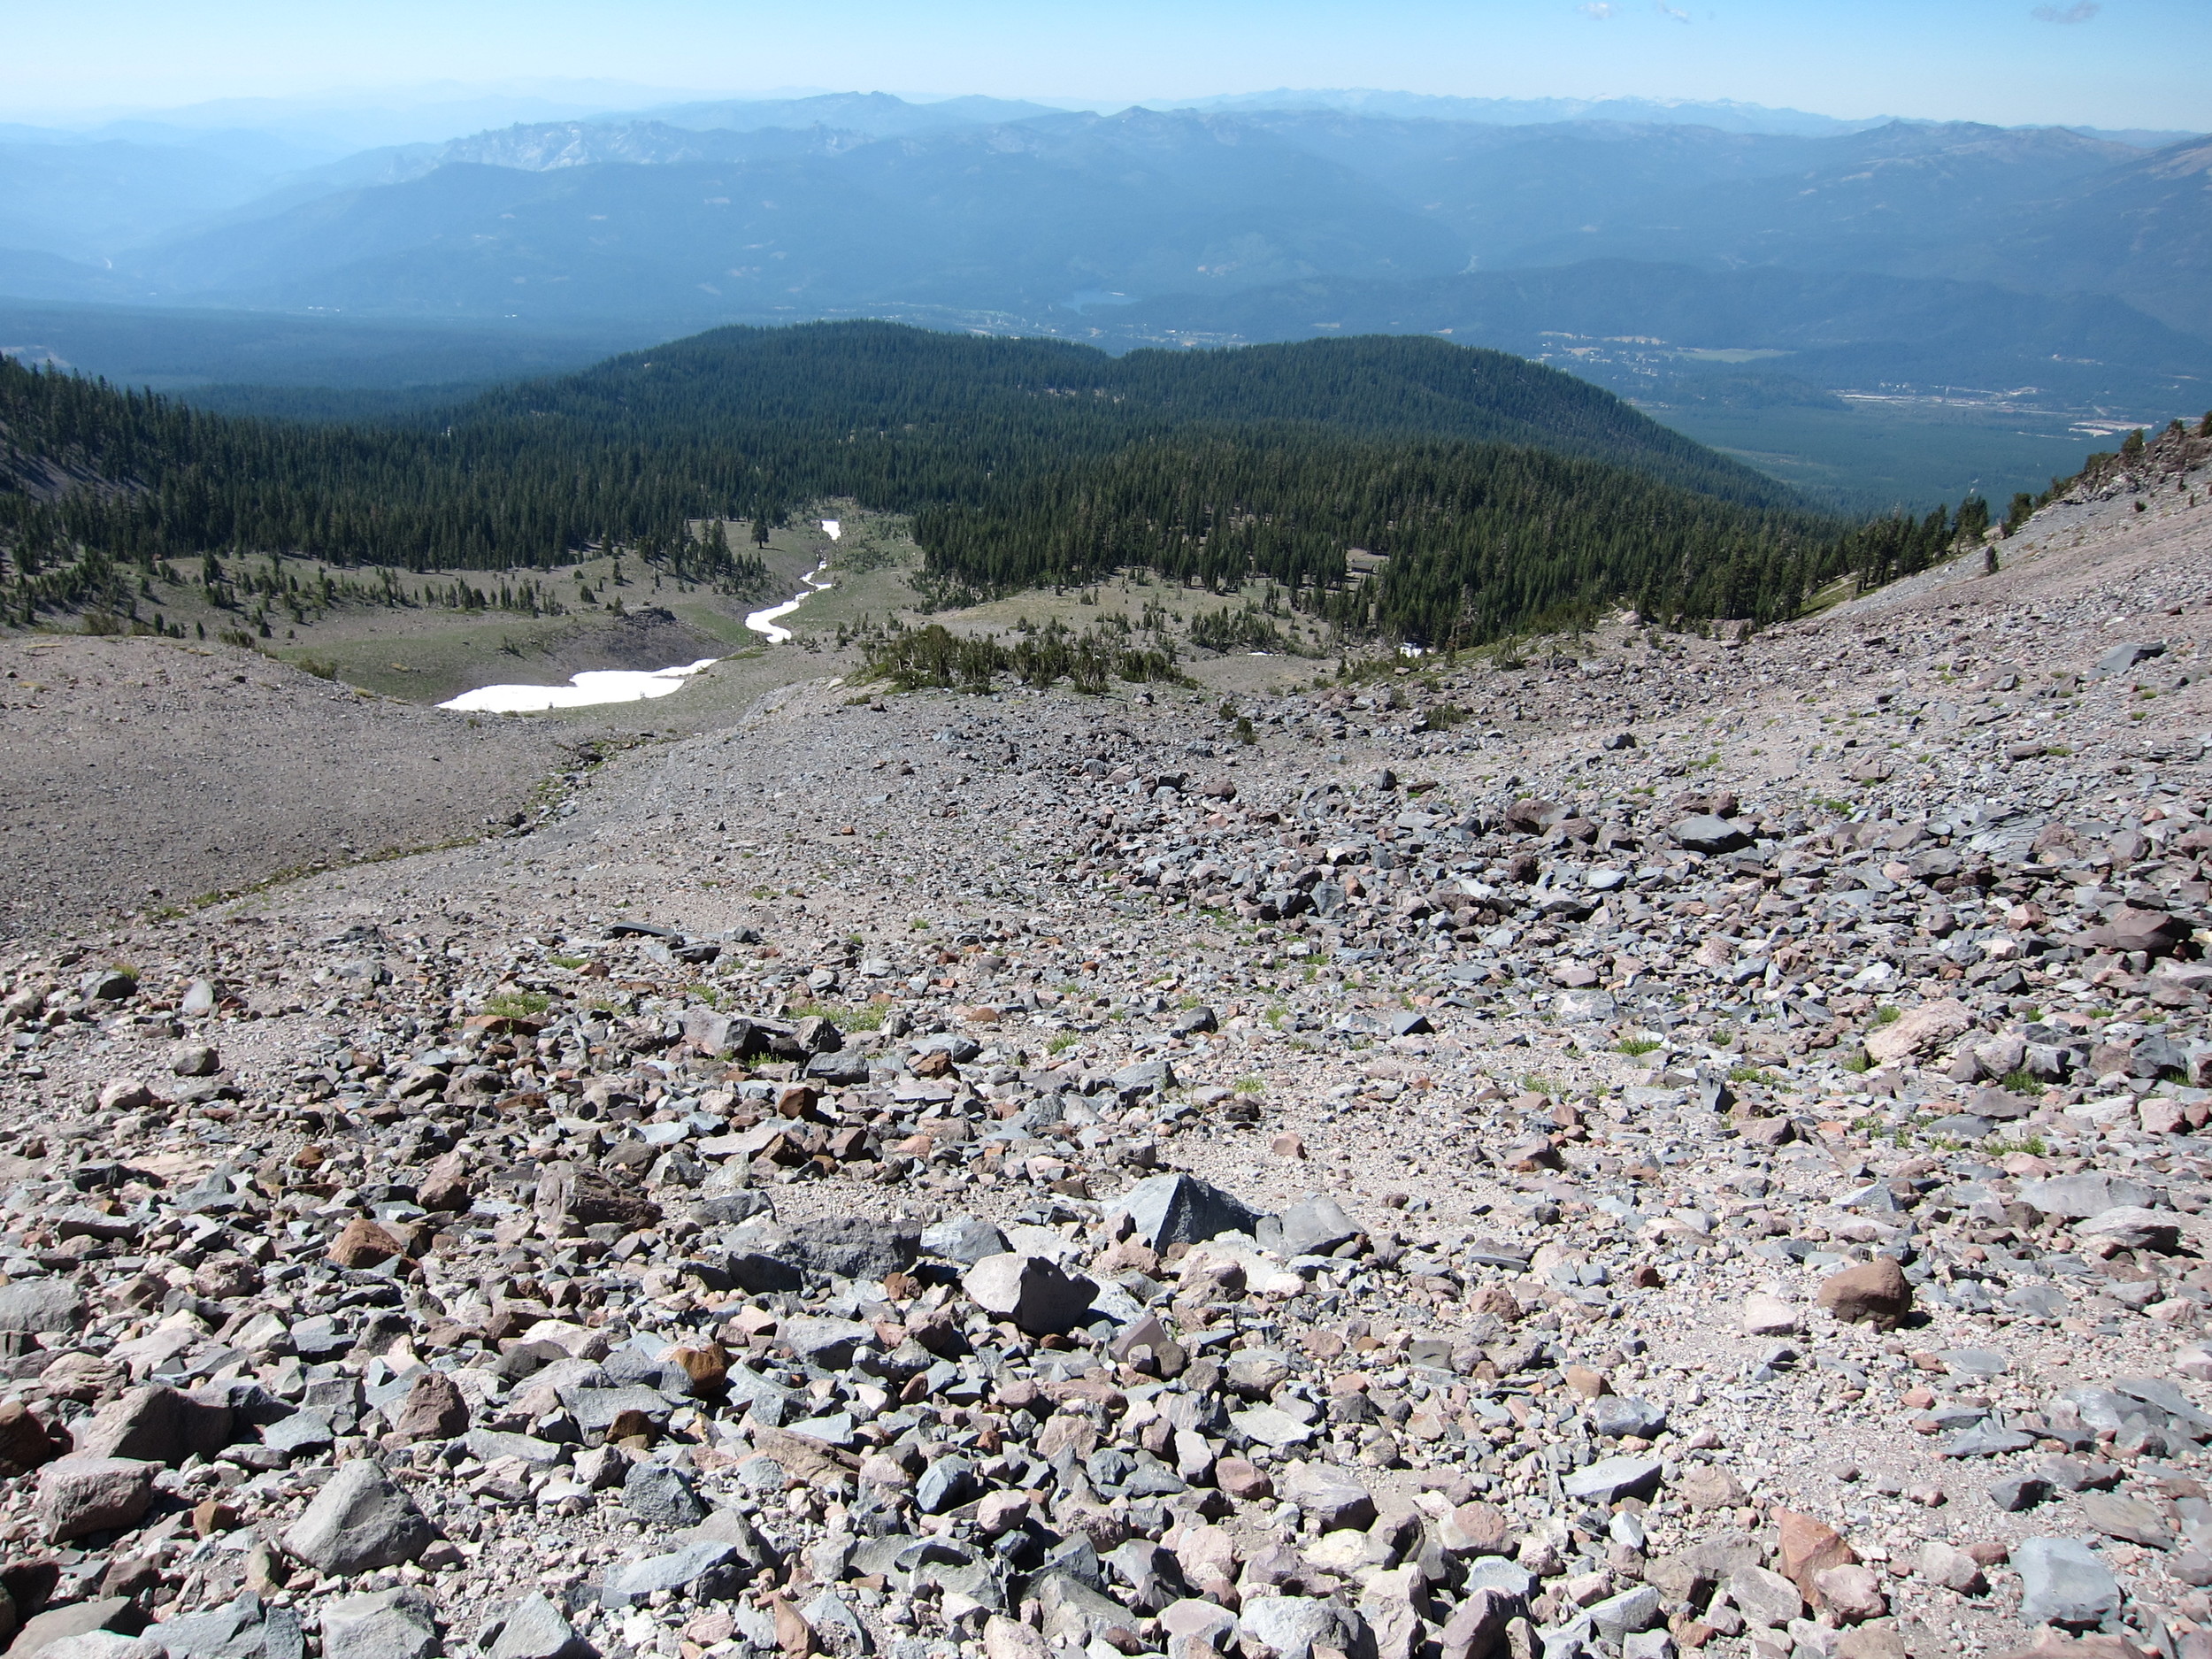
Once you have your permit, the trail leaves directly from the parking area at 6,800 feet and heads up to Horse Camp at 7,800 feet over 1.6 miles. Make no mistake about it; this is the easiest portion of the trek bar none, so enjoy it! The trail passes through forested meadows, and provides great views of the mountain that you are attempting to summit. You will know you are at Horse Camp when you see the Sierra Club Cabin, a freestanding stone structure next to a spring. There are sites to camp in the area; and the spring provides amazingly fresh water. It’s also important to note that the last actual bathroom on Mt. Shasta exists here as well at Horse Camp; and it is a fine facility that is also run by the Sierra Club. From Horse Camp, the trail continues up the mountain on a rock causeway, before angling steeply up what is popularly known as 50/50 Hill.
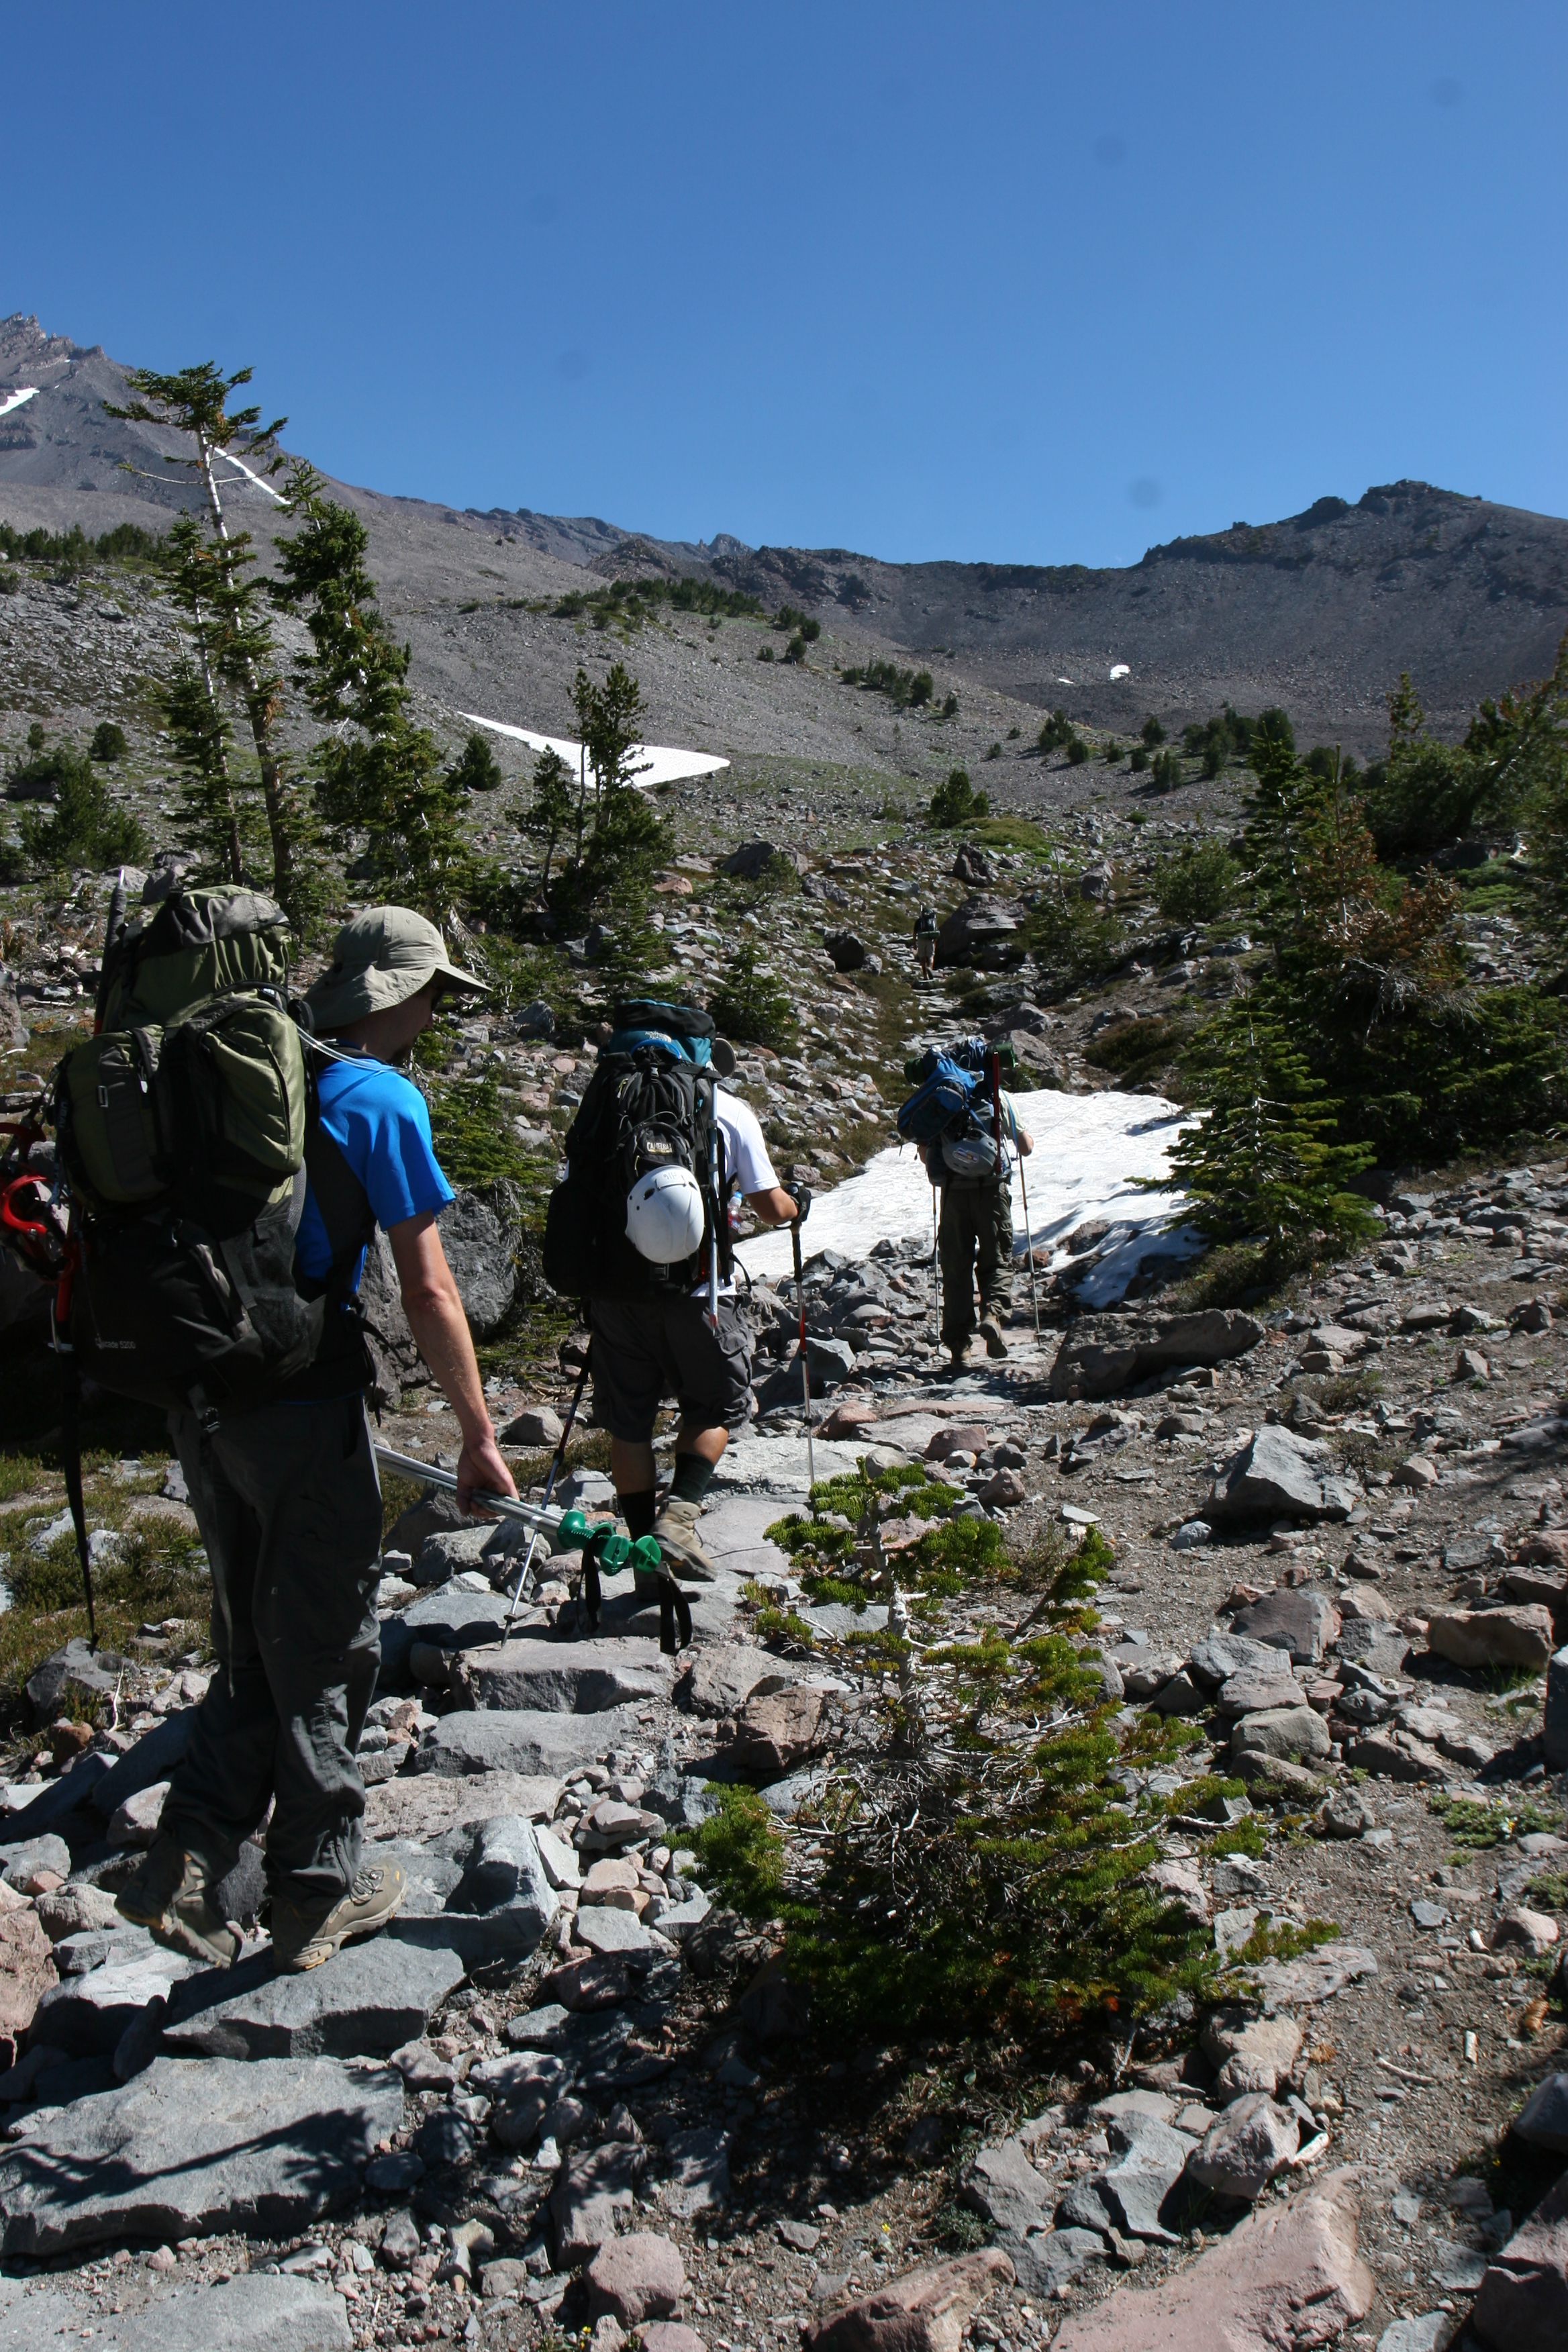
A quick word here about conditions: if you are attempting this route in winter to early summer, this portion of the trail will still be covered with snow. Later on in the season, the trail will be completely bare, and have a mixture of rock, volcanic ash, and other sandy type products. Under the latter conditions, it is a slog heading uphill with a heavy pack. And now, a quick word here about distance: the total route to the summit from Bunny Flat is between 5.5 and 6 miles. The only distance figure I can tell you about this route with certainty is that it is 1.6 miles to Horse Camp. After that? I’m using my best estimates. In my opinion, from Horse Camp to Lake Helen, it’s approximately two miles. Time wise? Well, that depends on what you’re carrying, what season it is, your conditioning – all variables I don’t know as I write this. What I can tell you is that generally, from Horse Camp to Lake Helen, you should allow 2-5 hours; and you want to avoid being on the trail during mid-day – you will be completely exposed to sun and wind.
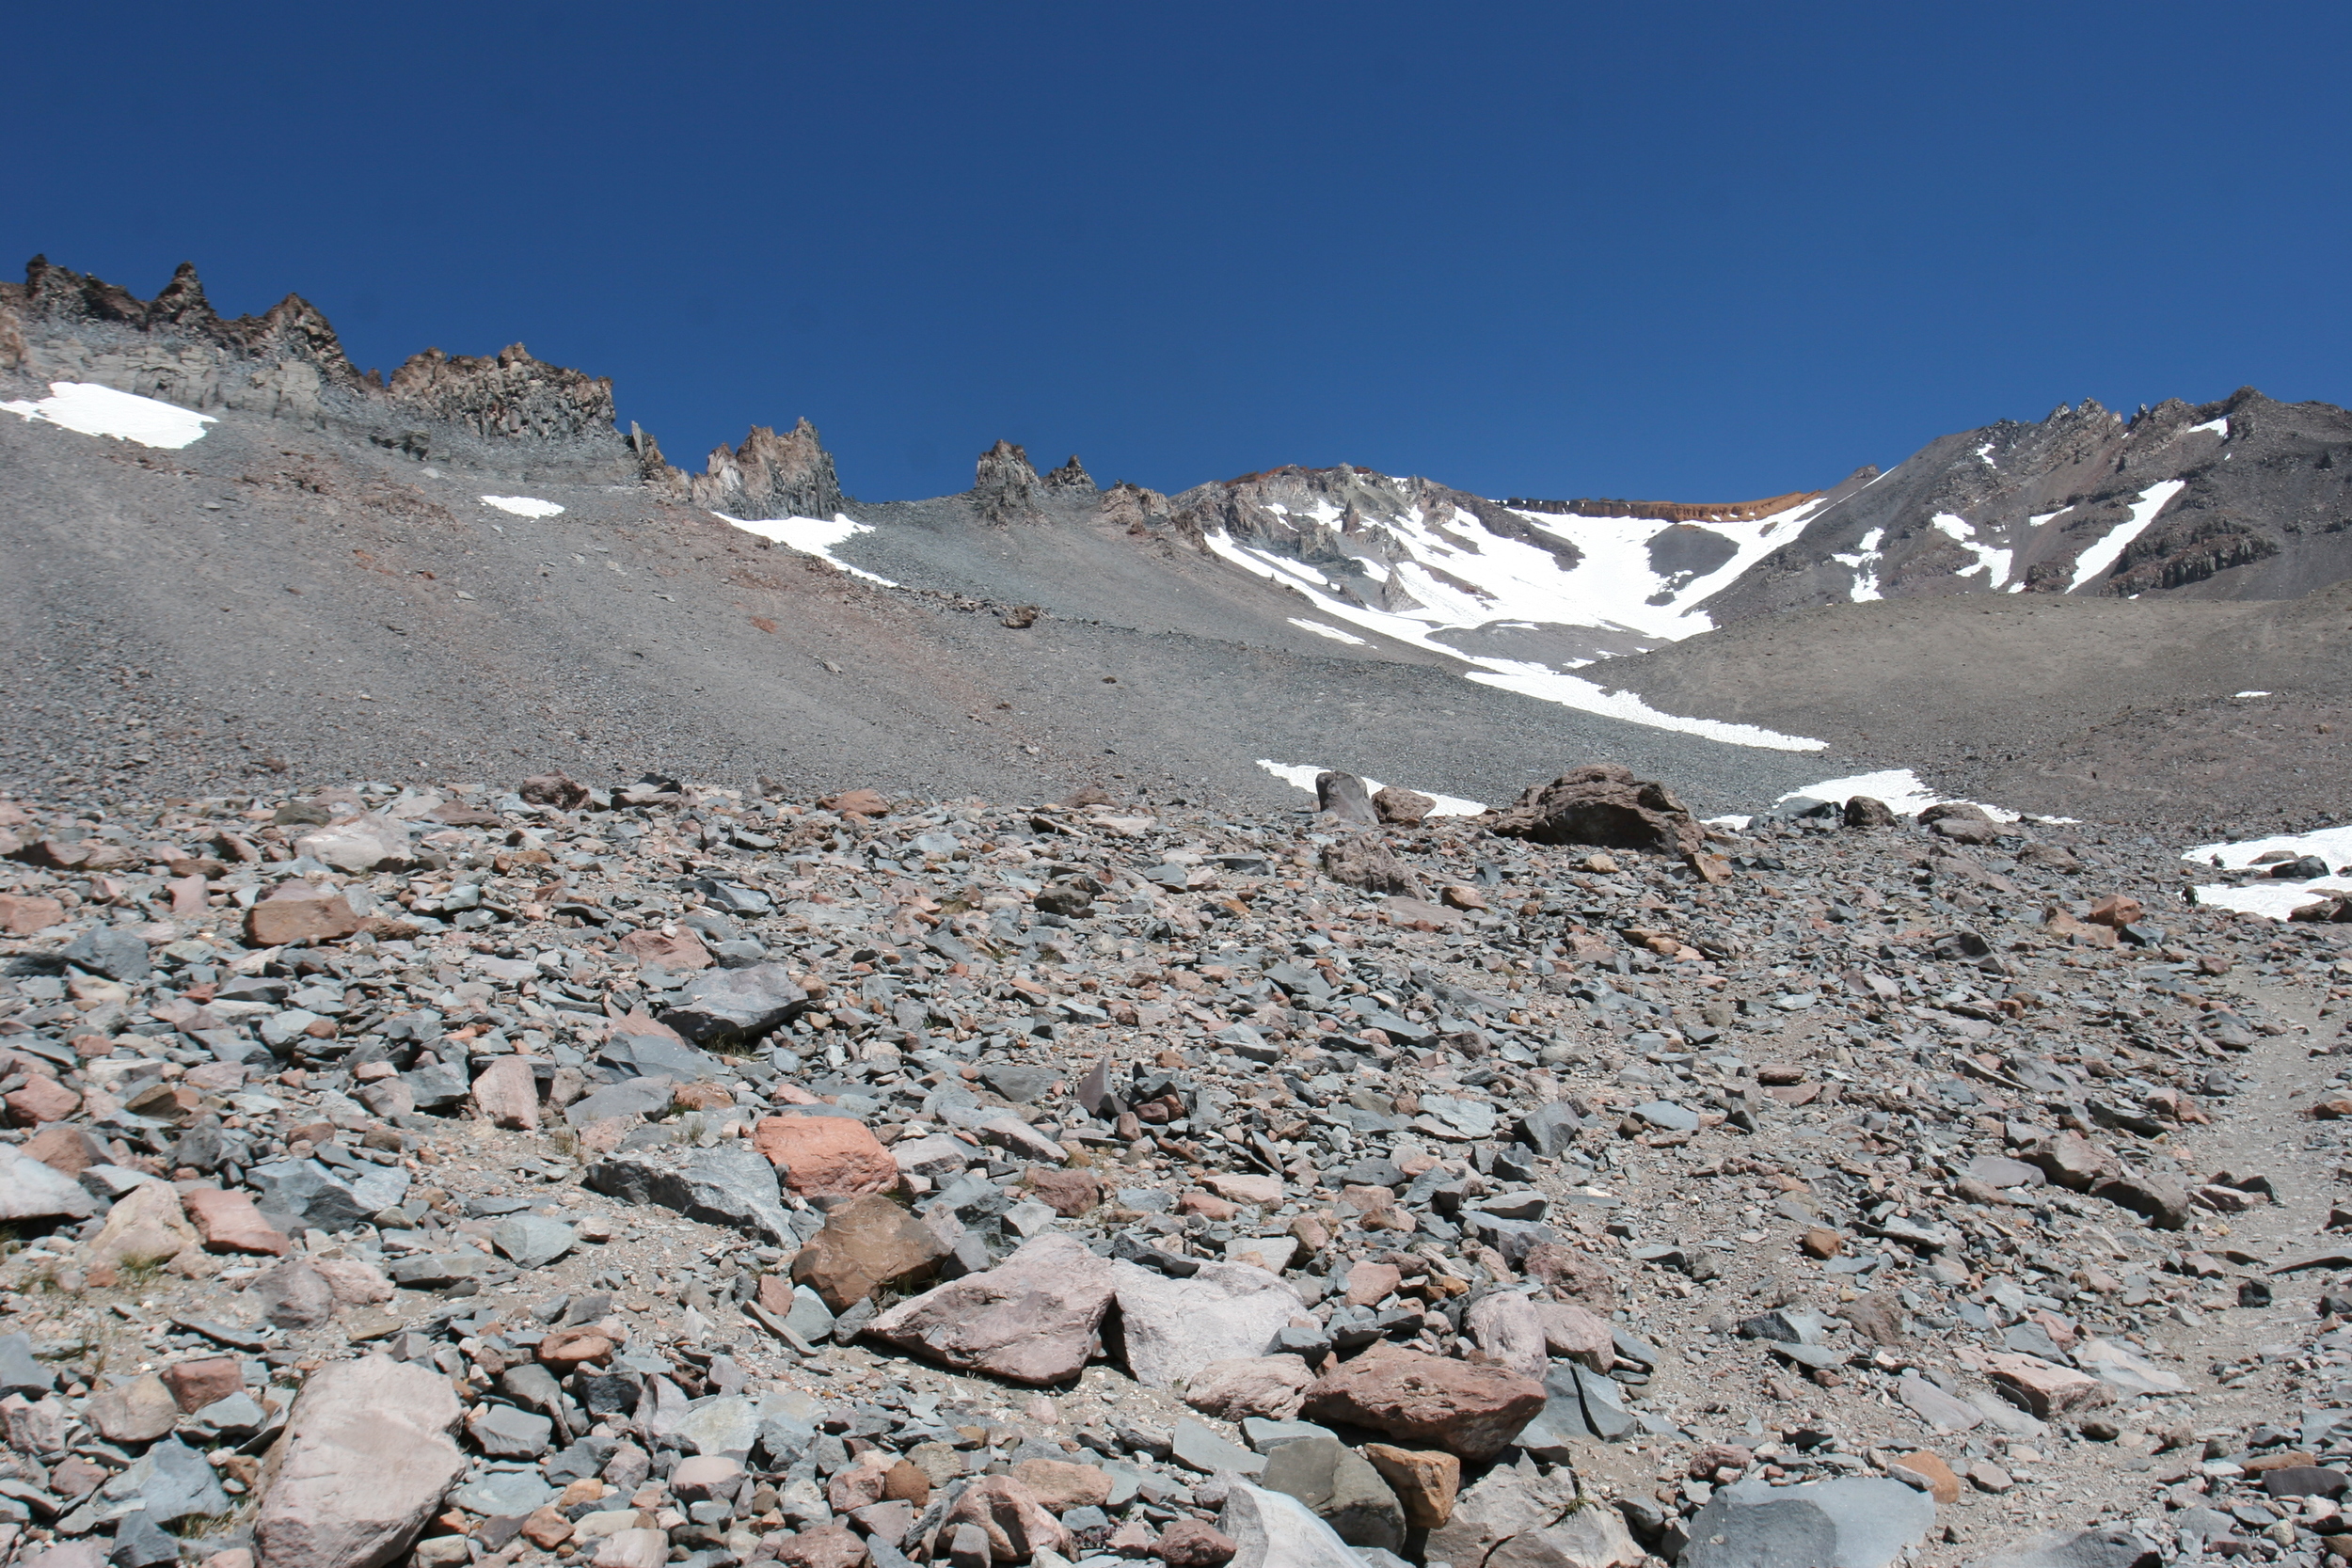
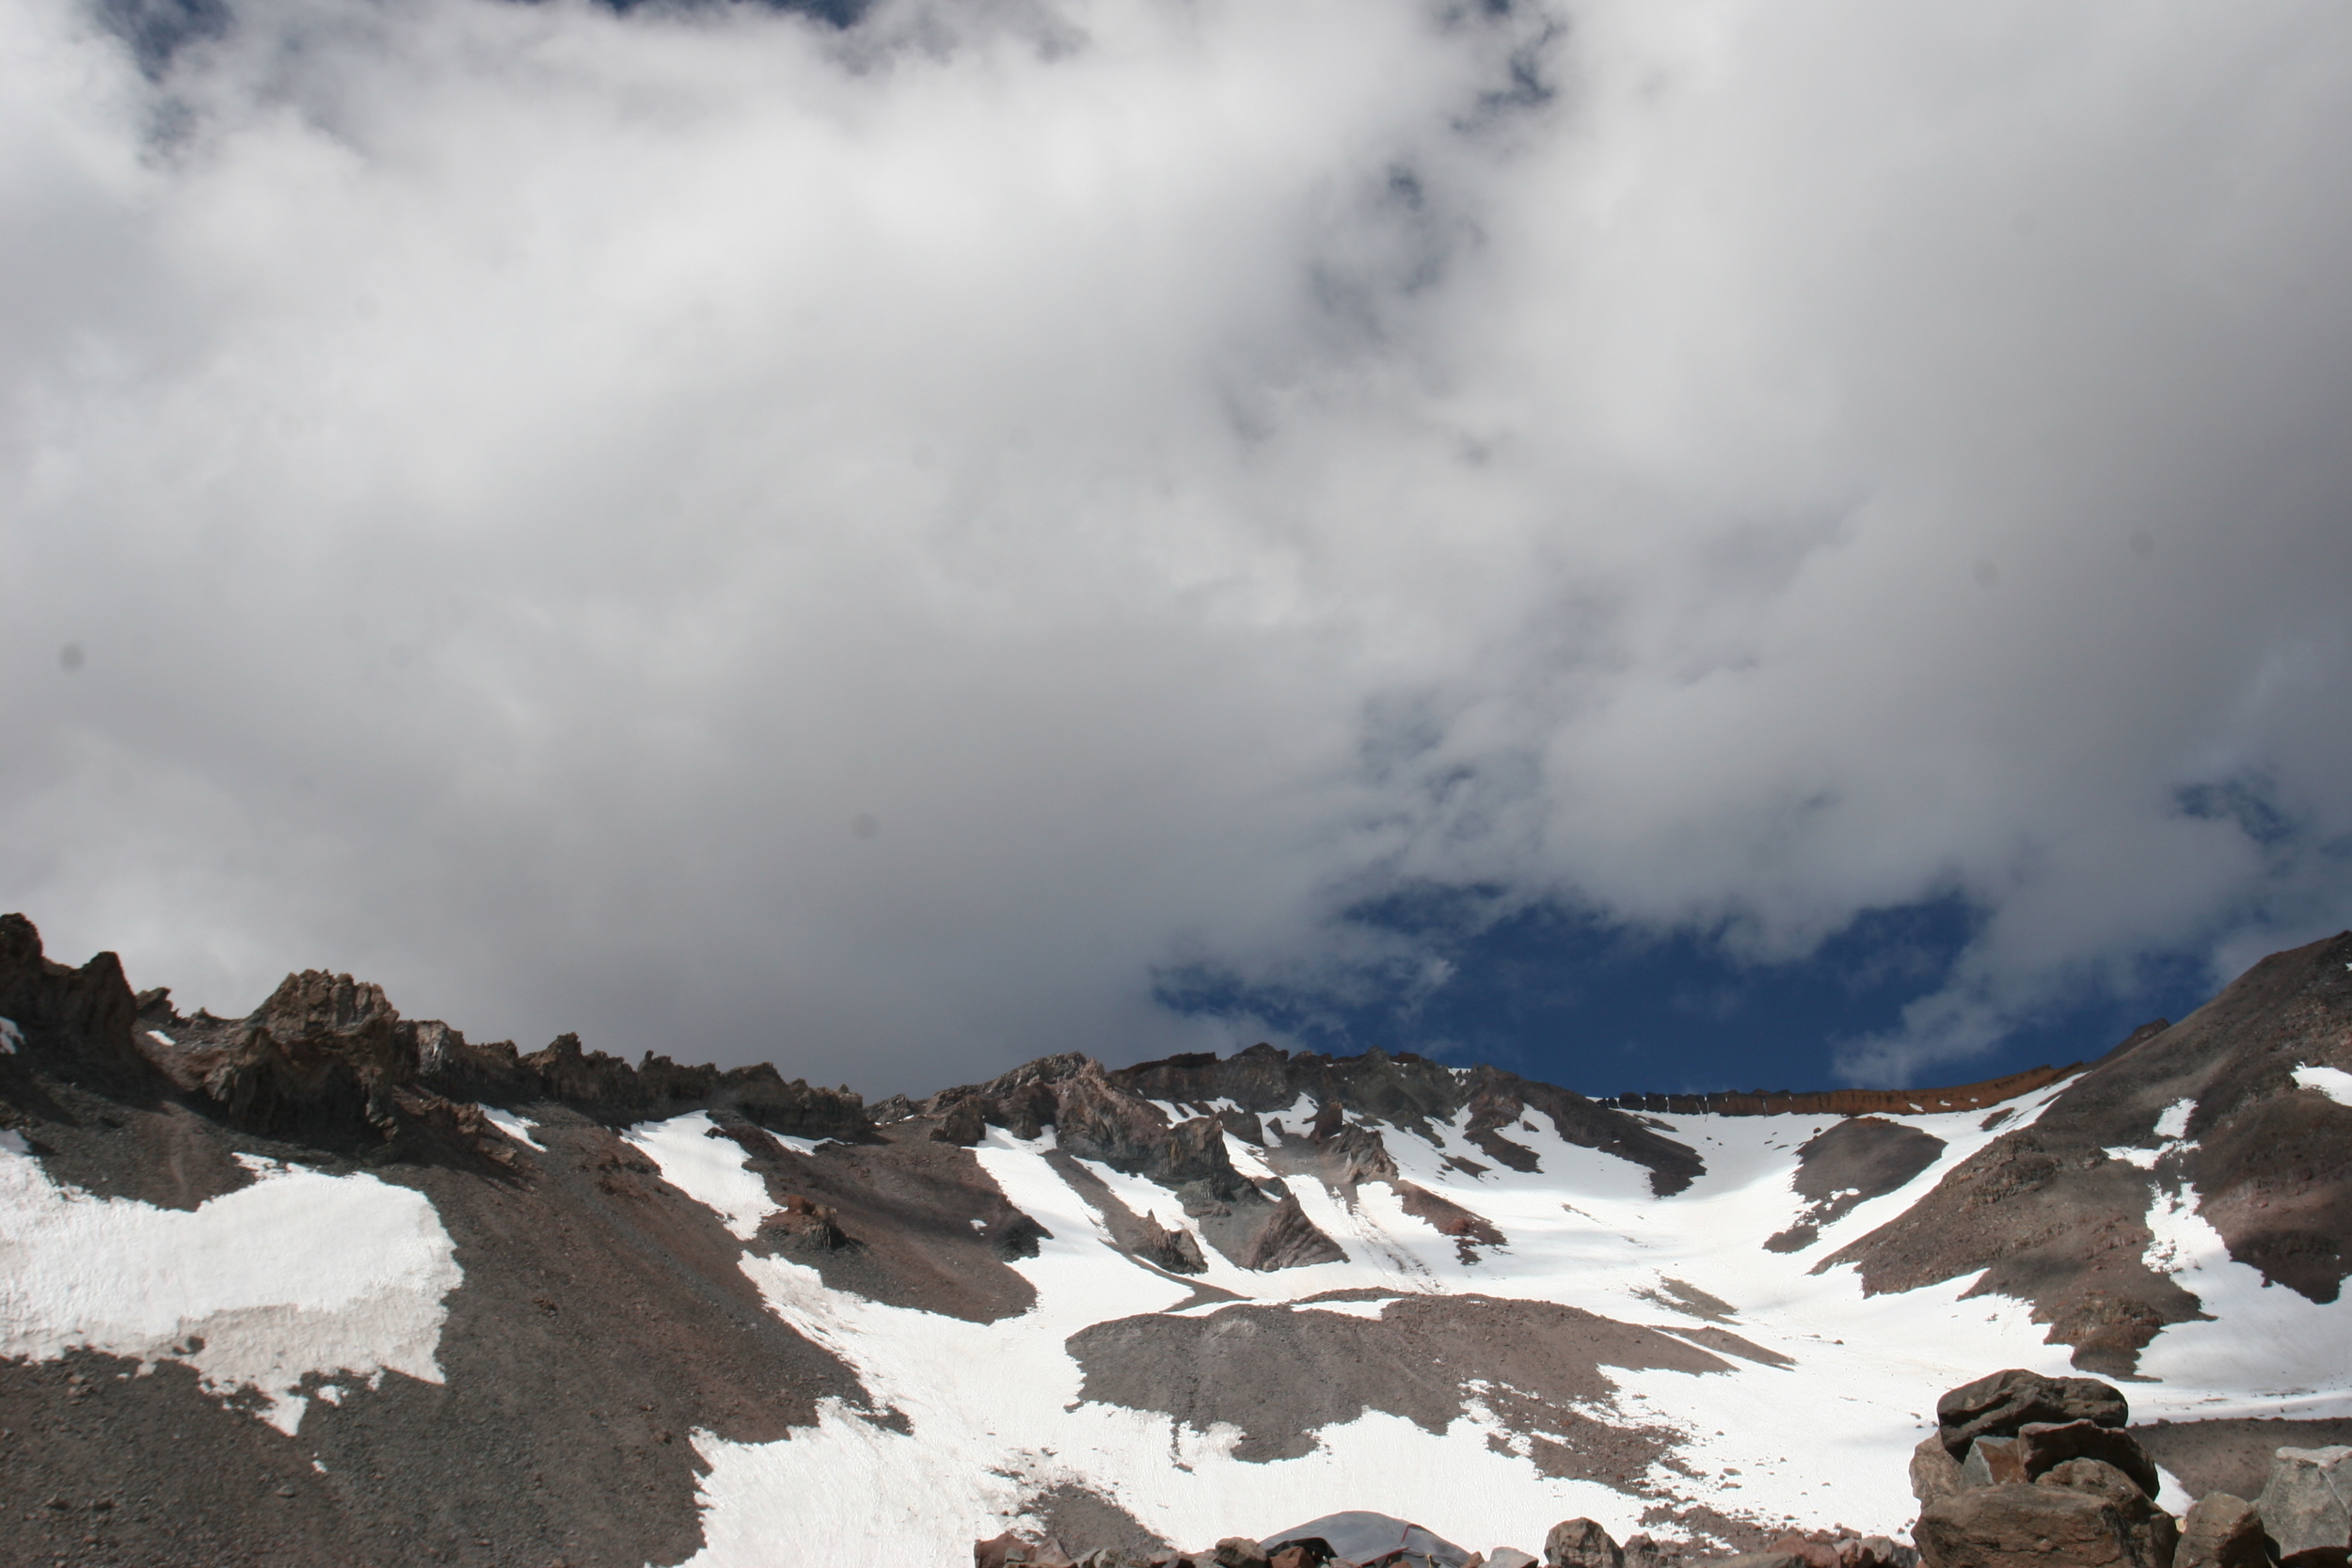
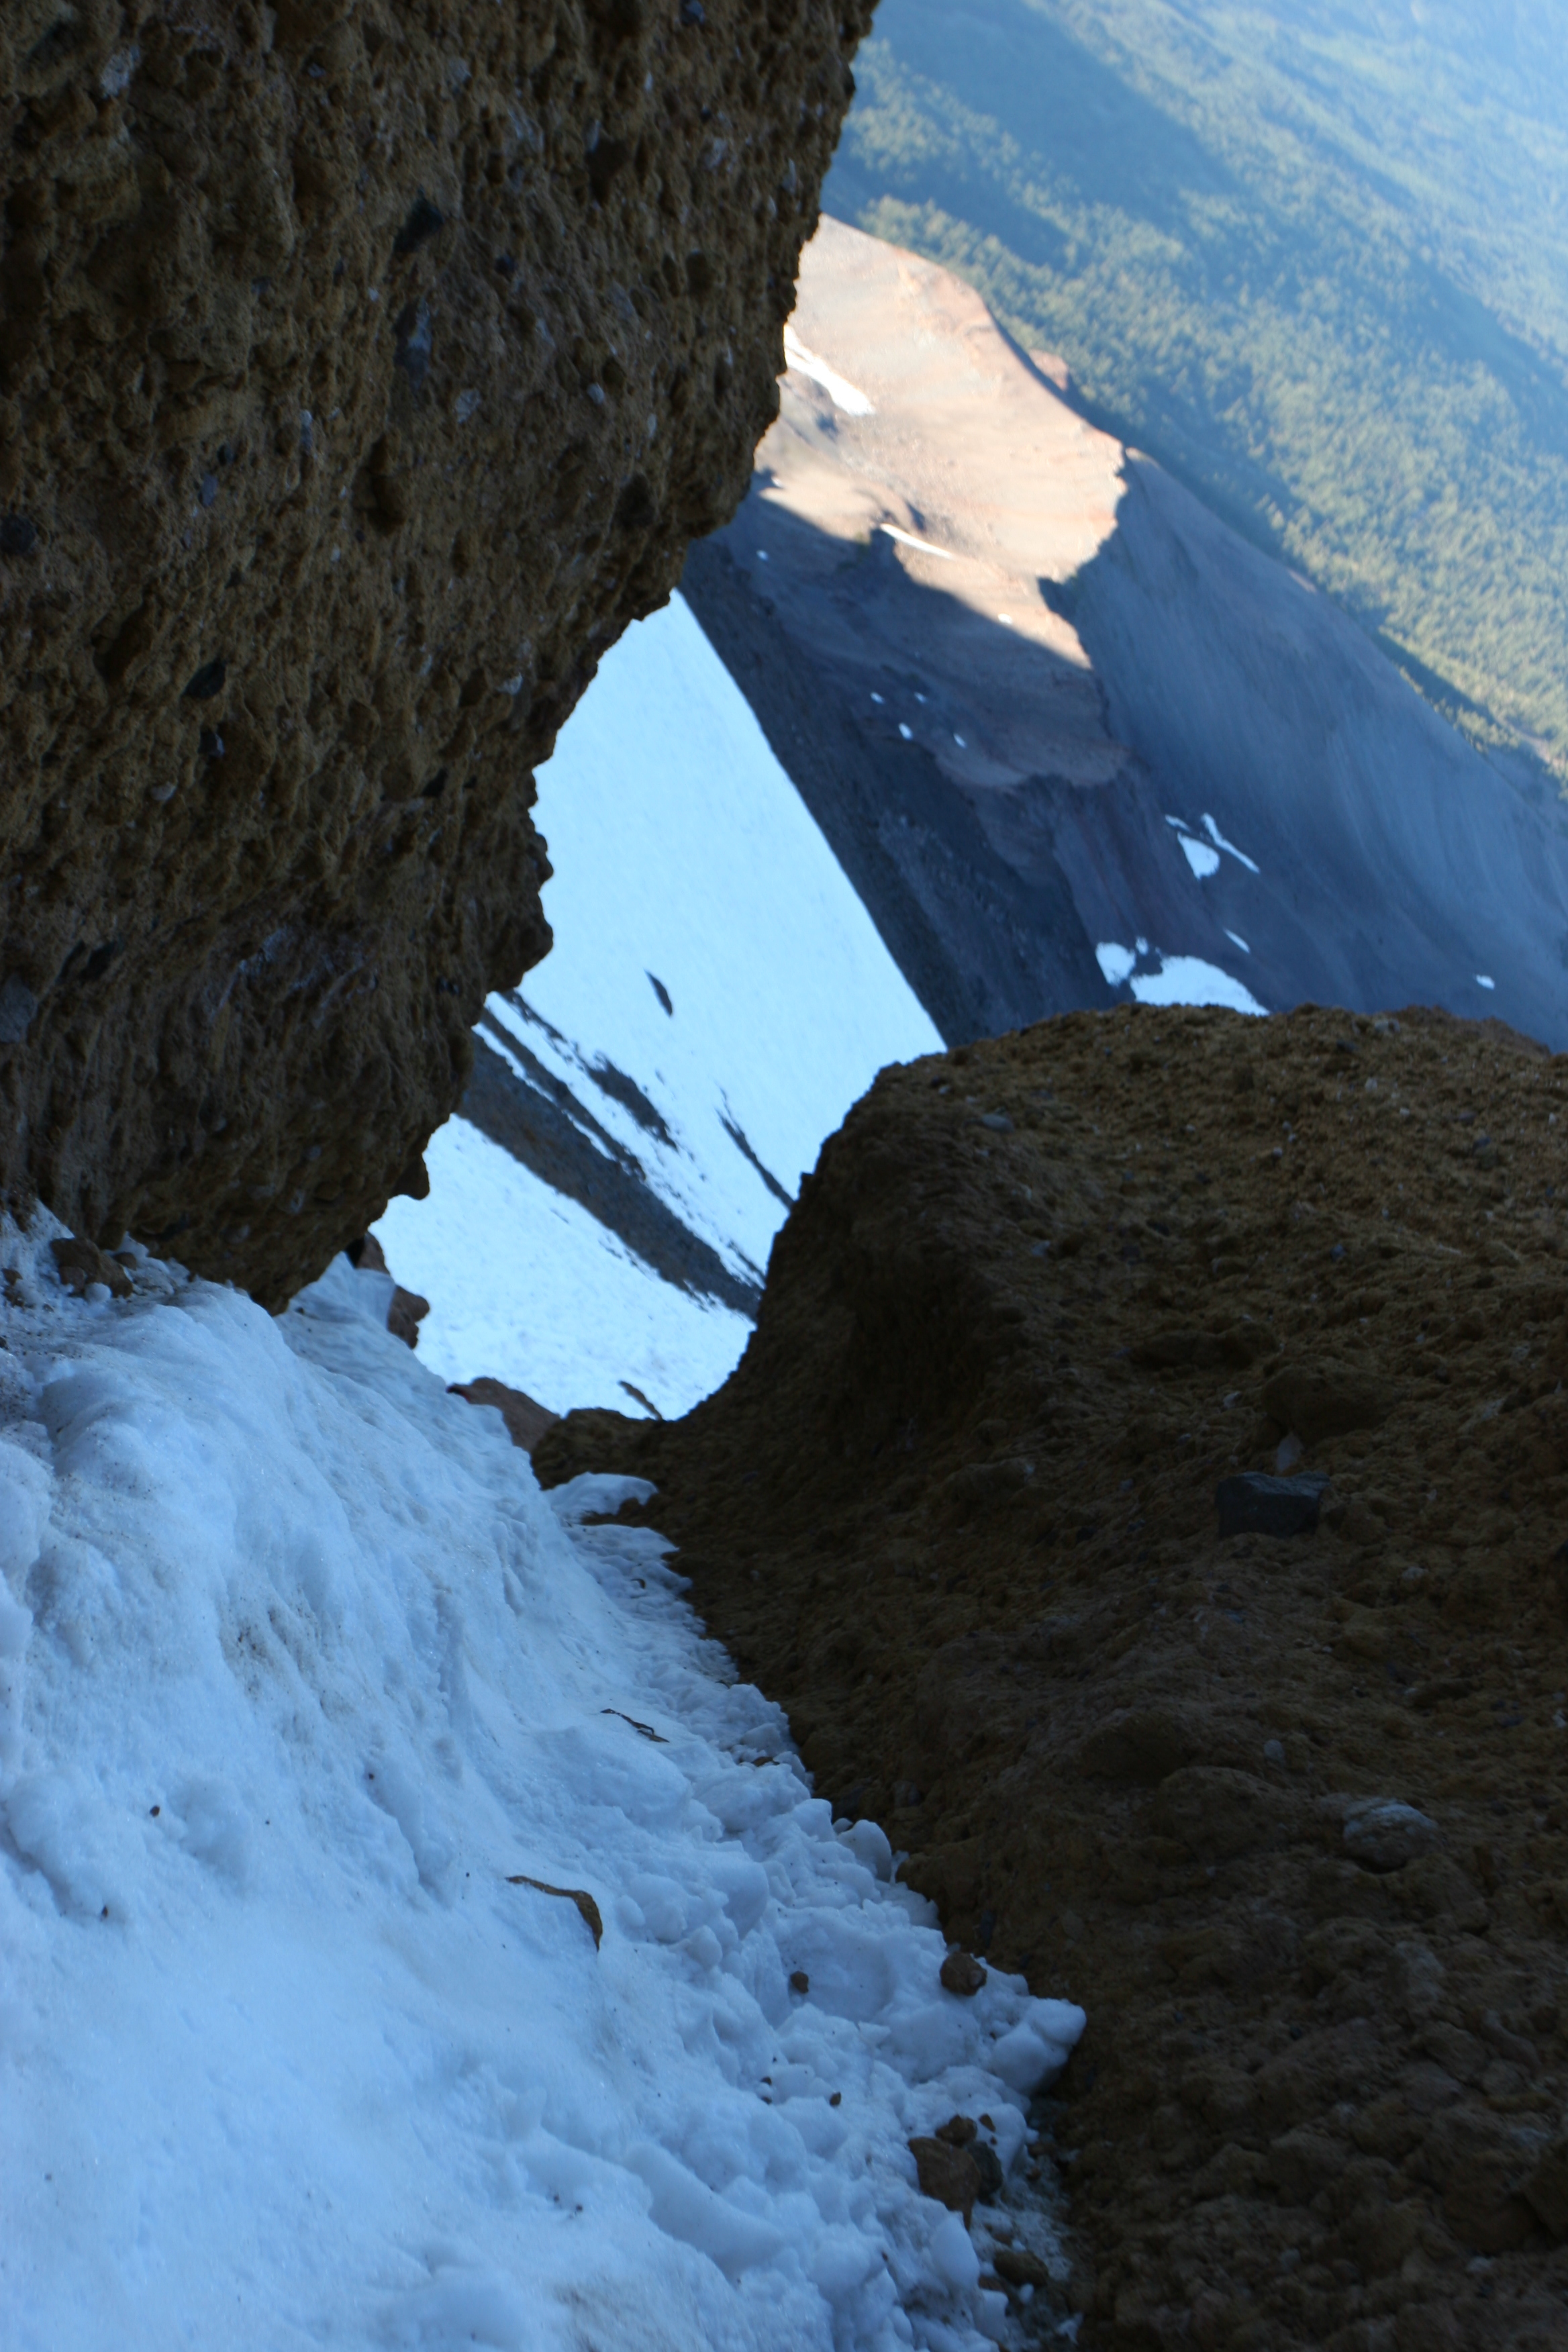
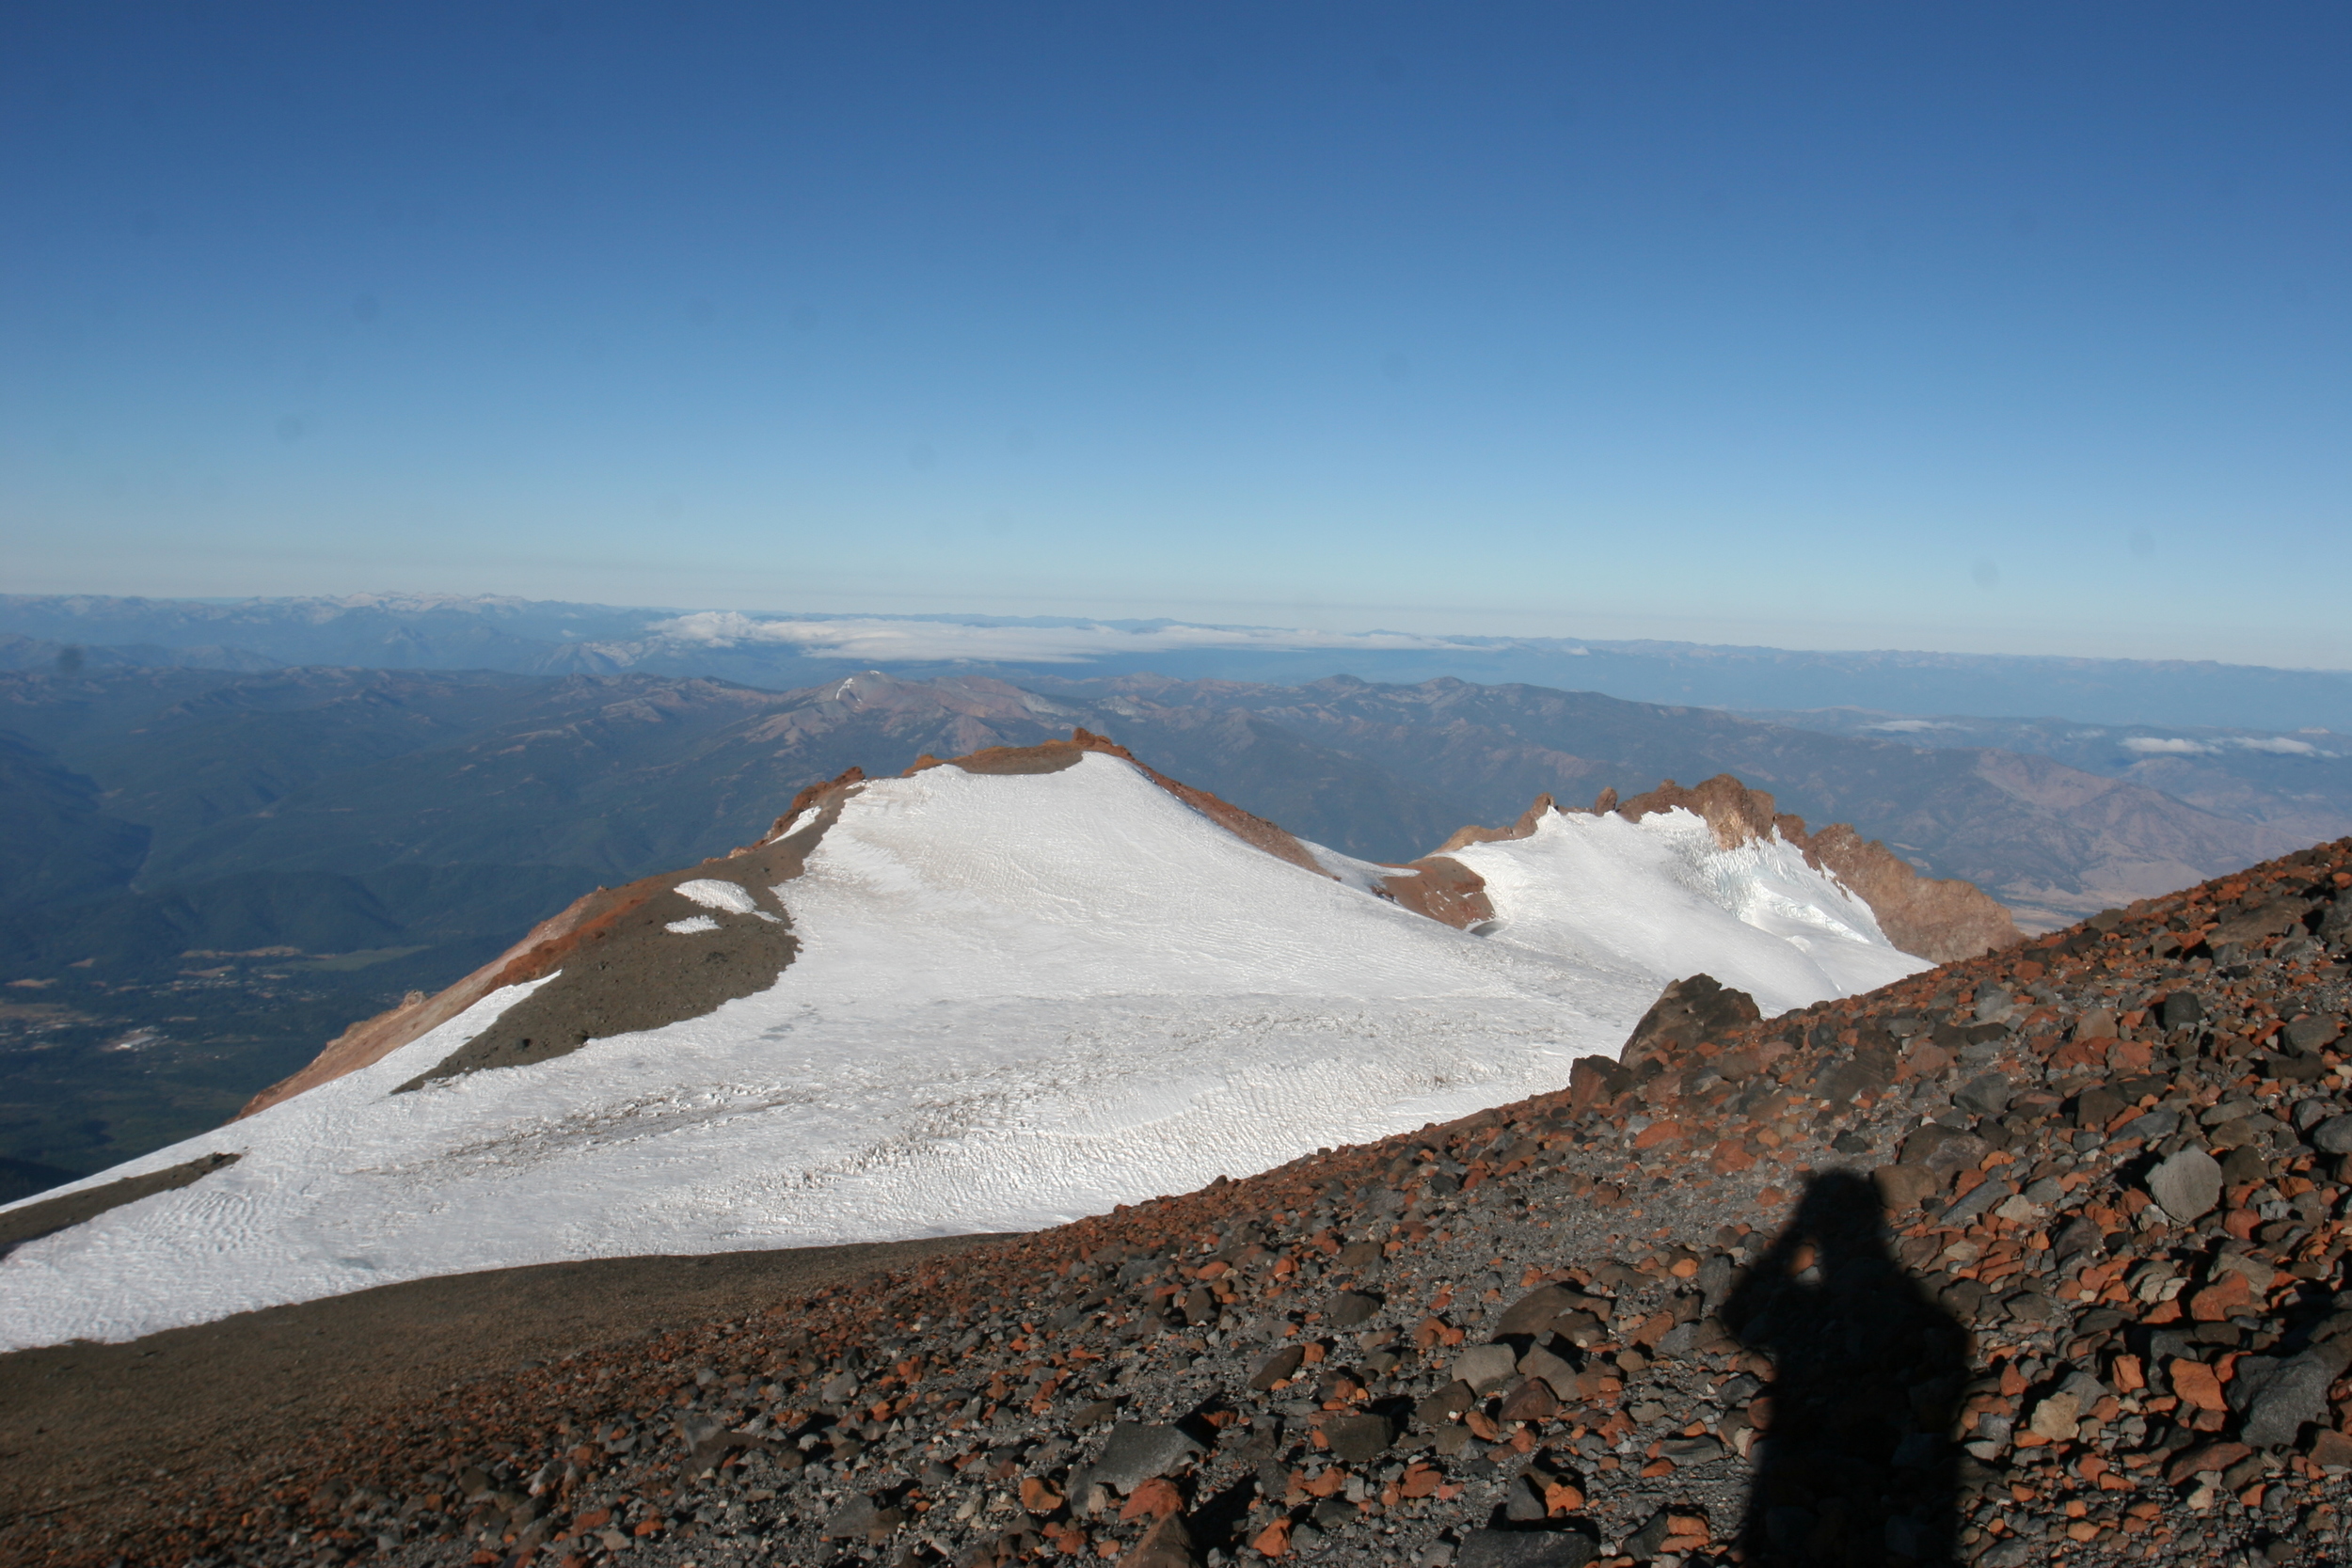
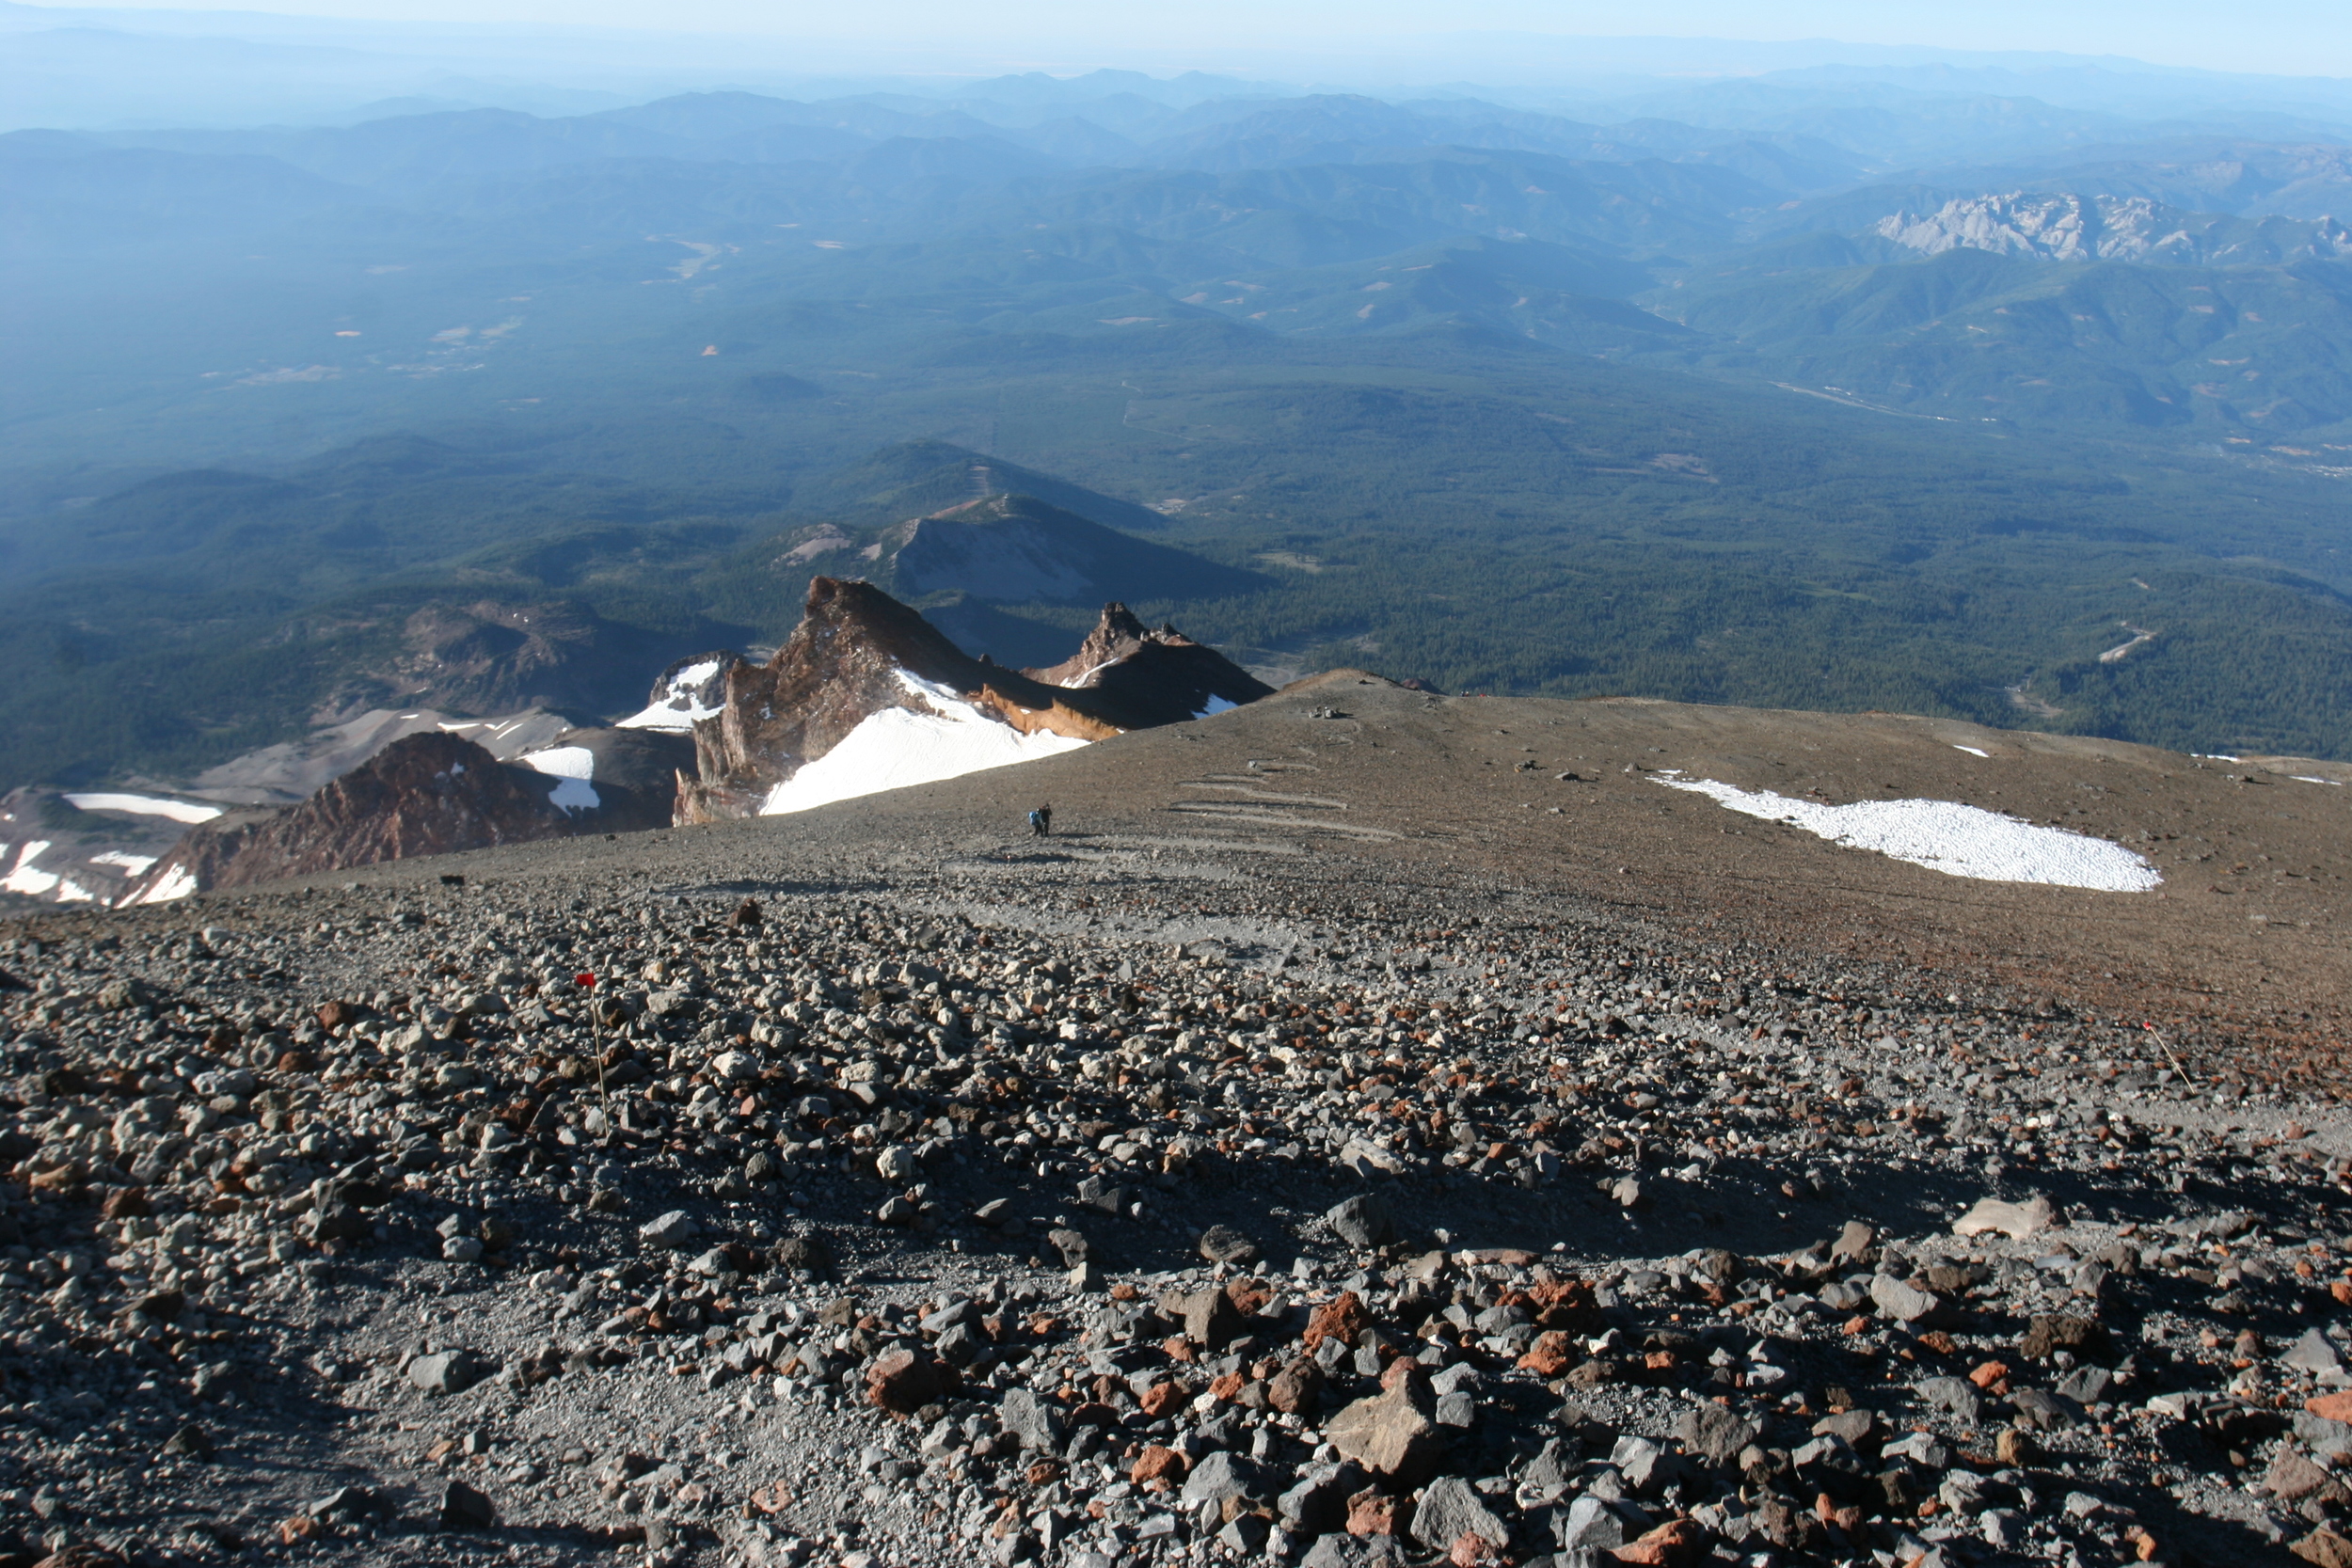
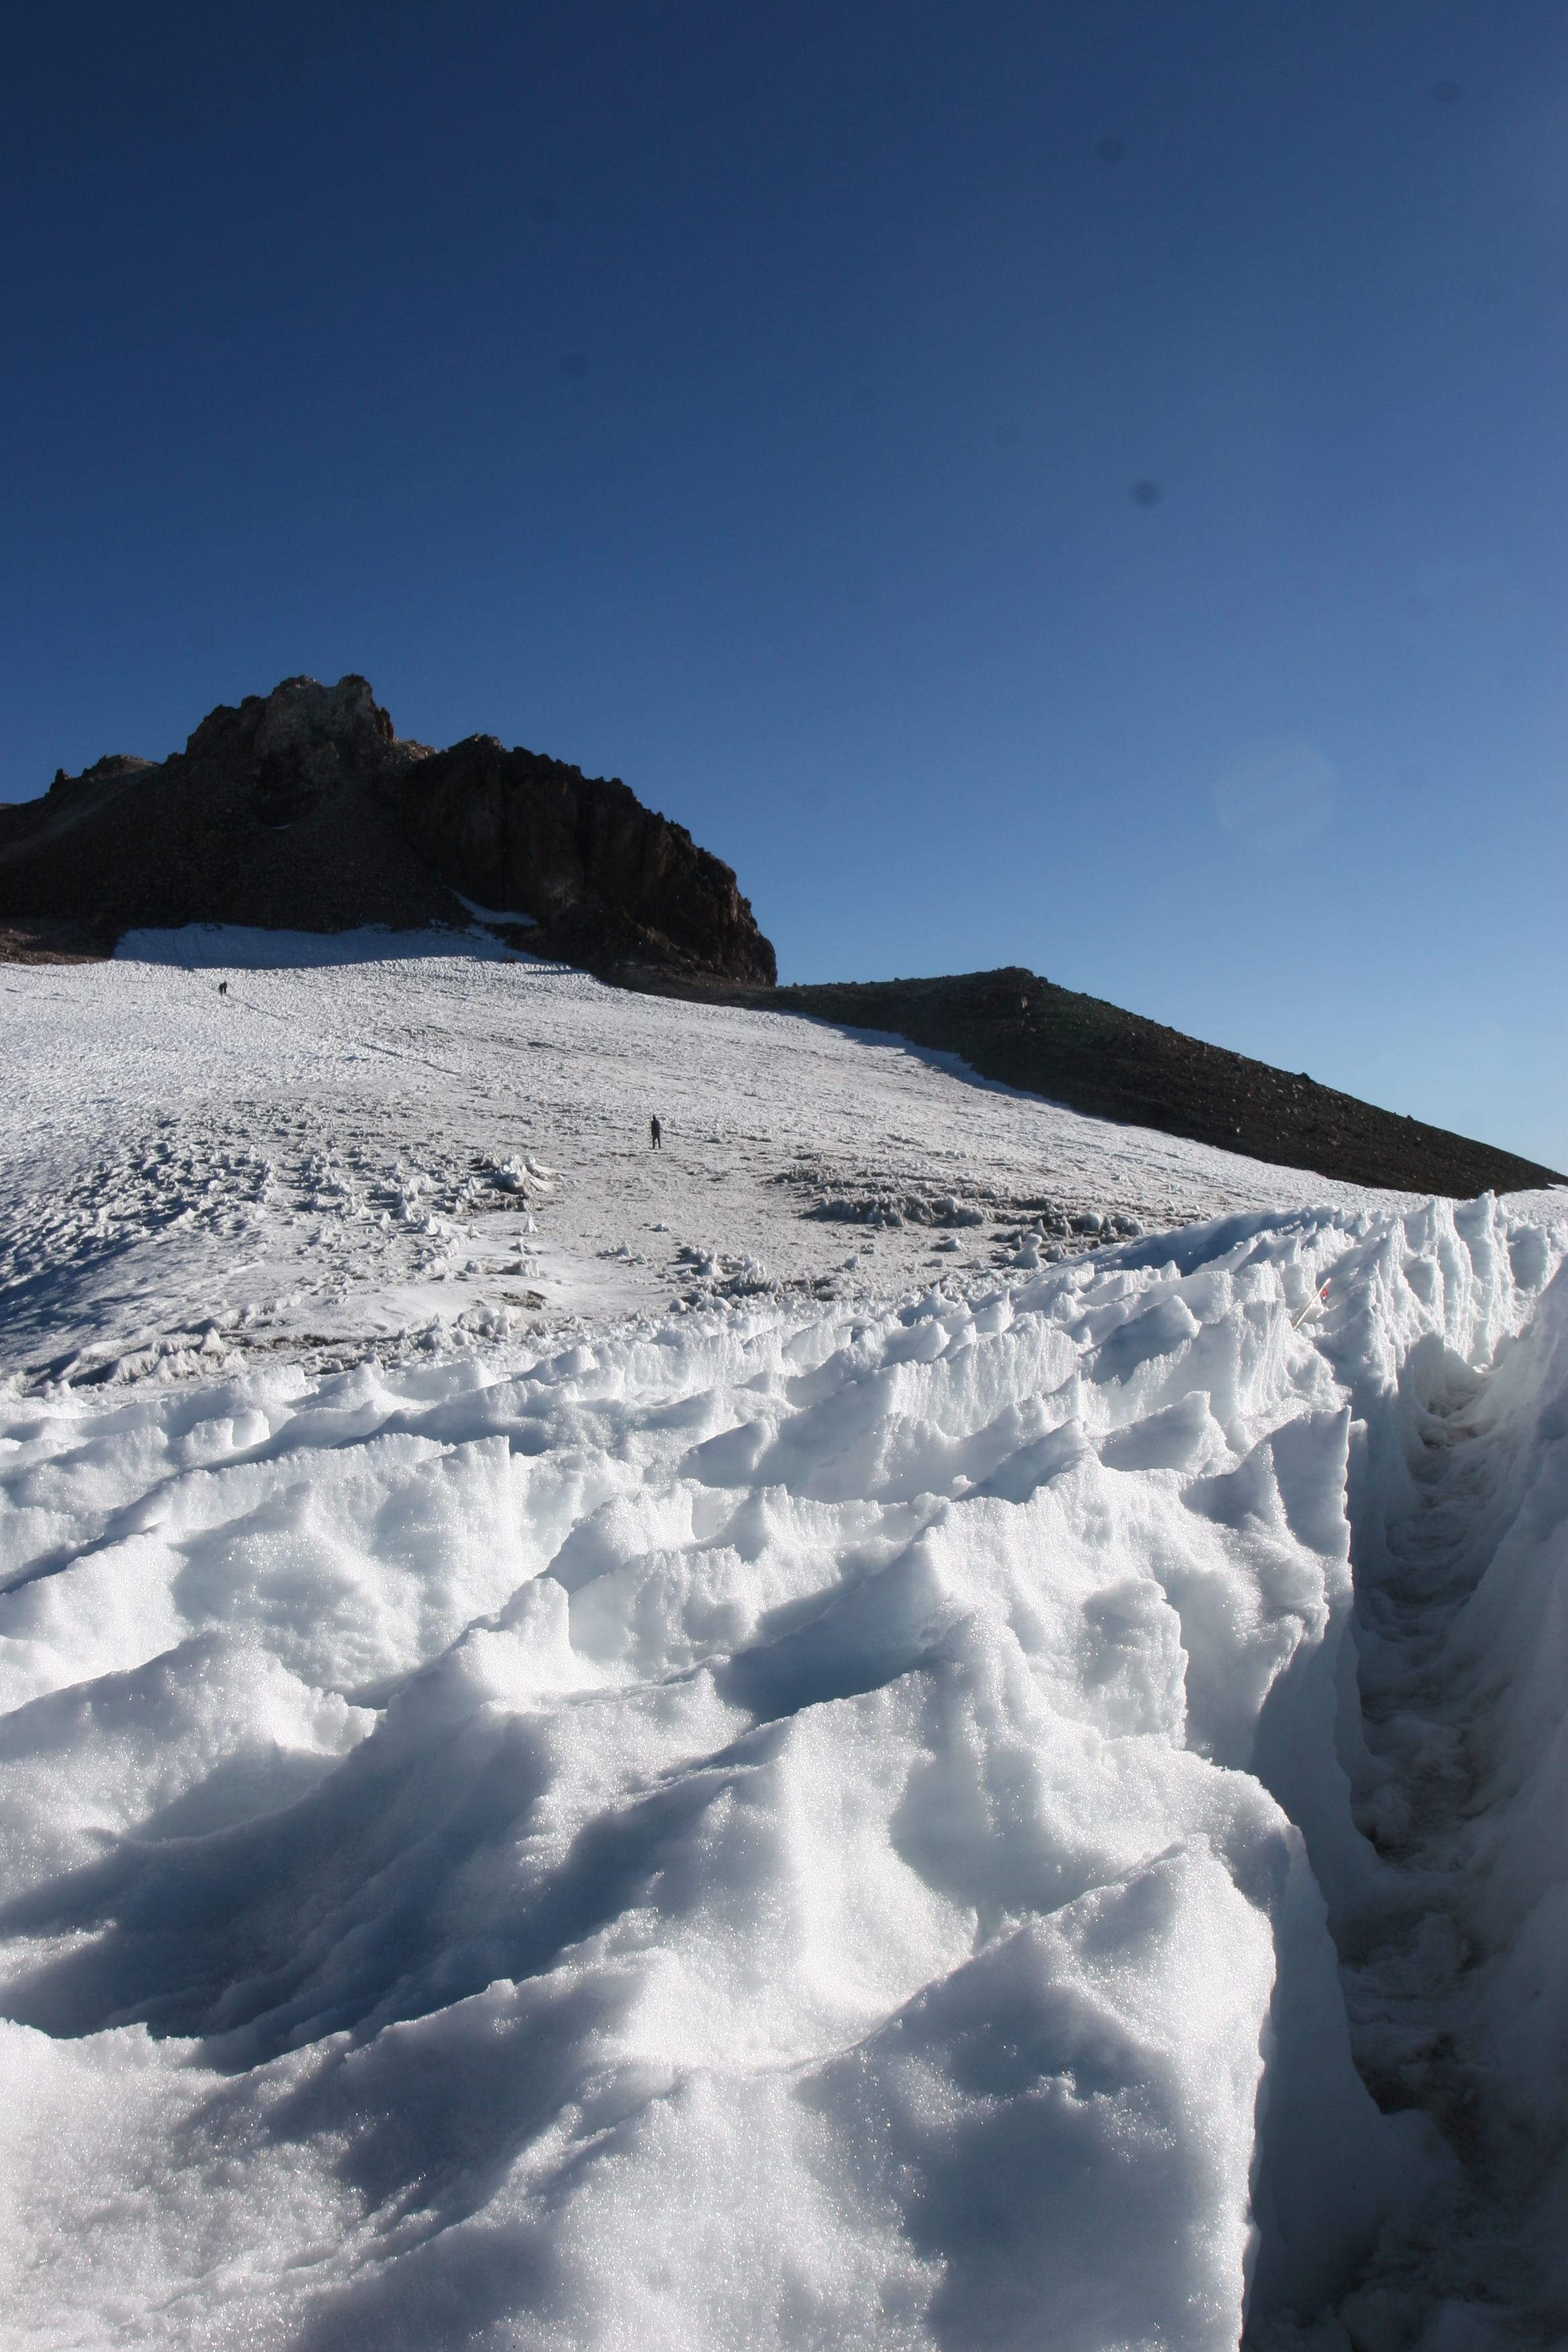
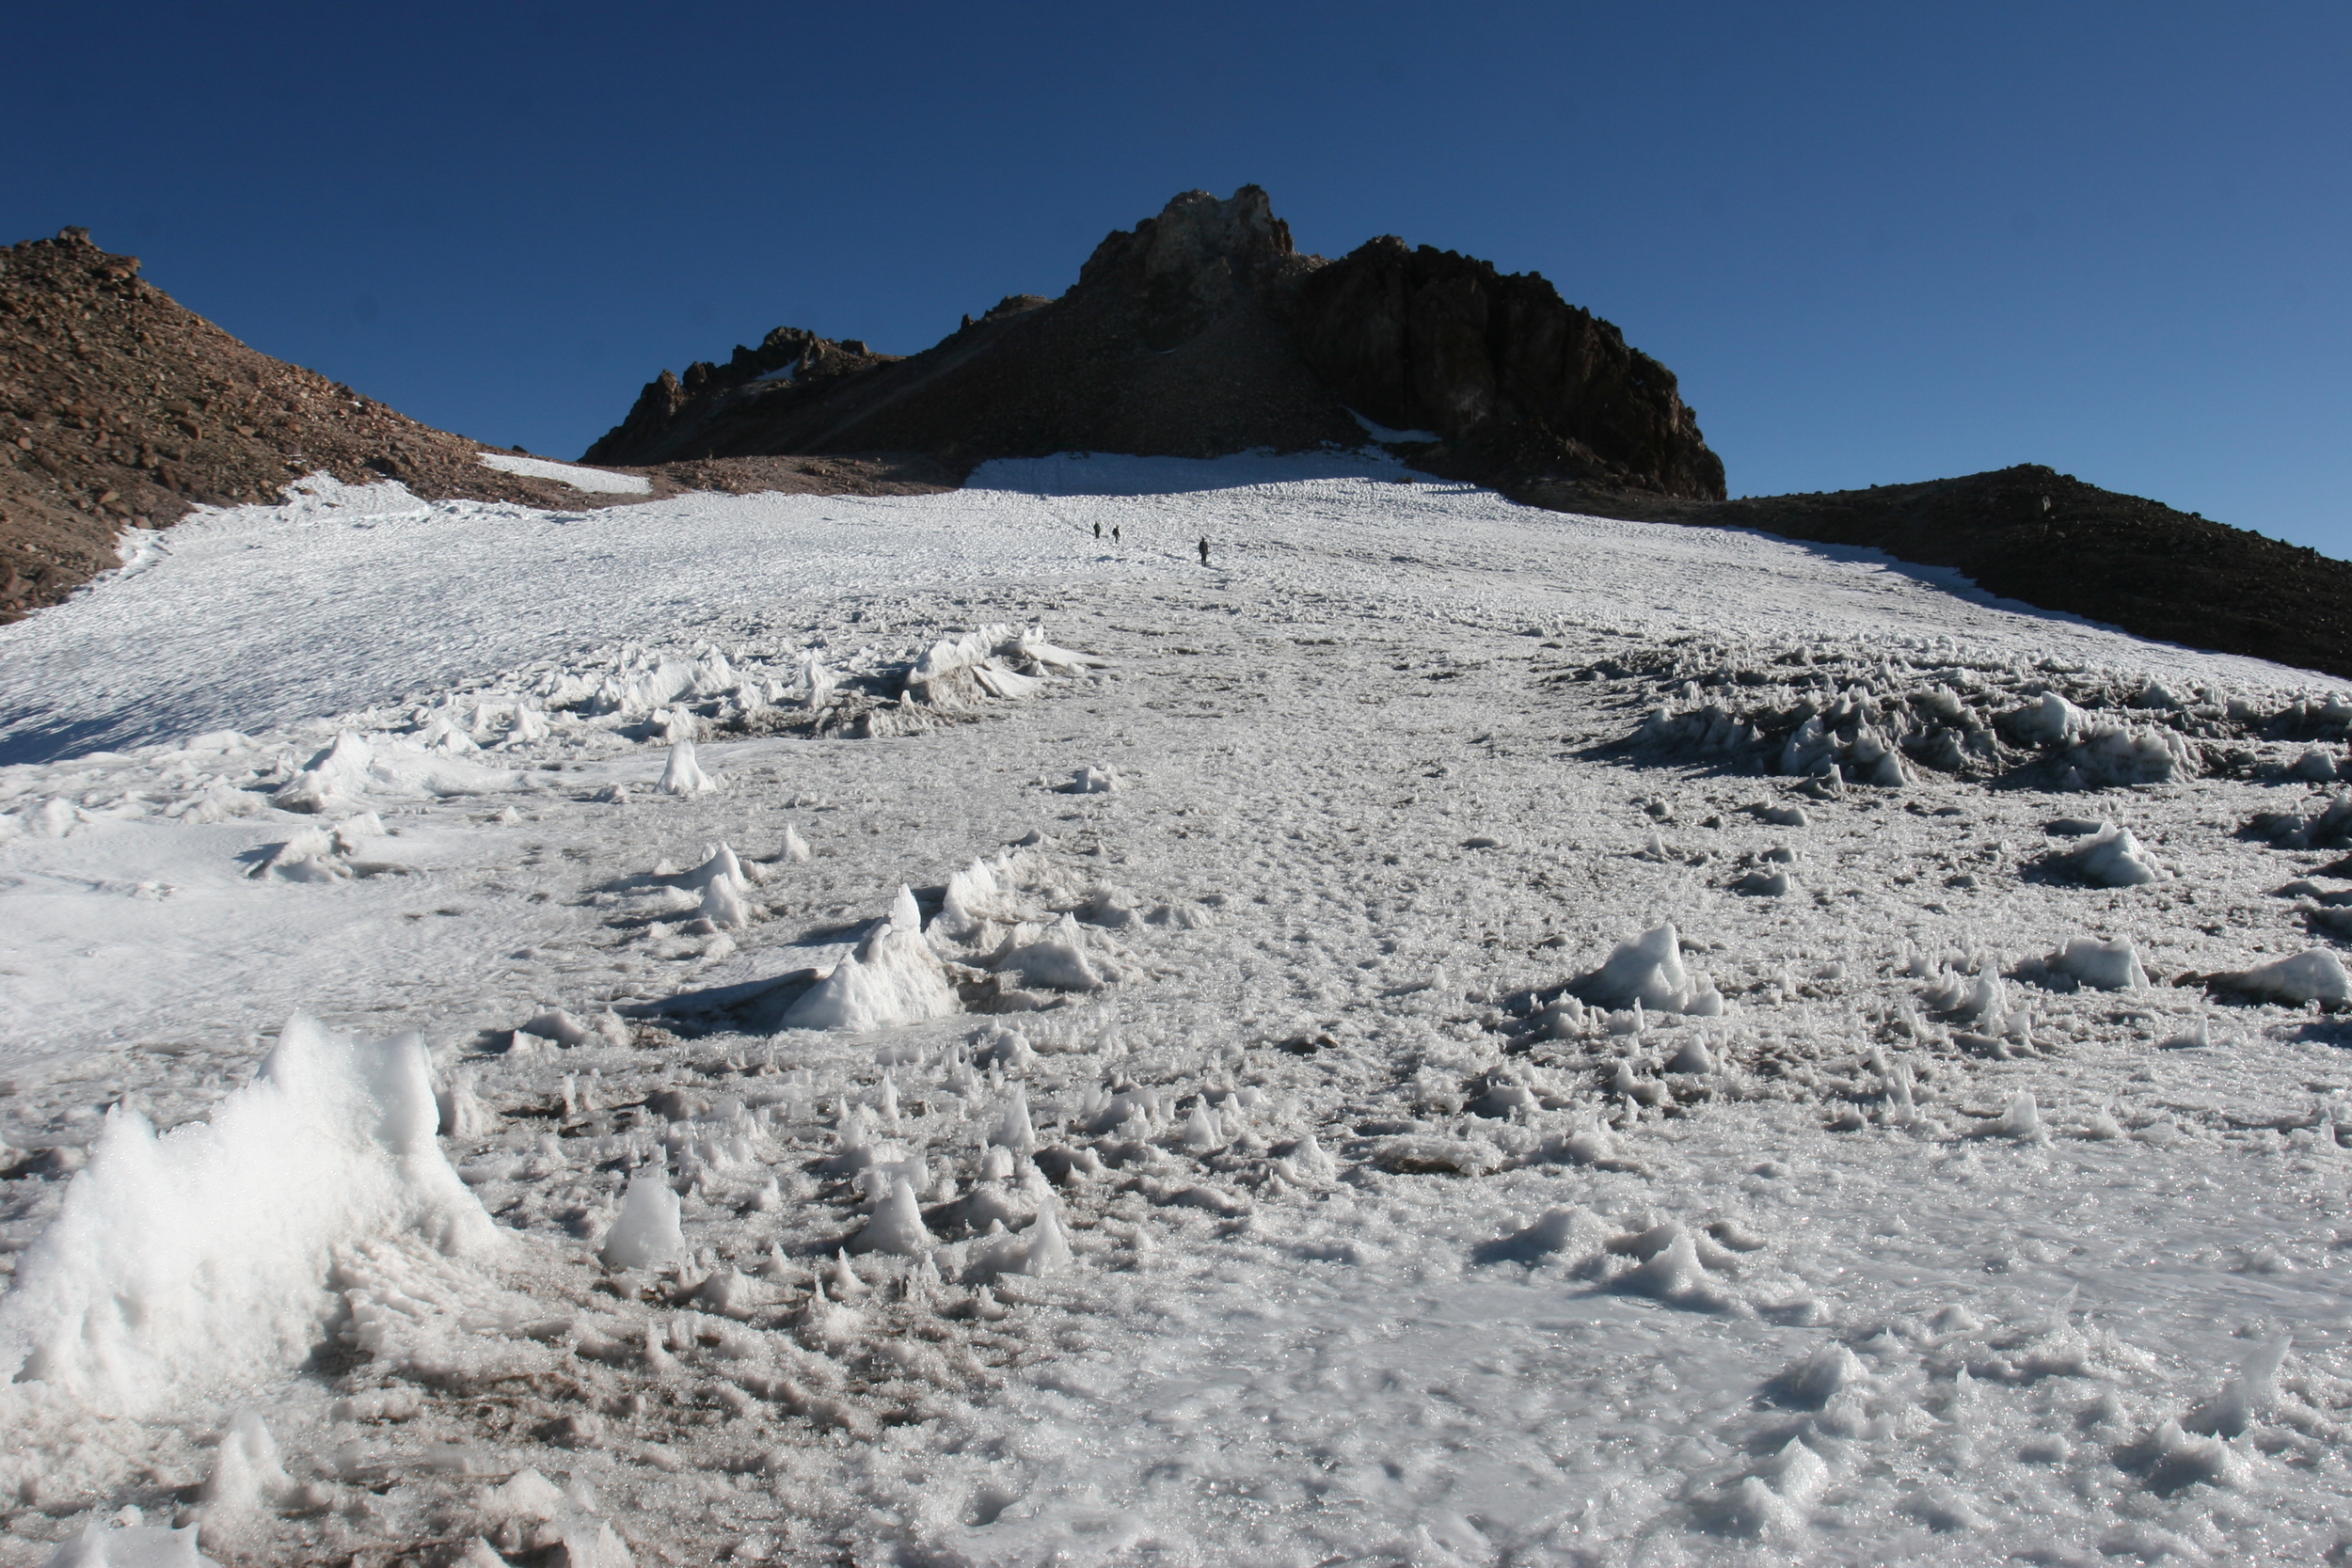
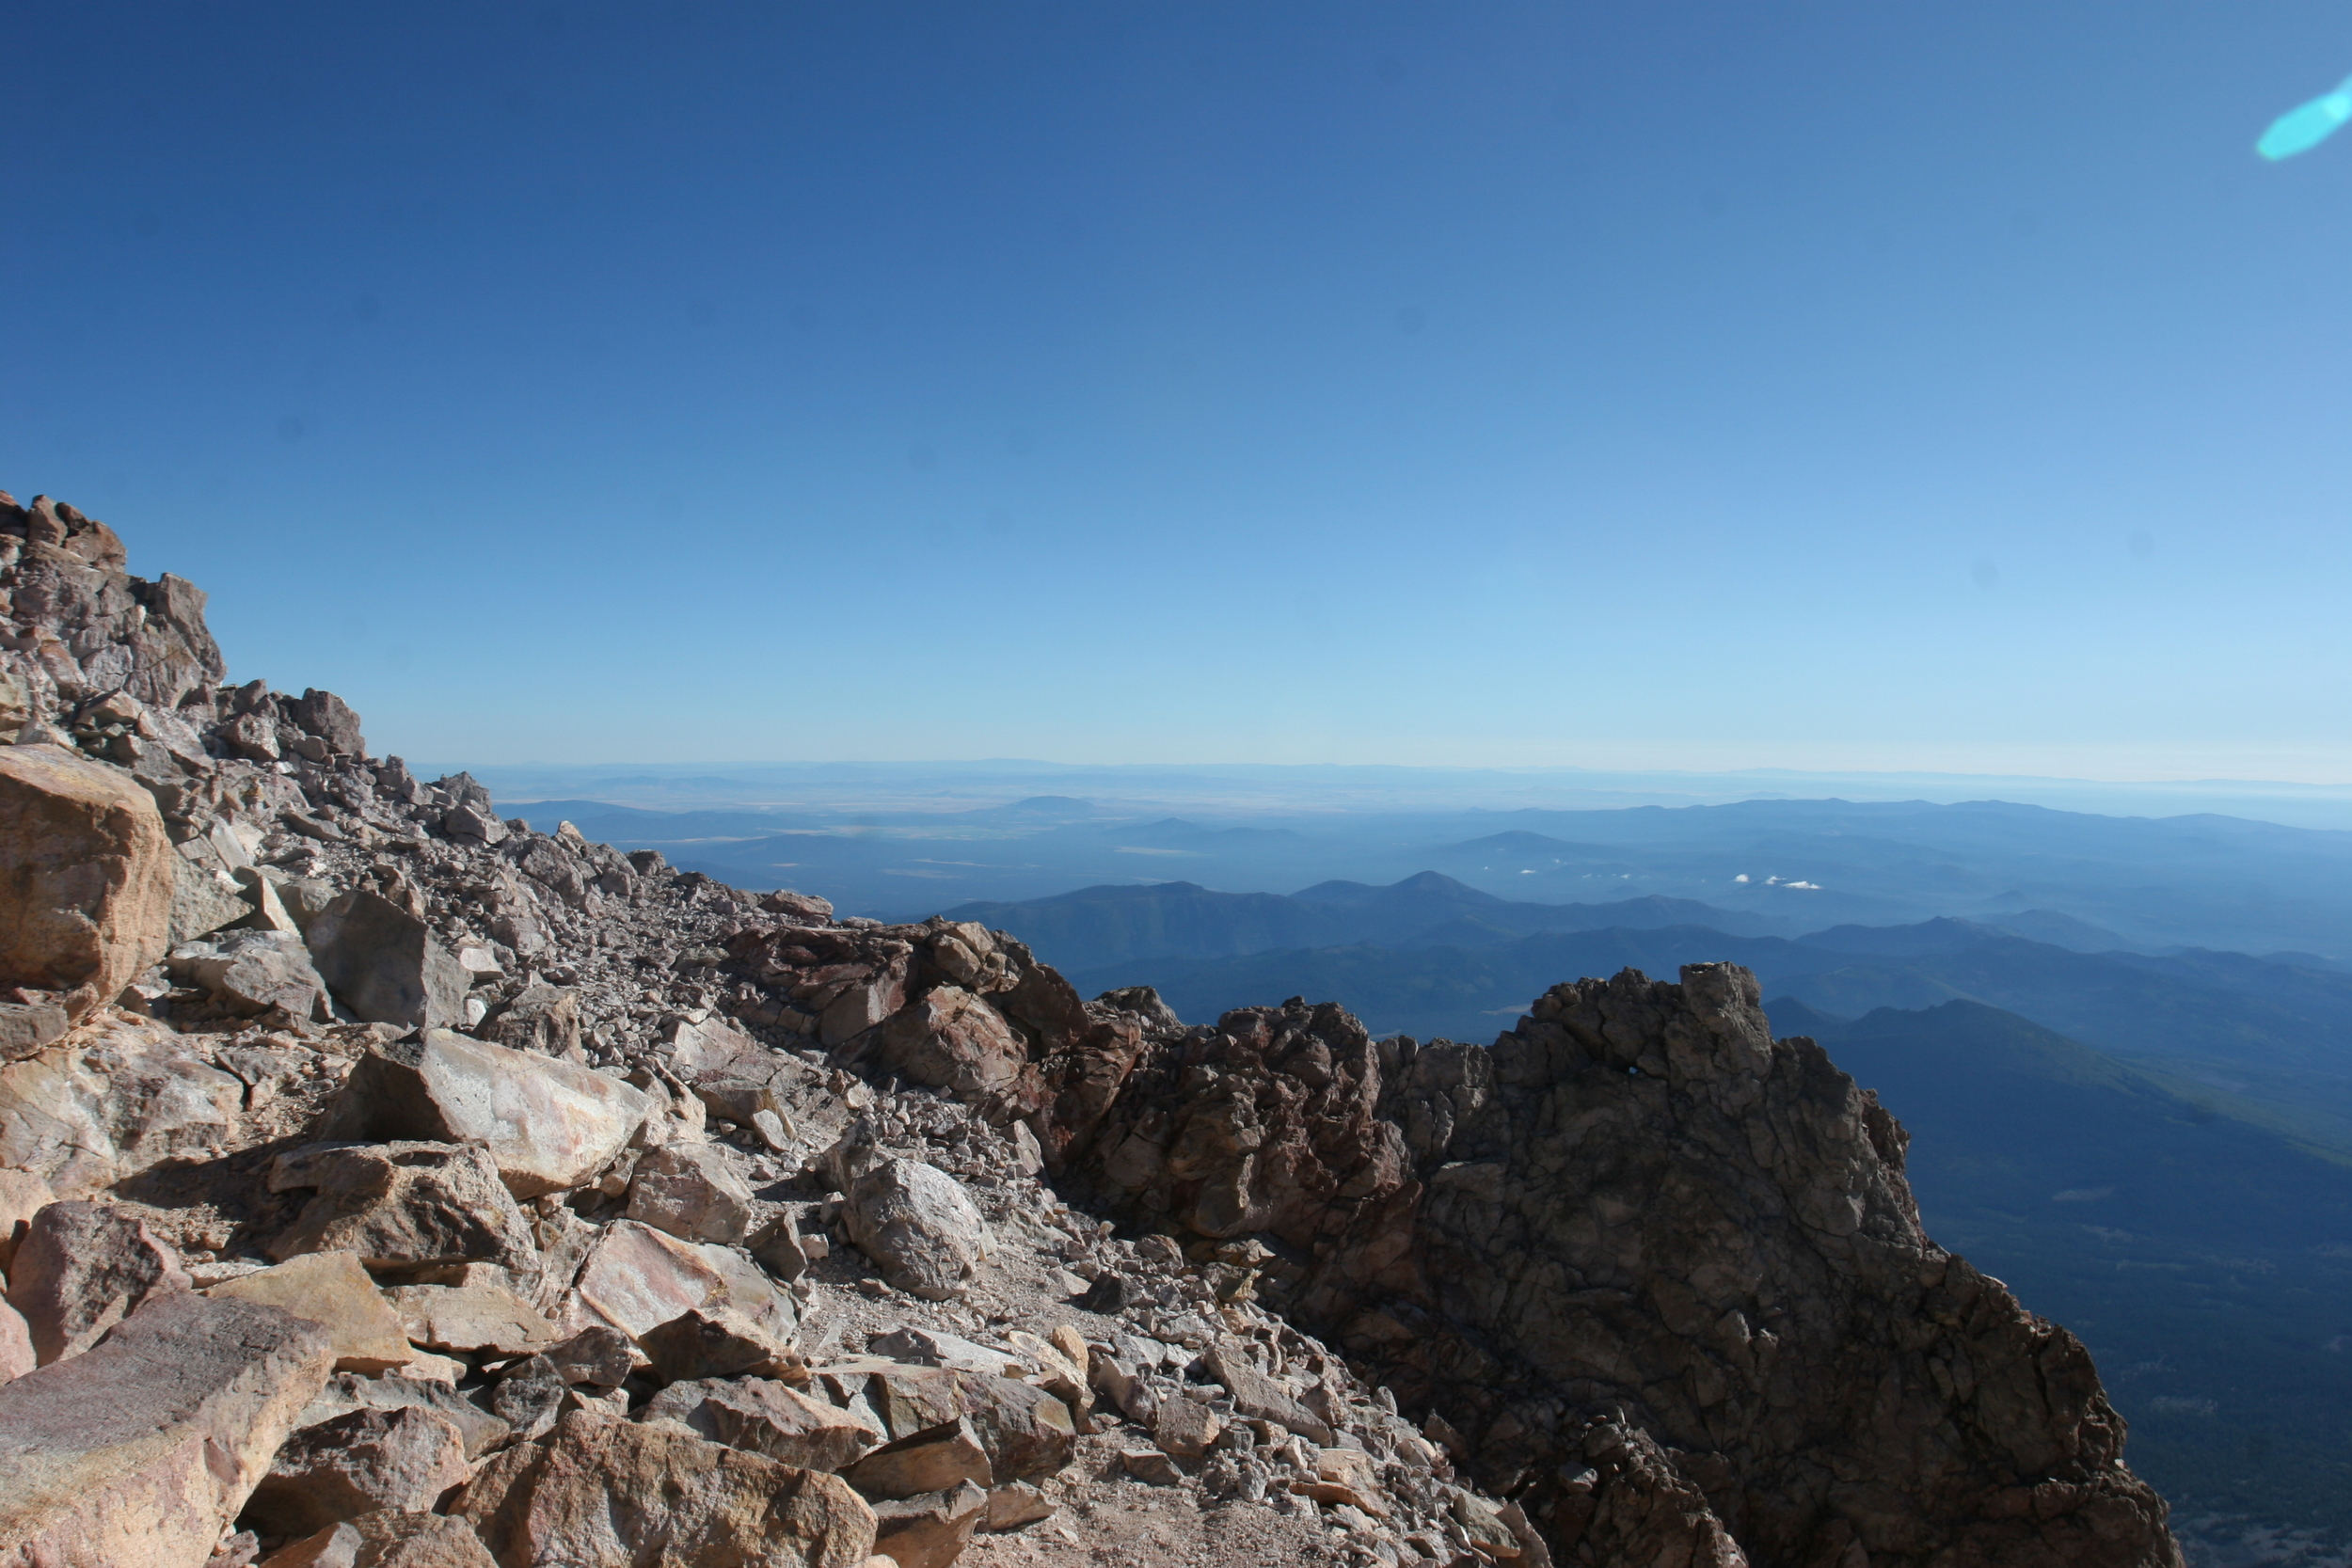
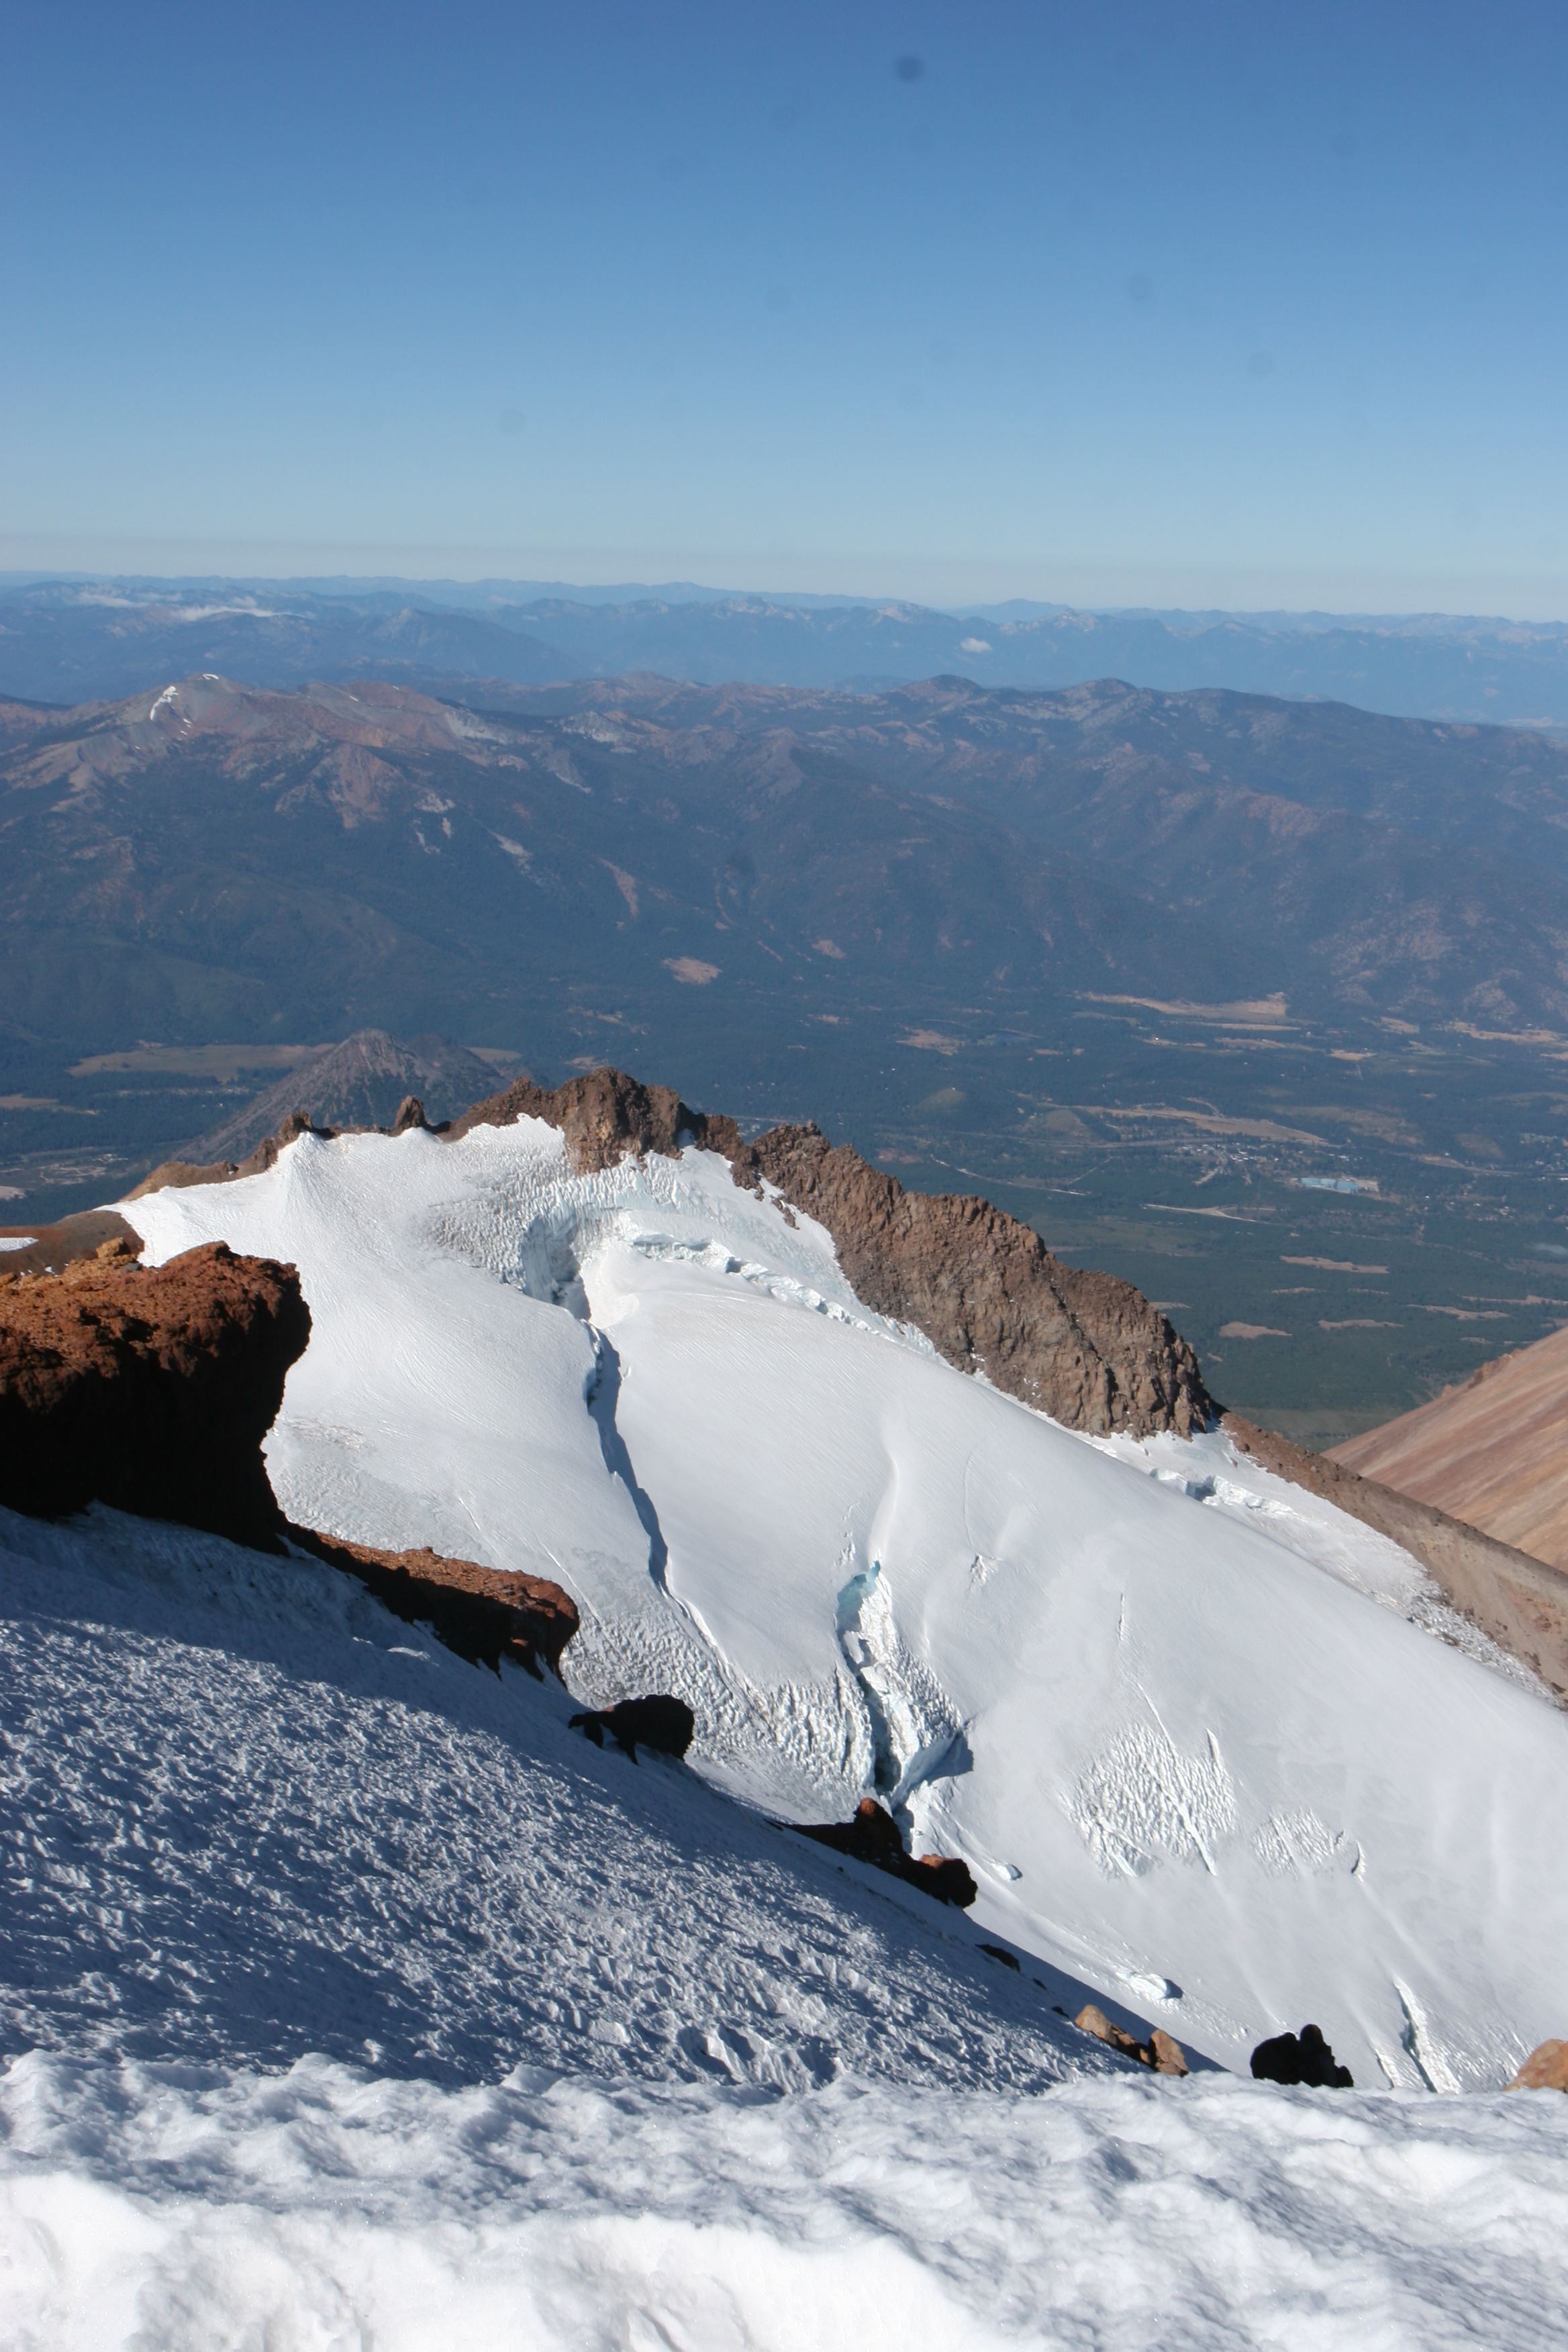
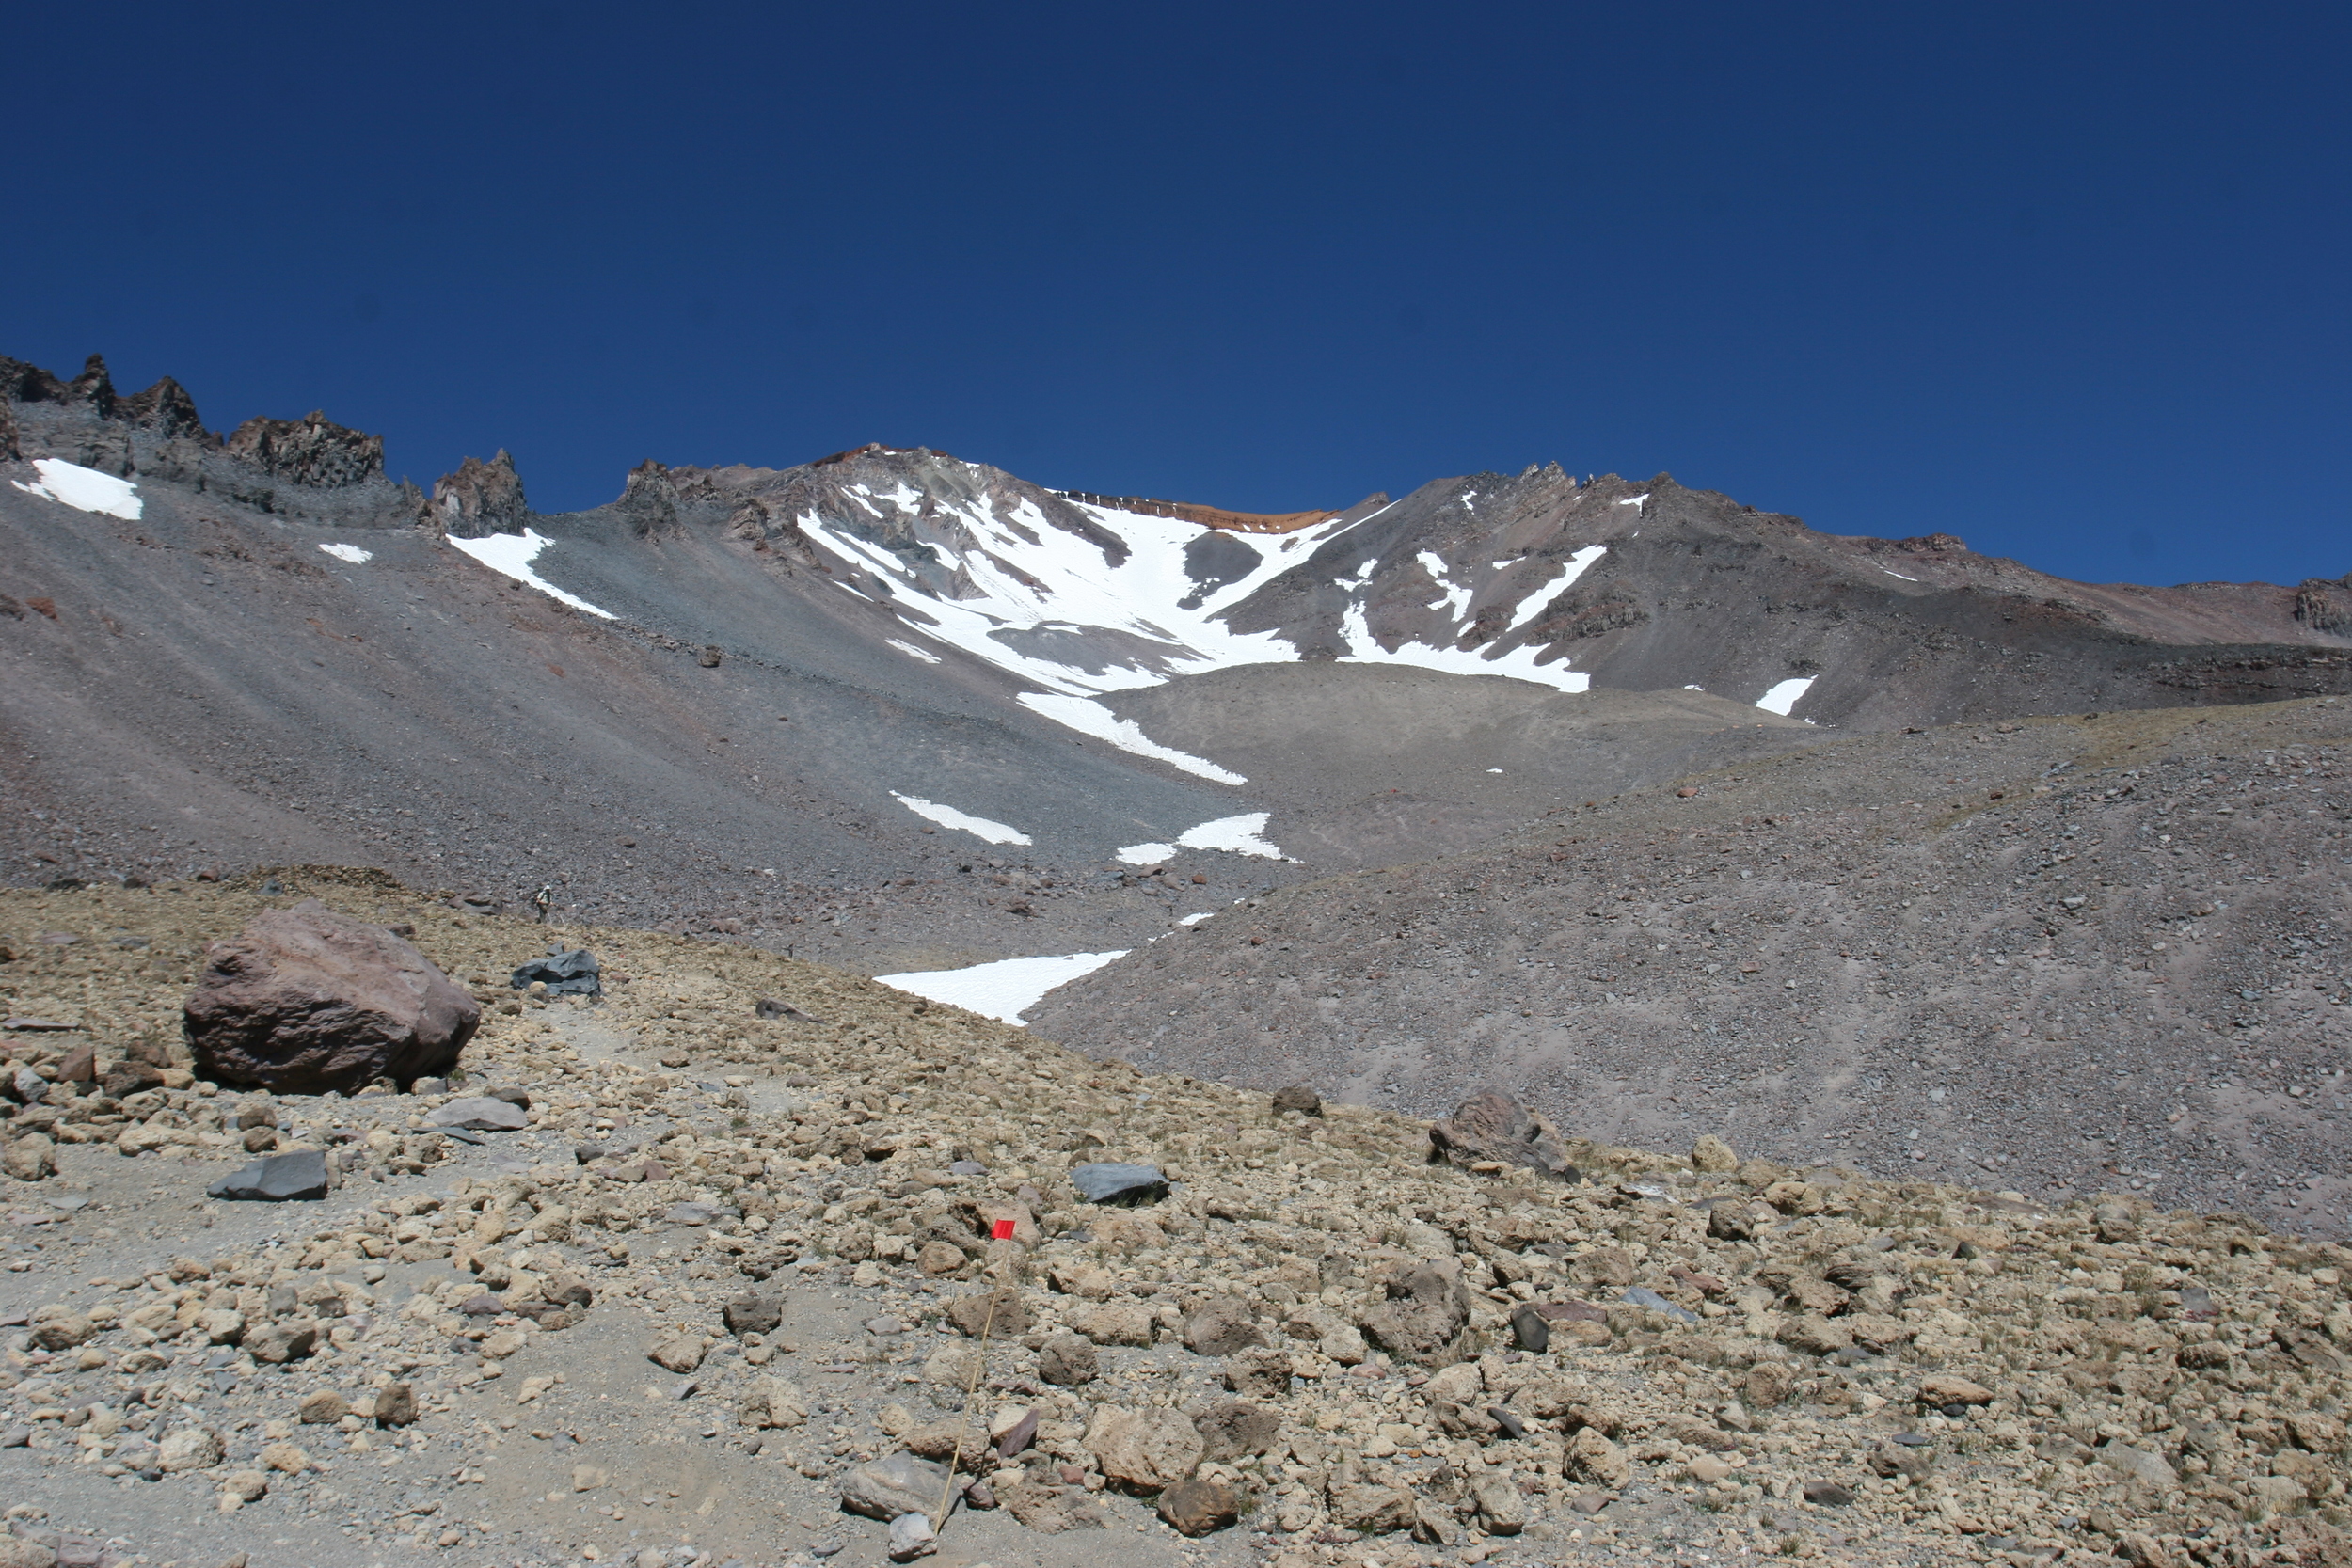
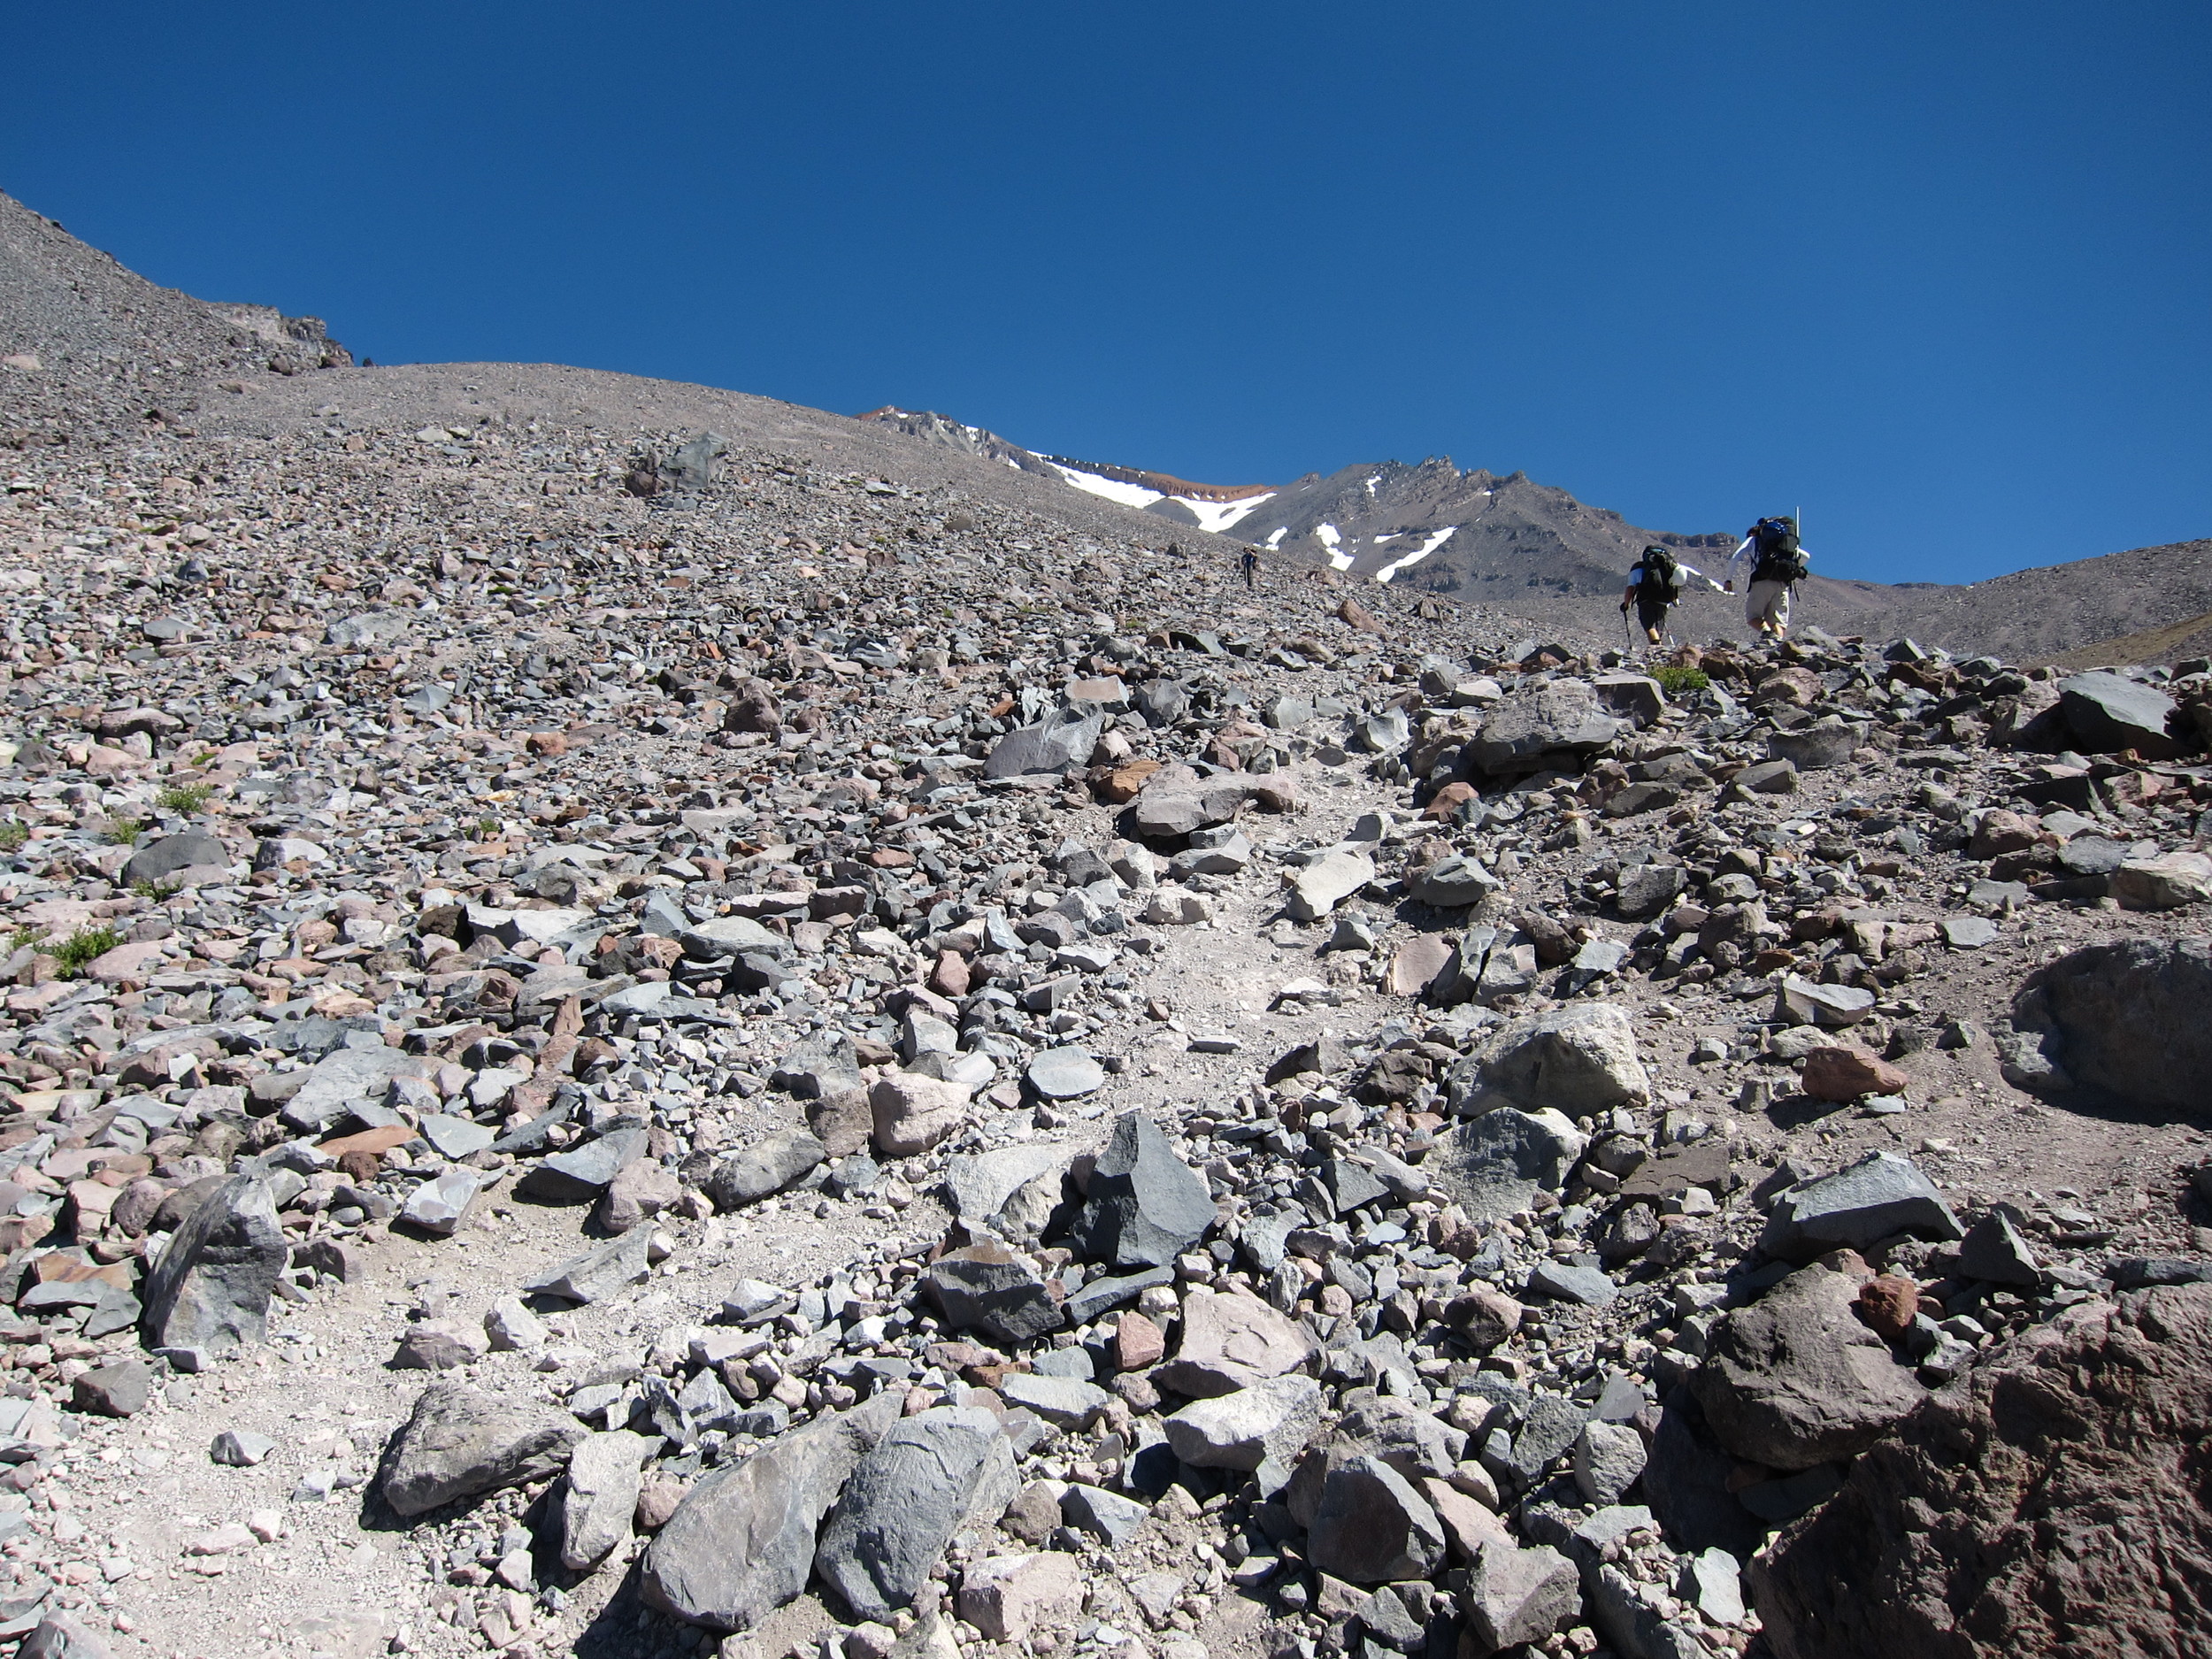
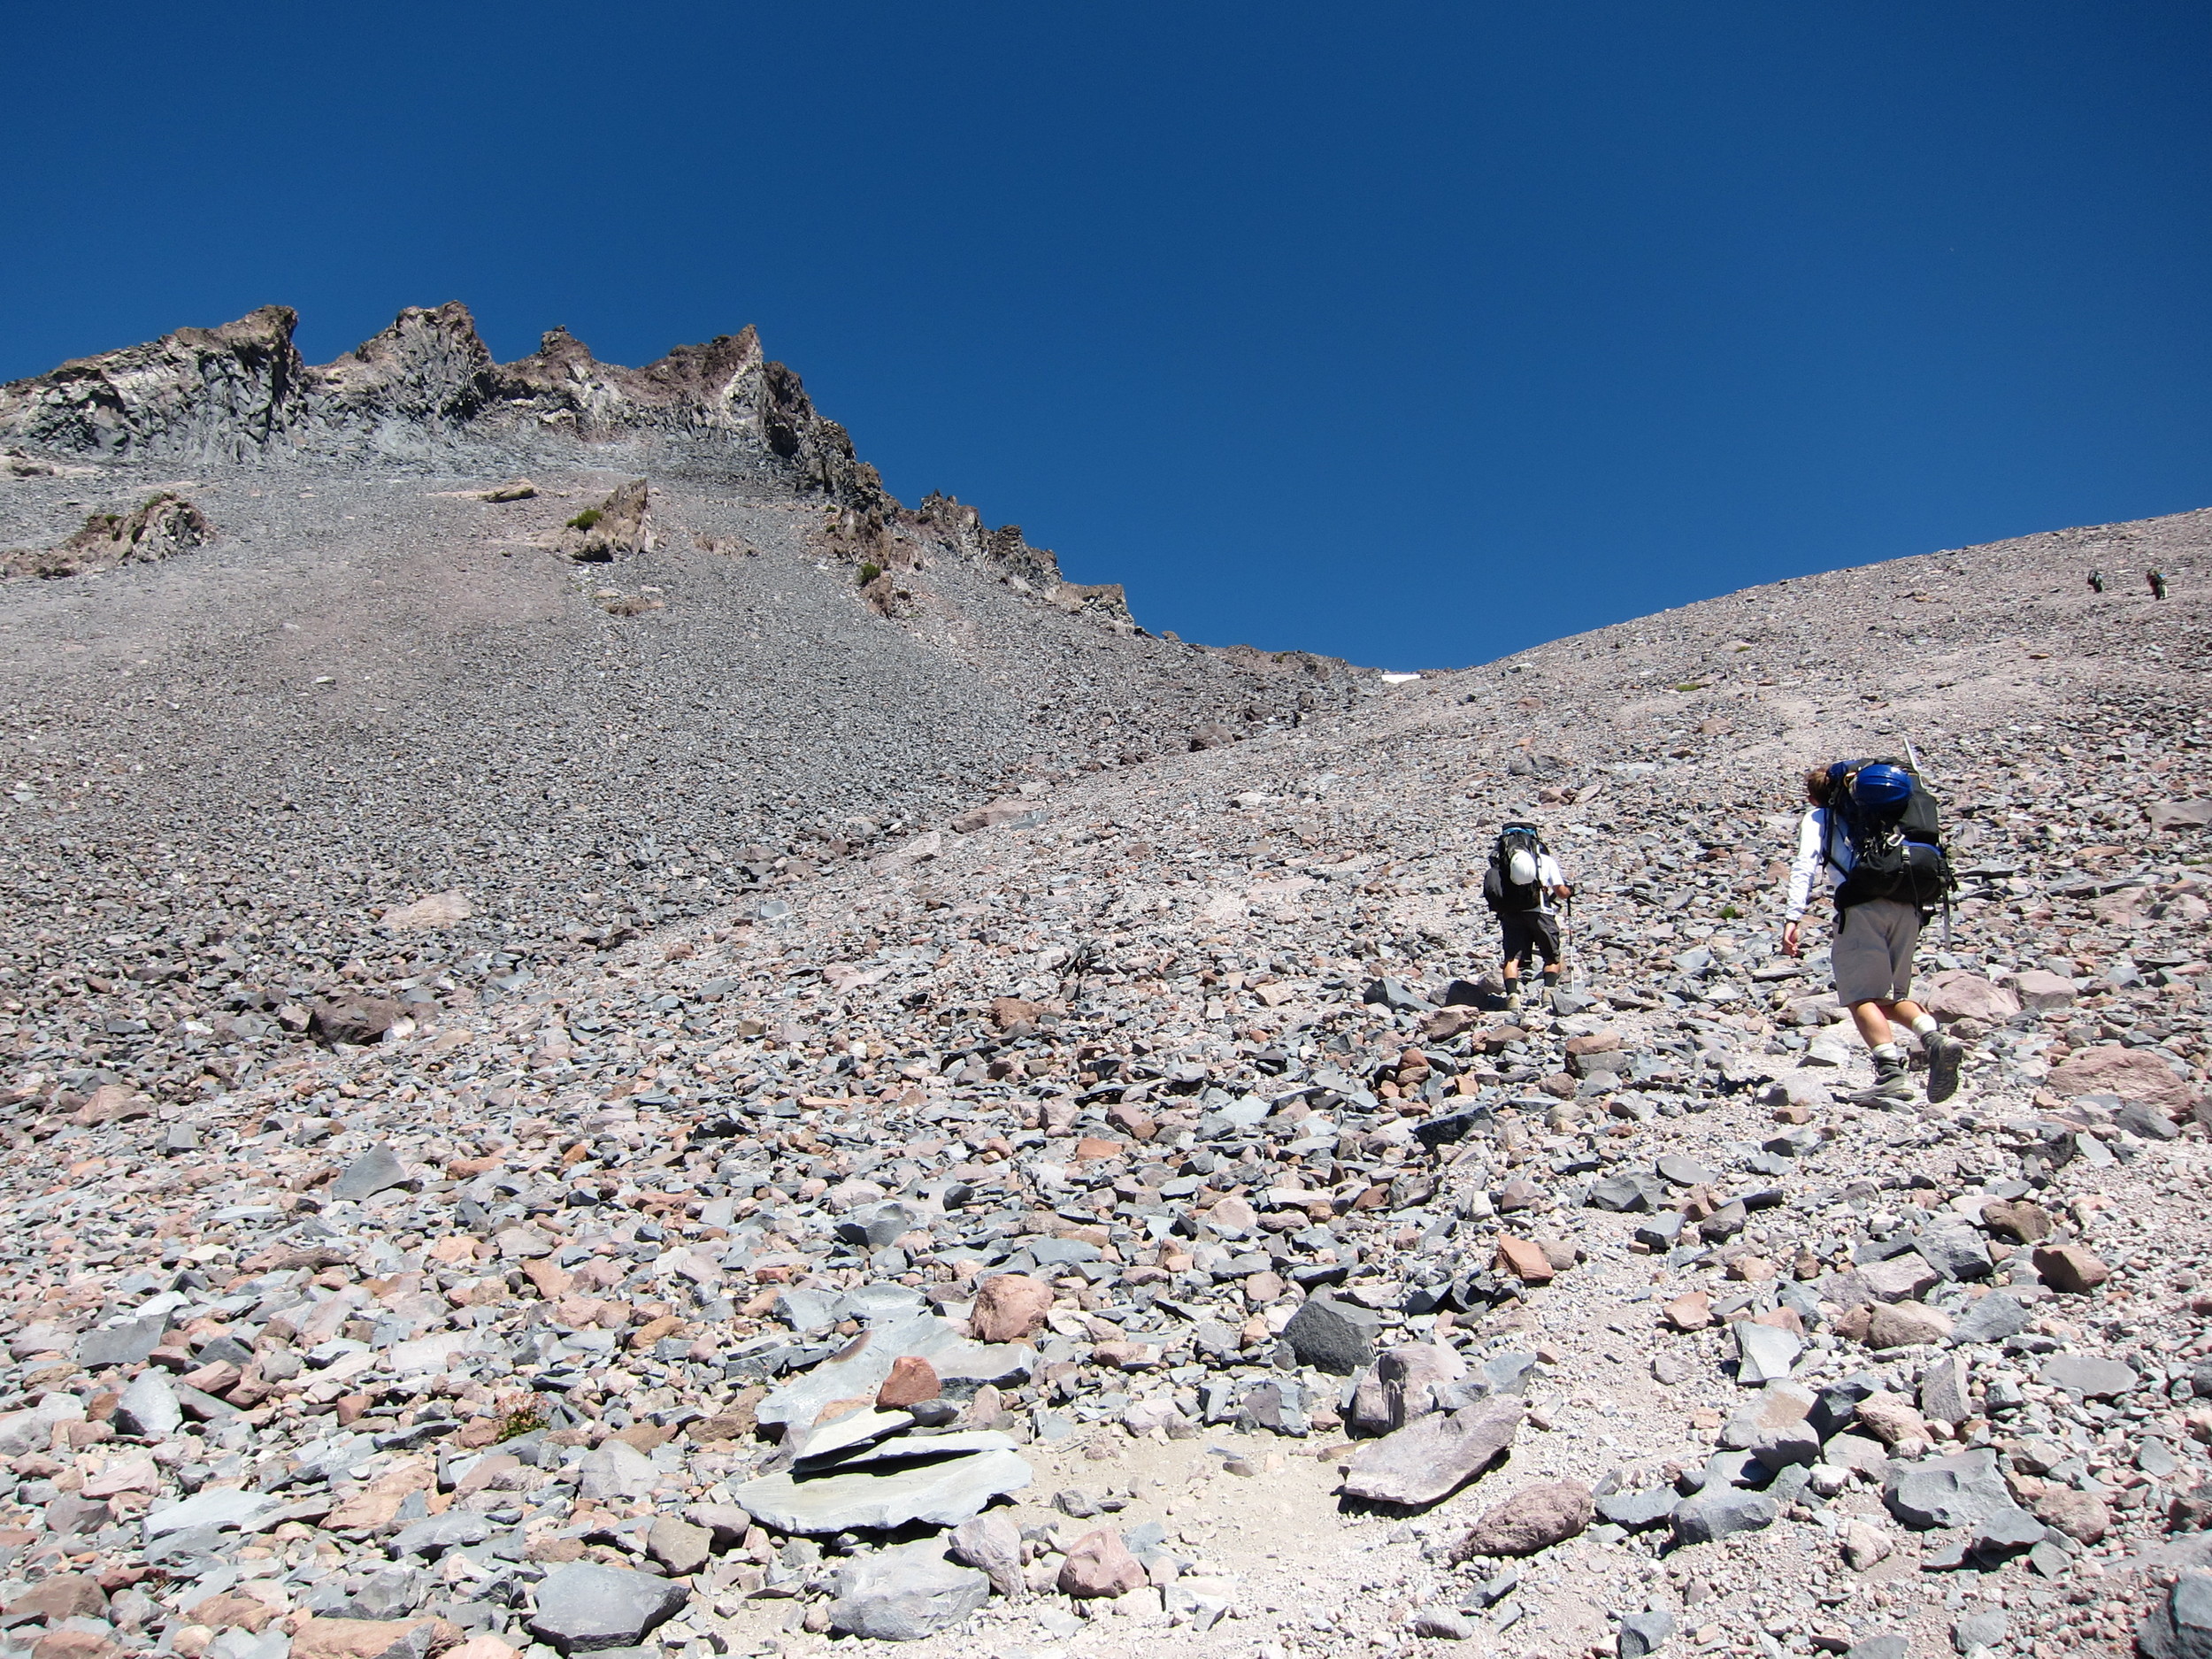
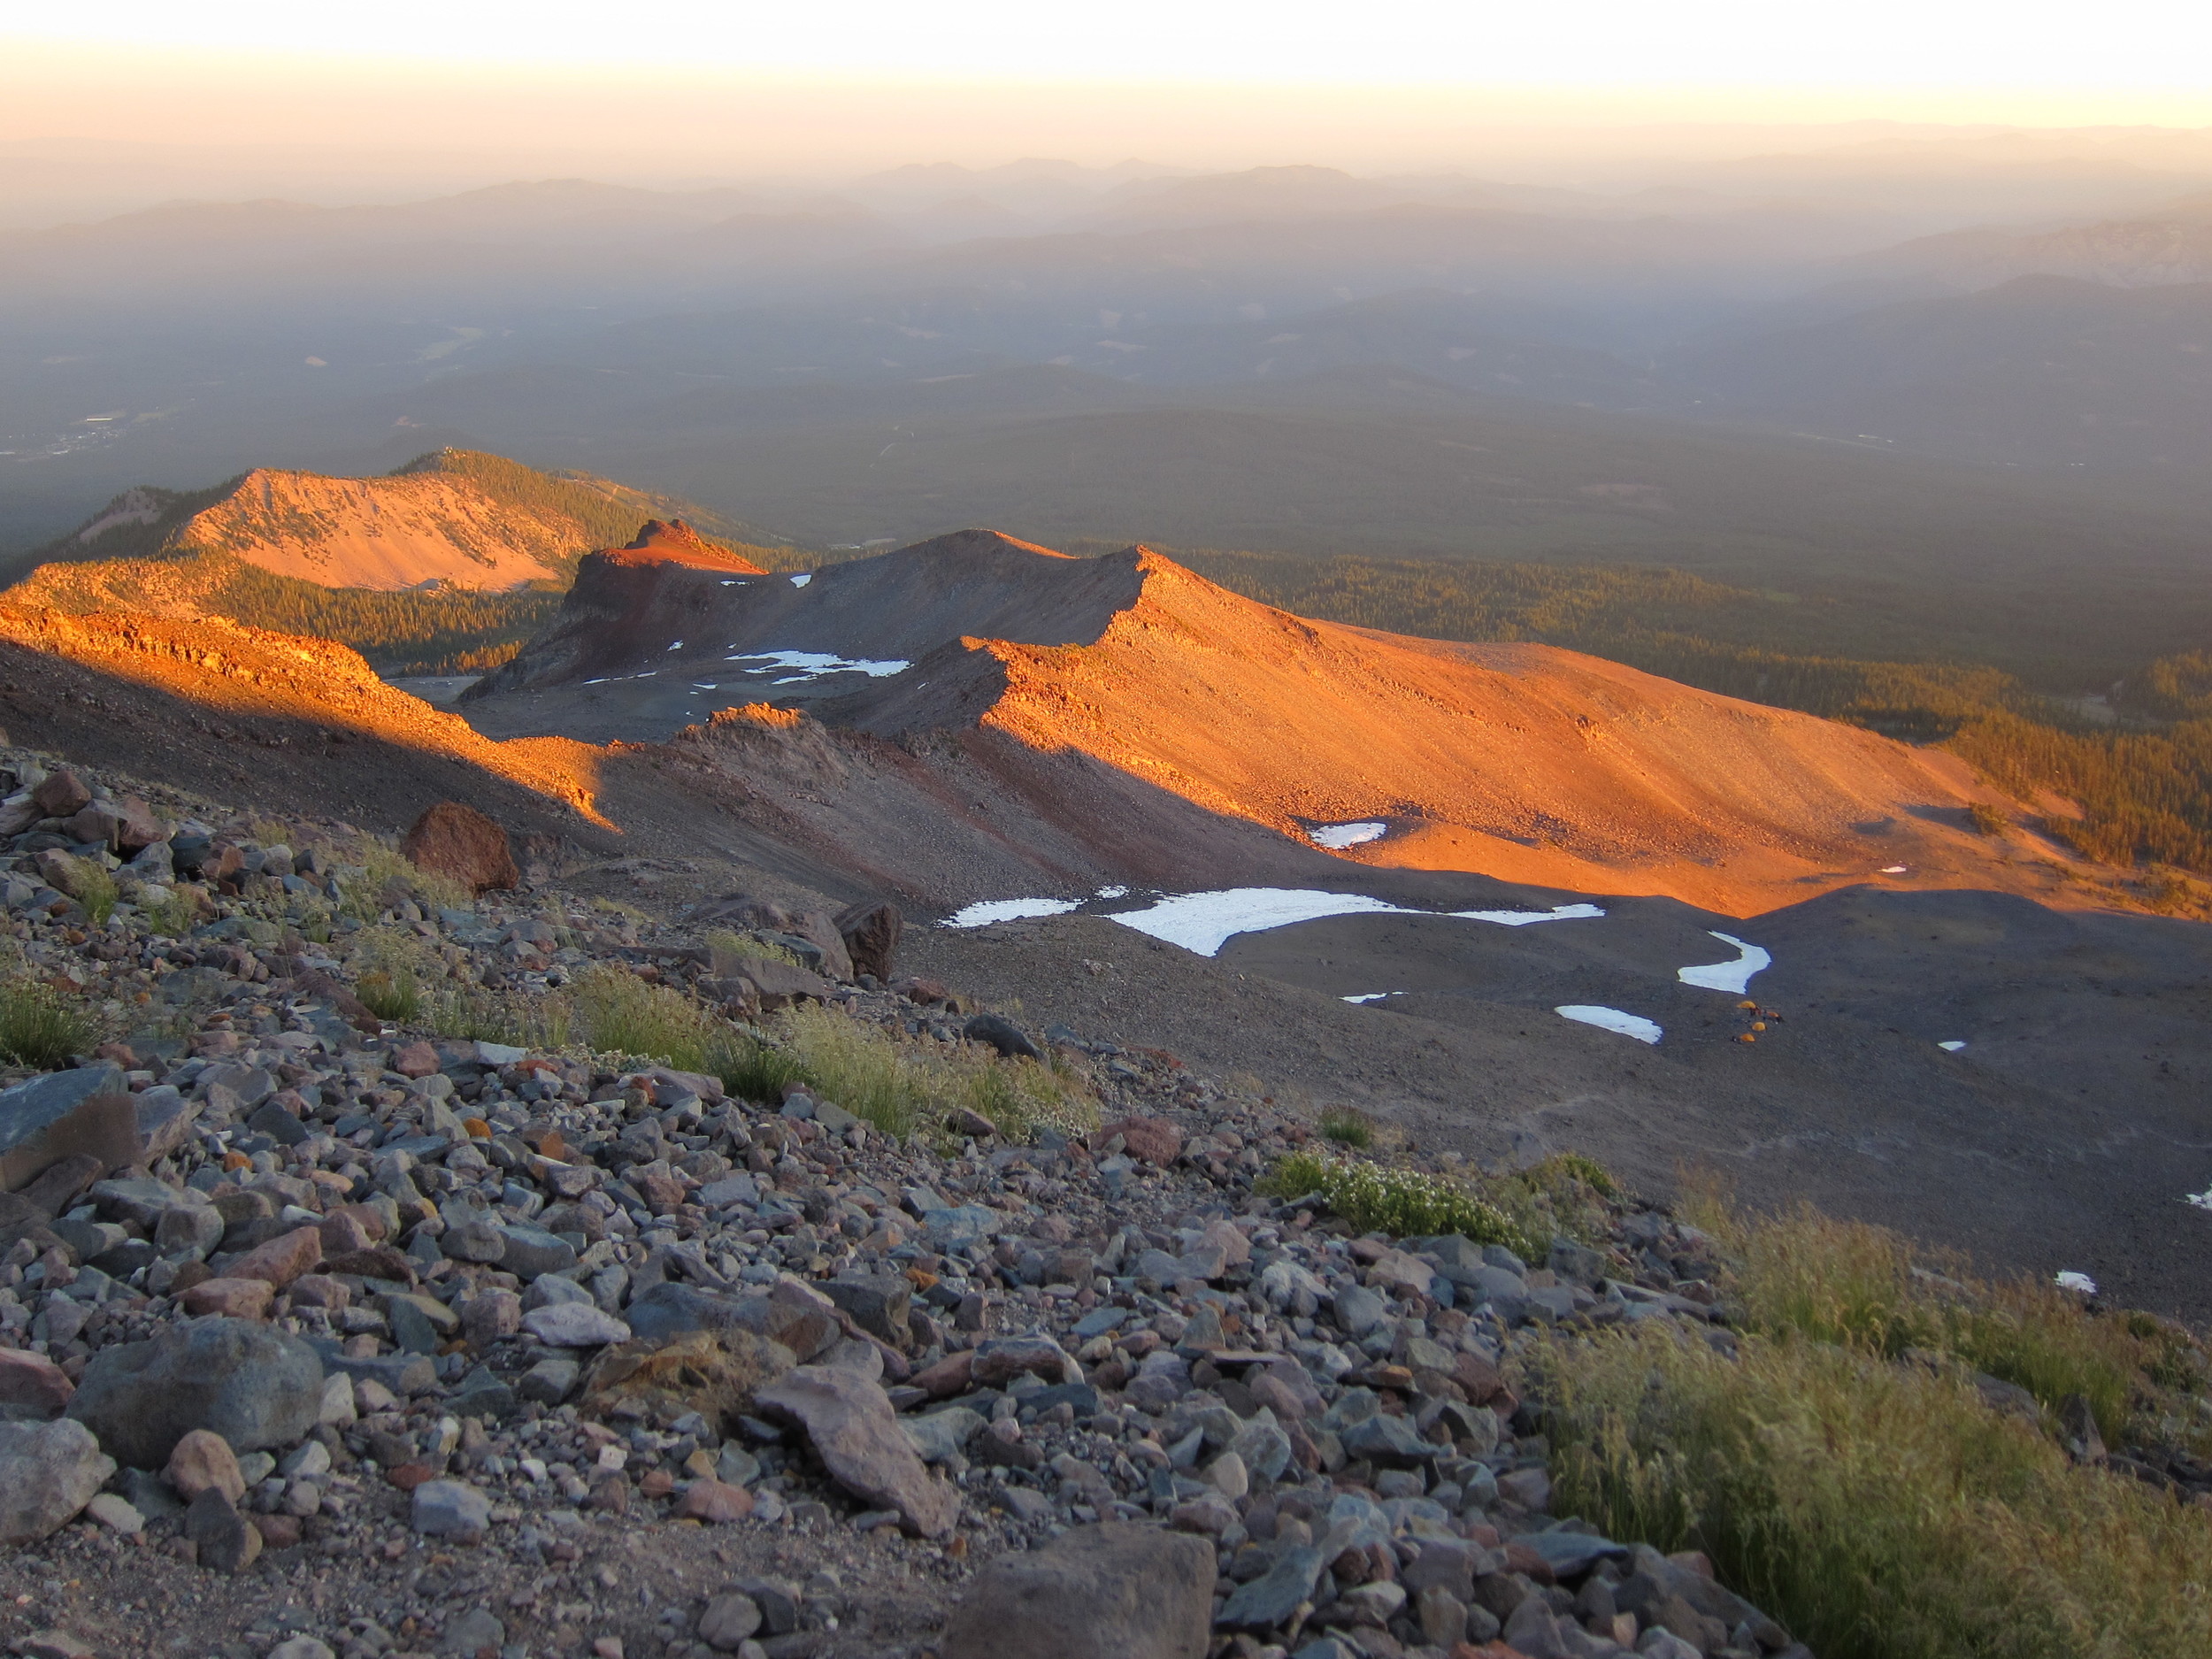
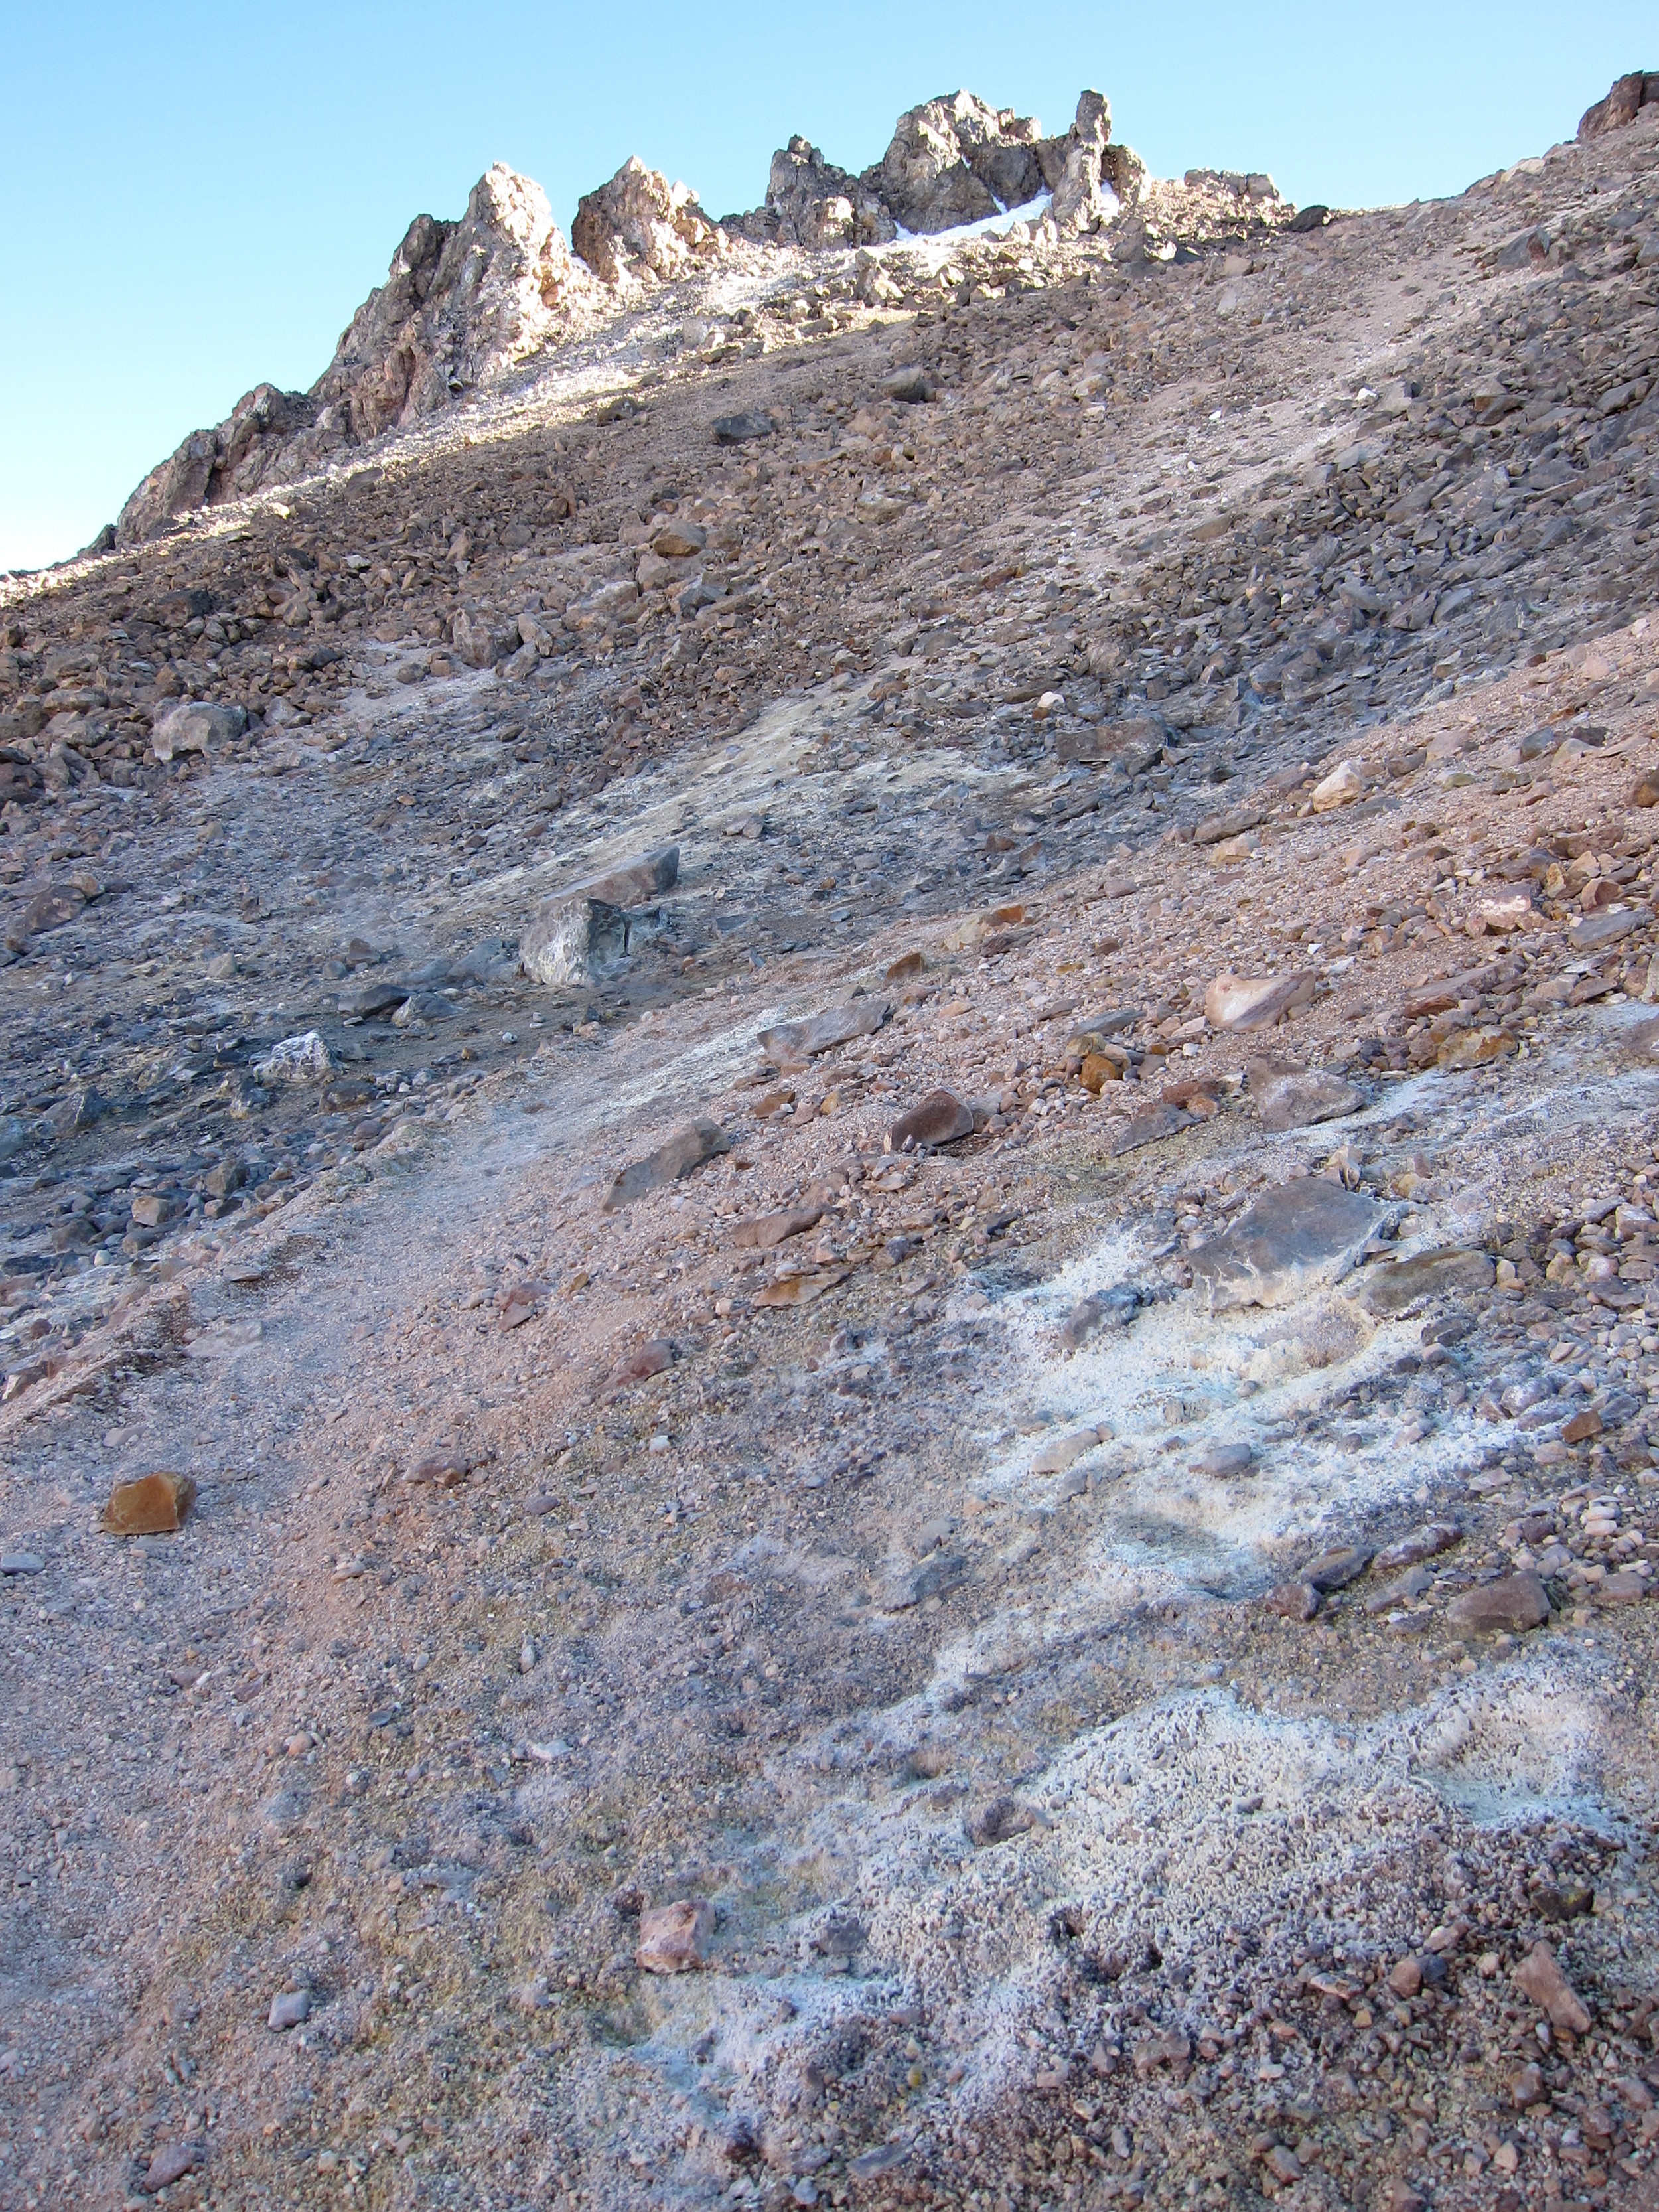
Once you reach the top of 50/50 Hill, you will be on the 50/50 Plateau, and will have great views of the entirety of Avalanche Gulch. Stay on the trail; follow the trail flags, and continue up the second portion of the climb to Lake Helen at 10,443 feet. For most people, this is the natural spot to stop and break up the climb into a two-day ascent/descent. There are plenty of sites to camp at; and as Lake Helen is always frozen/covered in snow, this is a great spot to resupply, meaning melting snow for water for the final push. Immediately above Lake Helen lies the “heart” of the mountain, and above that, the Red Banks. Do note that the summit is not immediately above the Red Banks. Many novice climbers look at this spot, and assume that since the Red Banks are the highest point they can see, the summit is right there. It is not! It is tucked away on the mountain behind Misery Hill, which is also above the Red Banks.
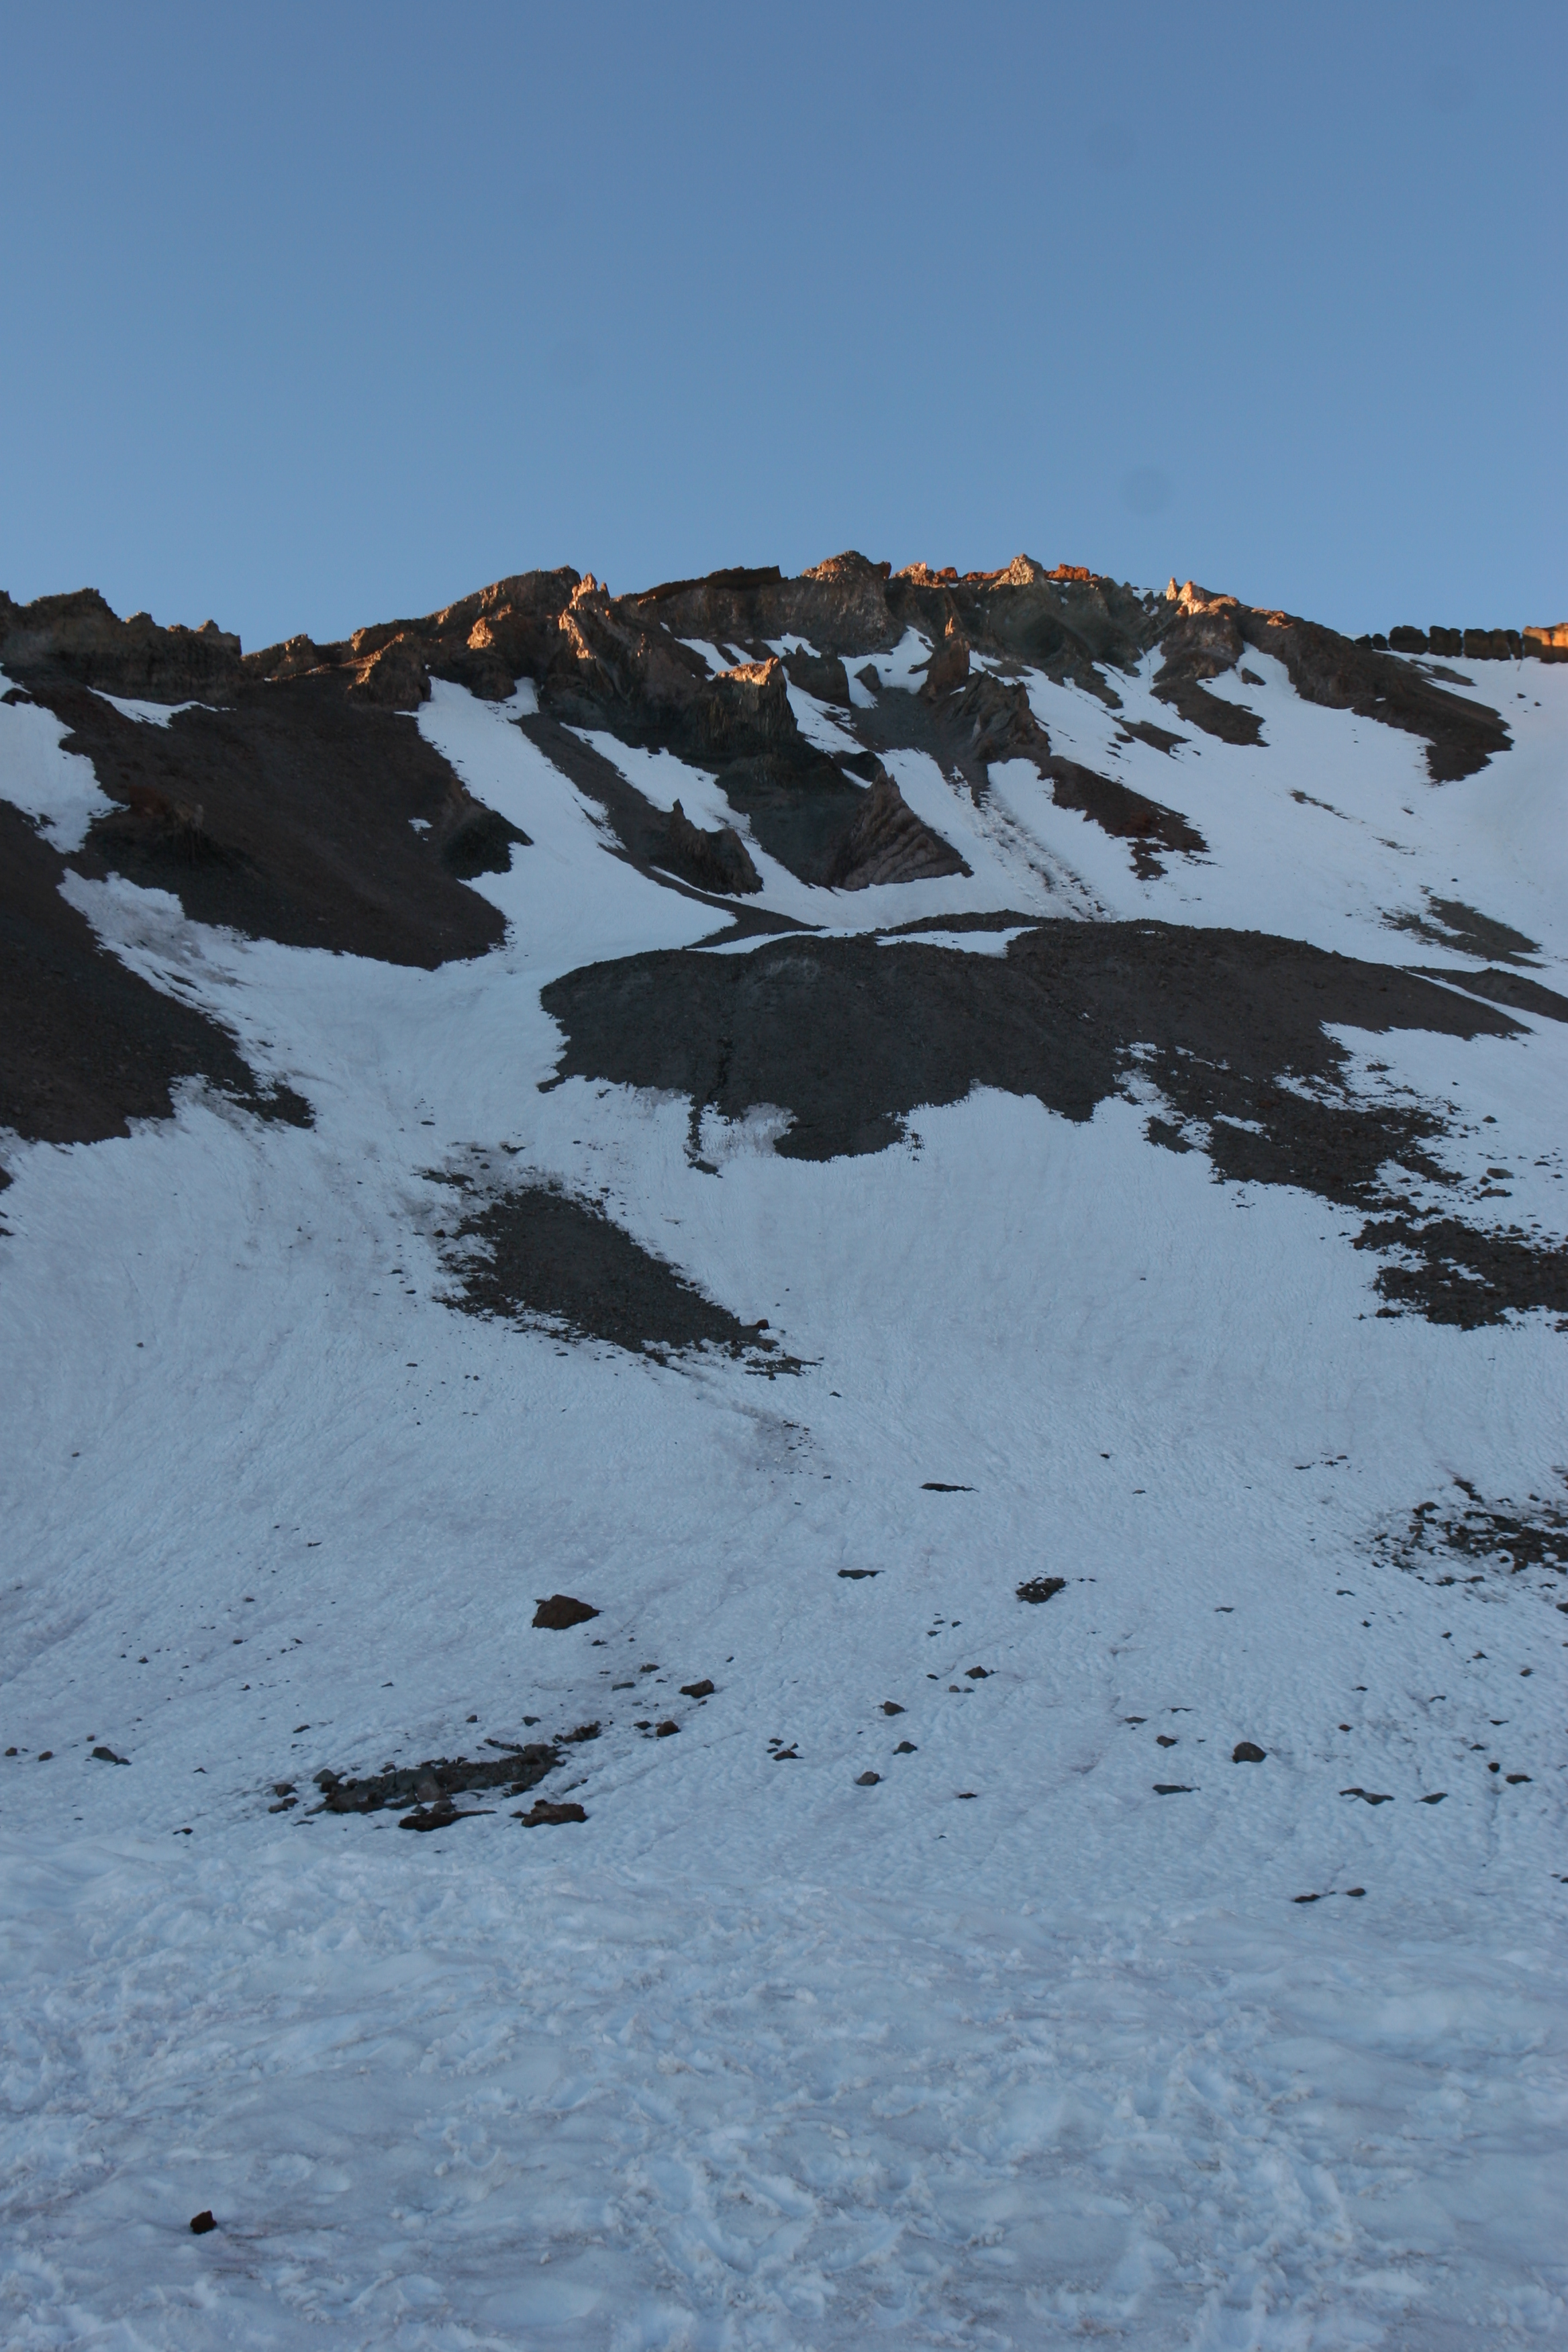
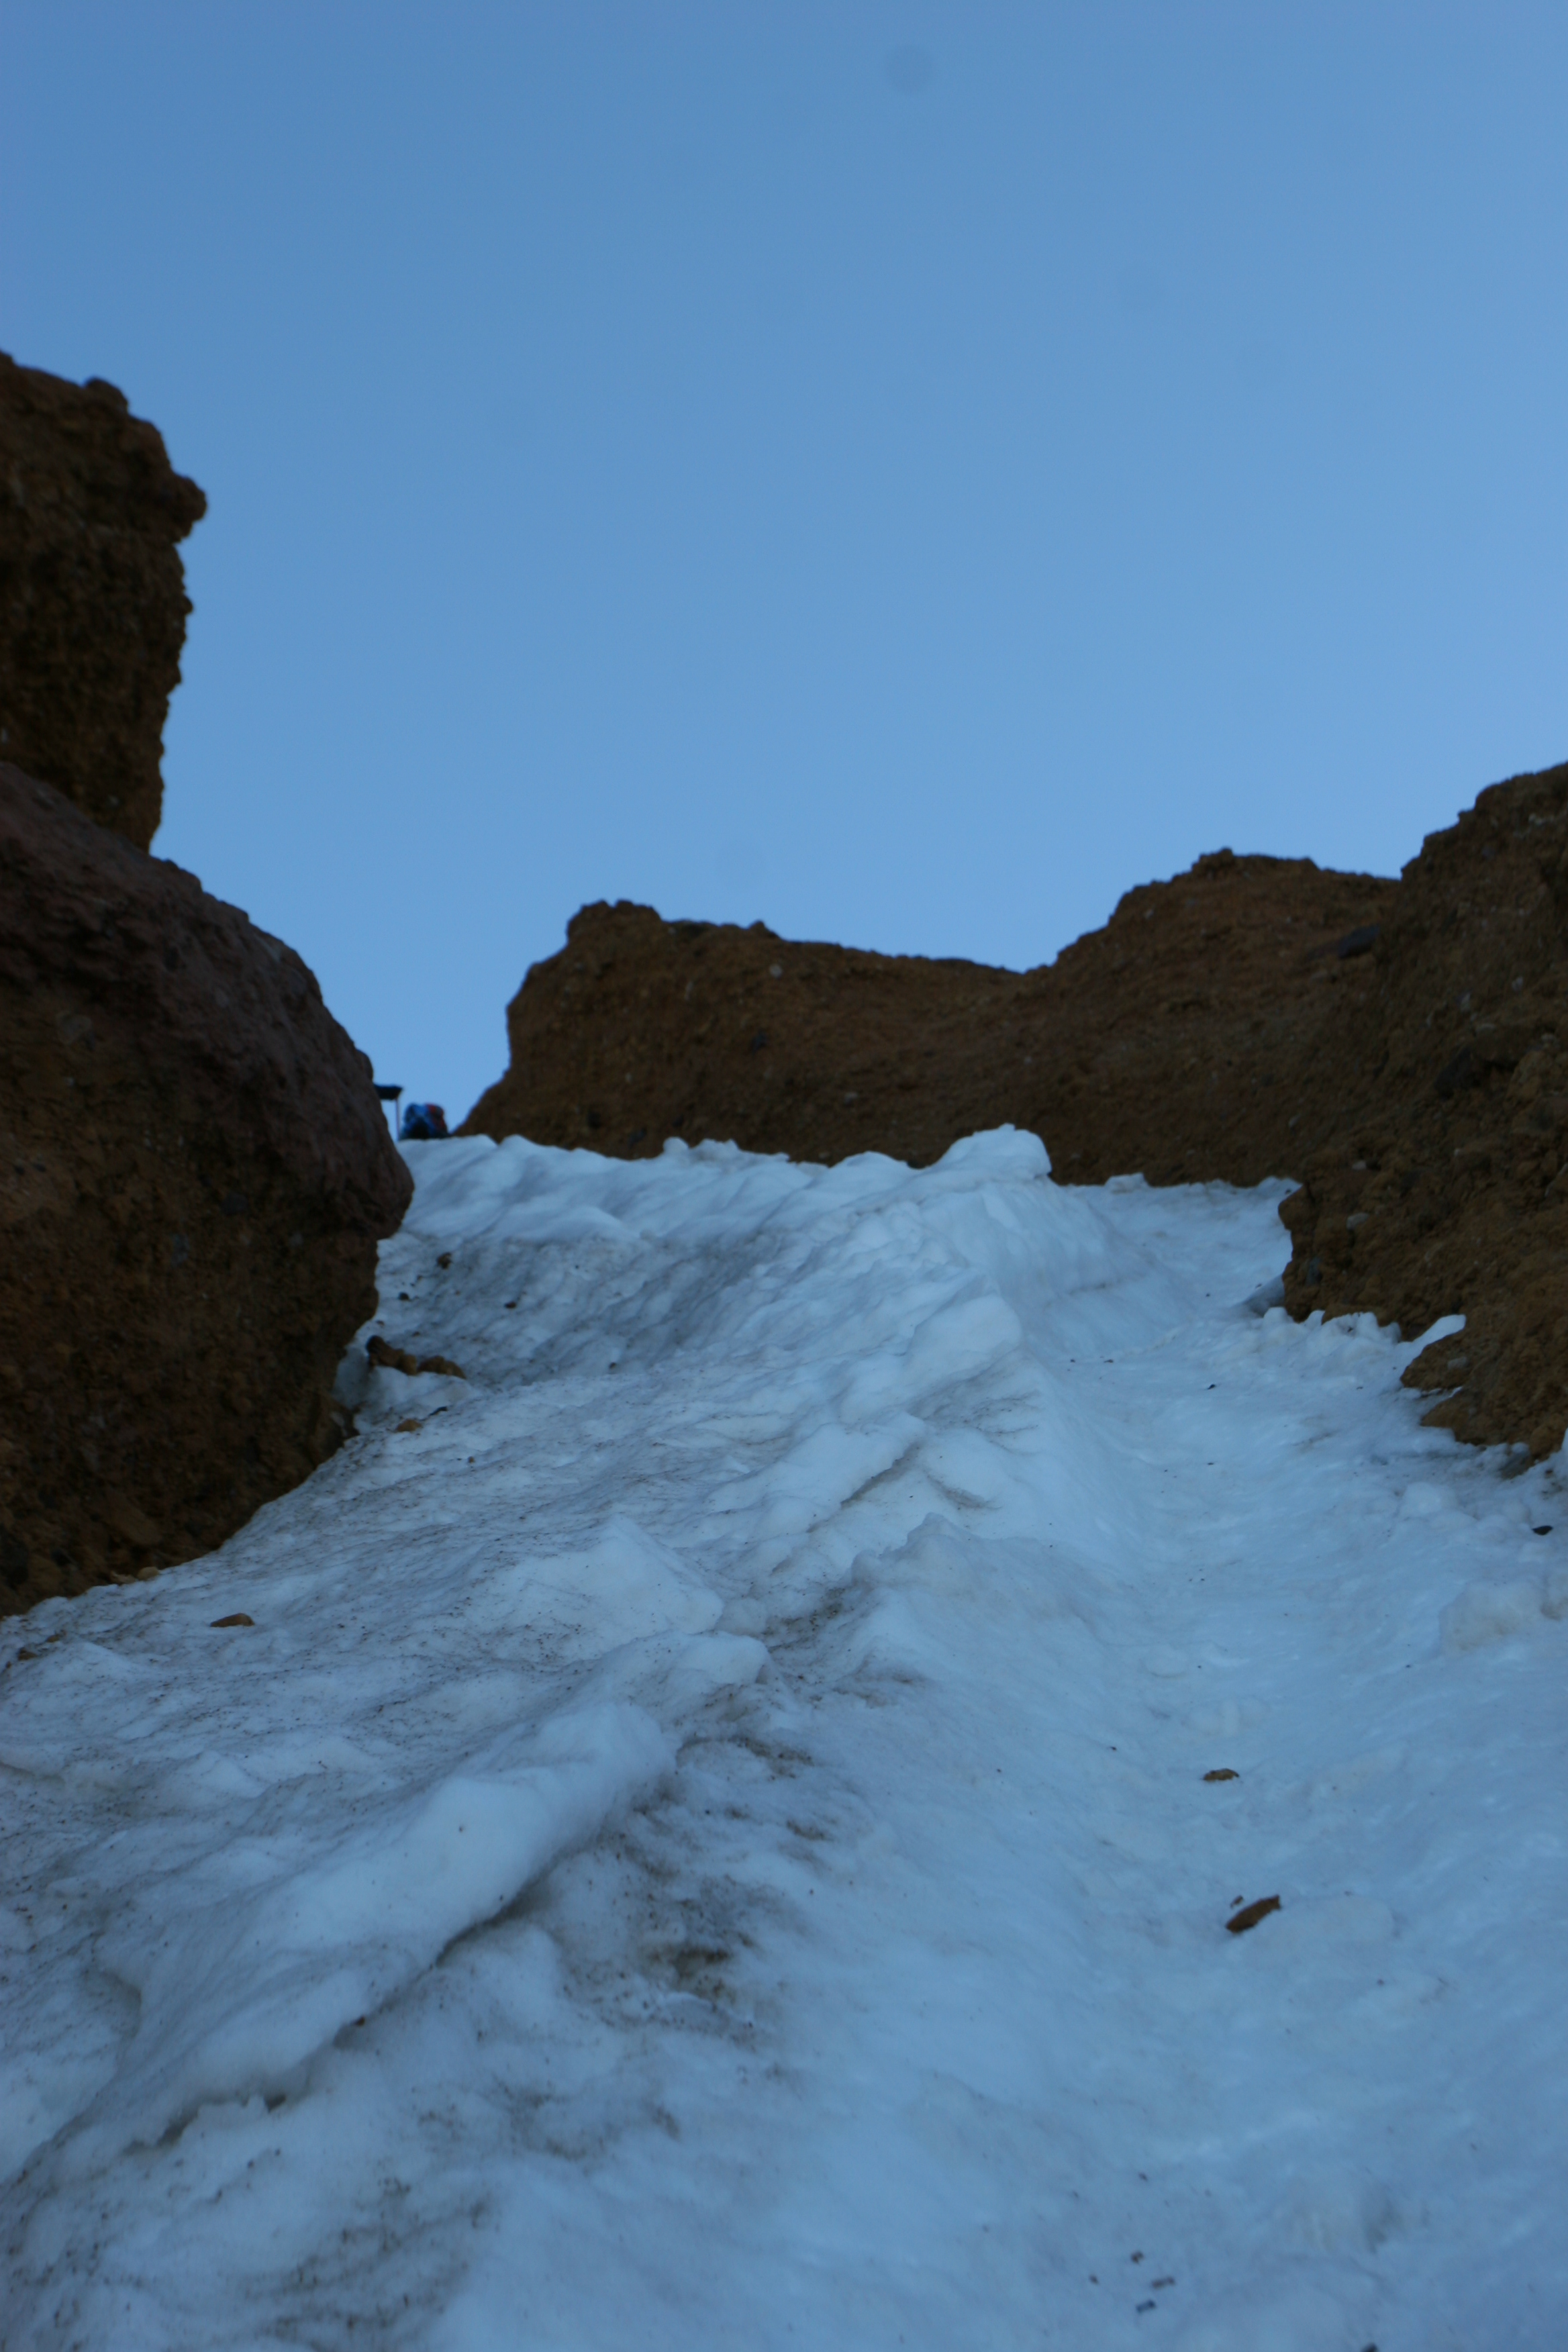
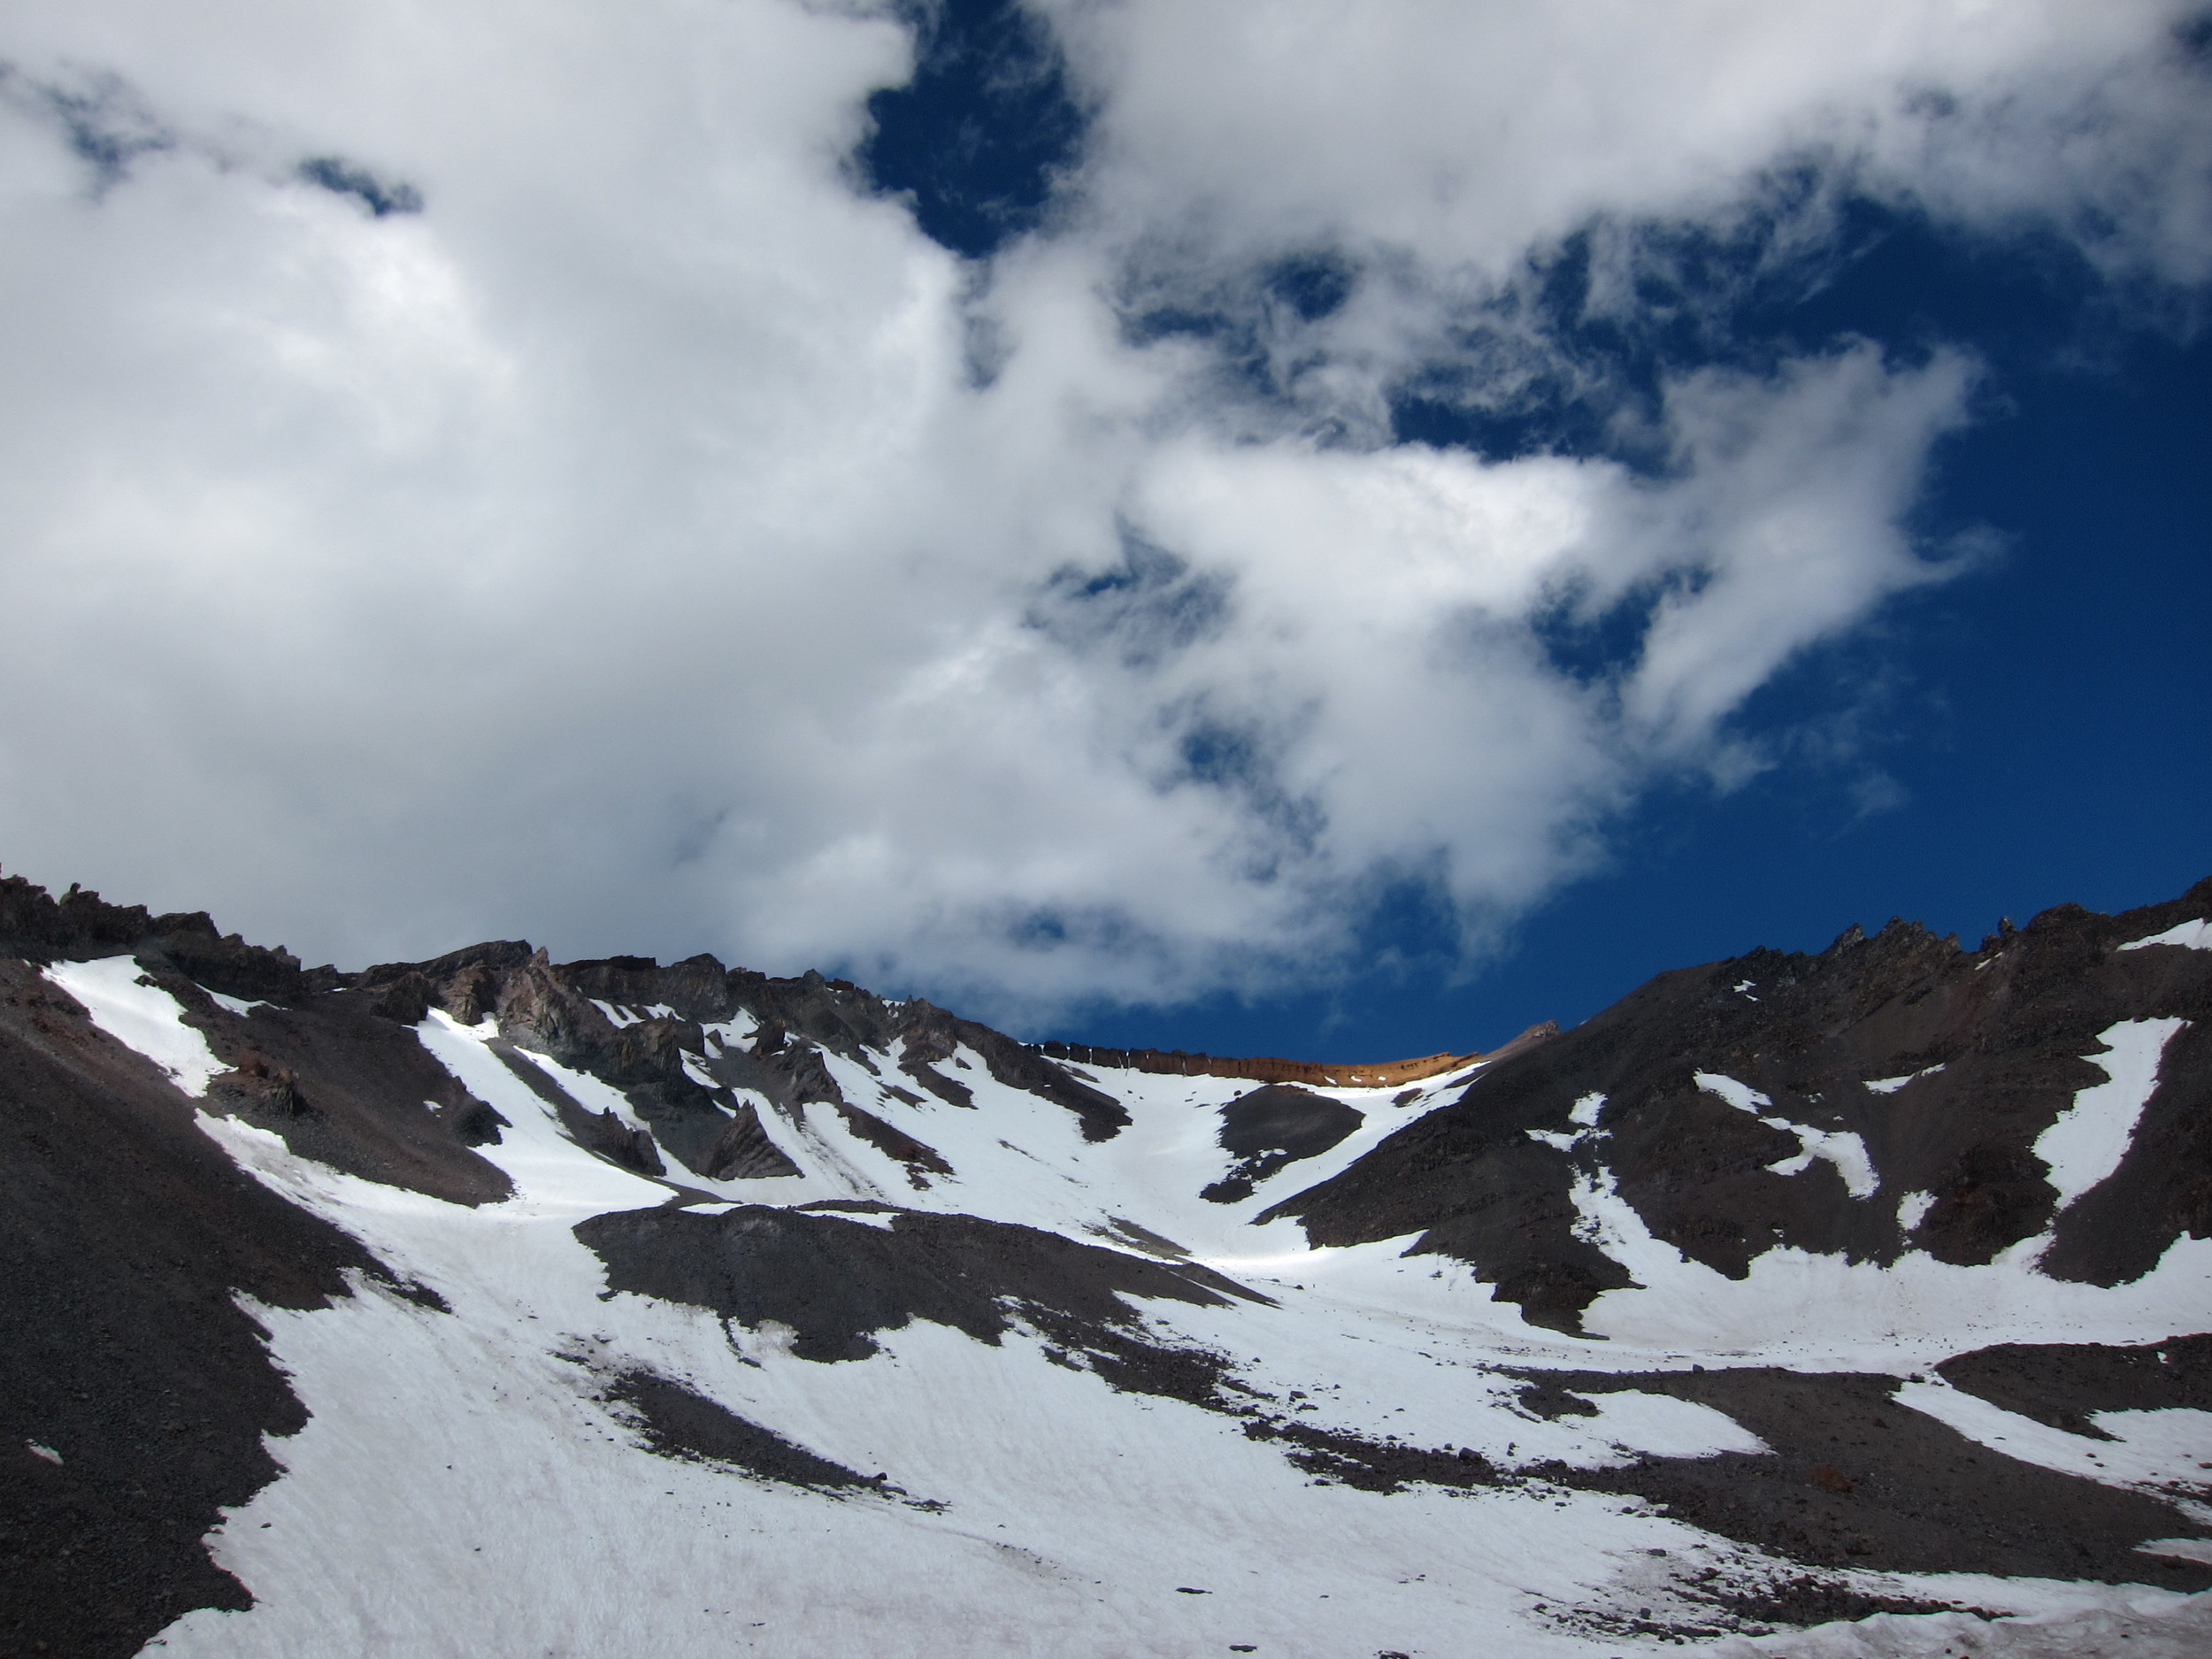
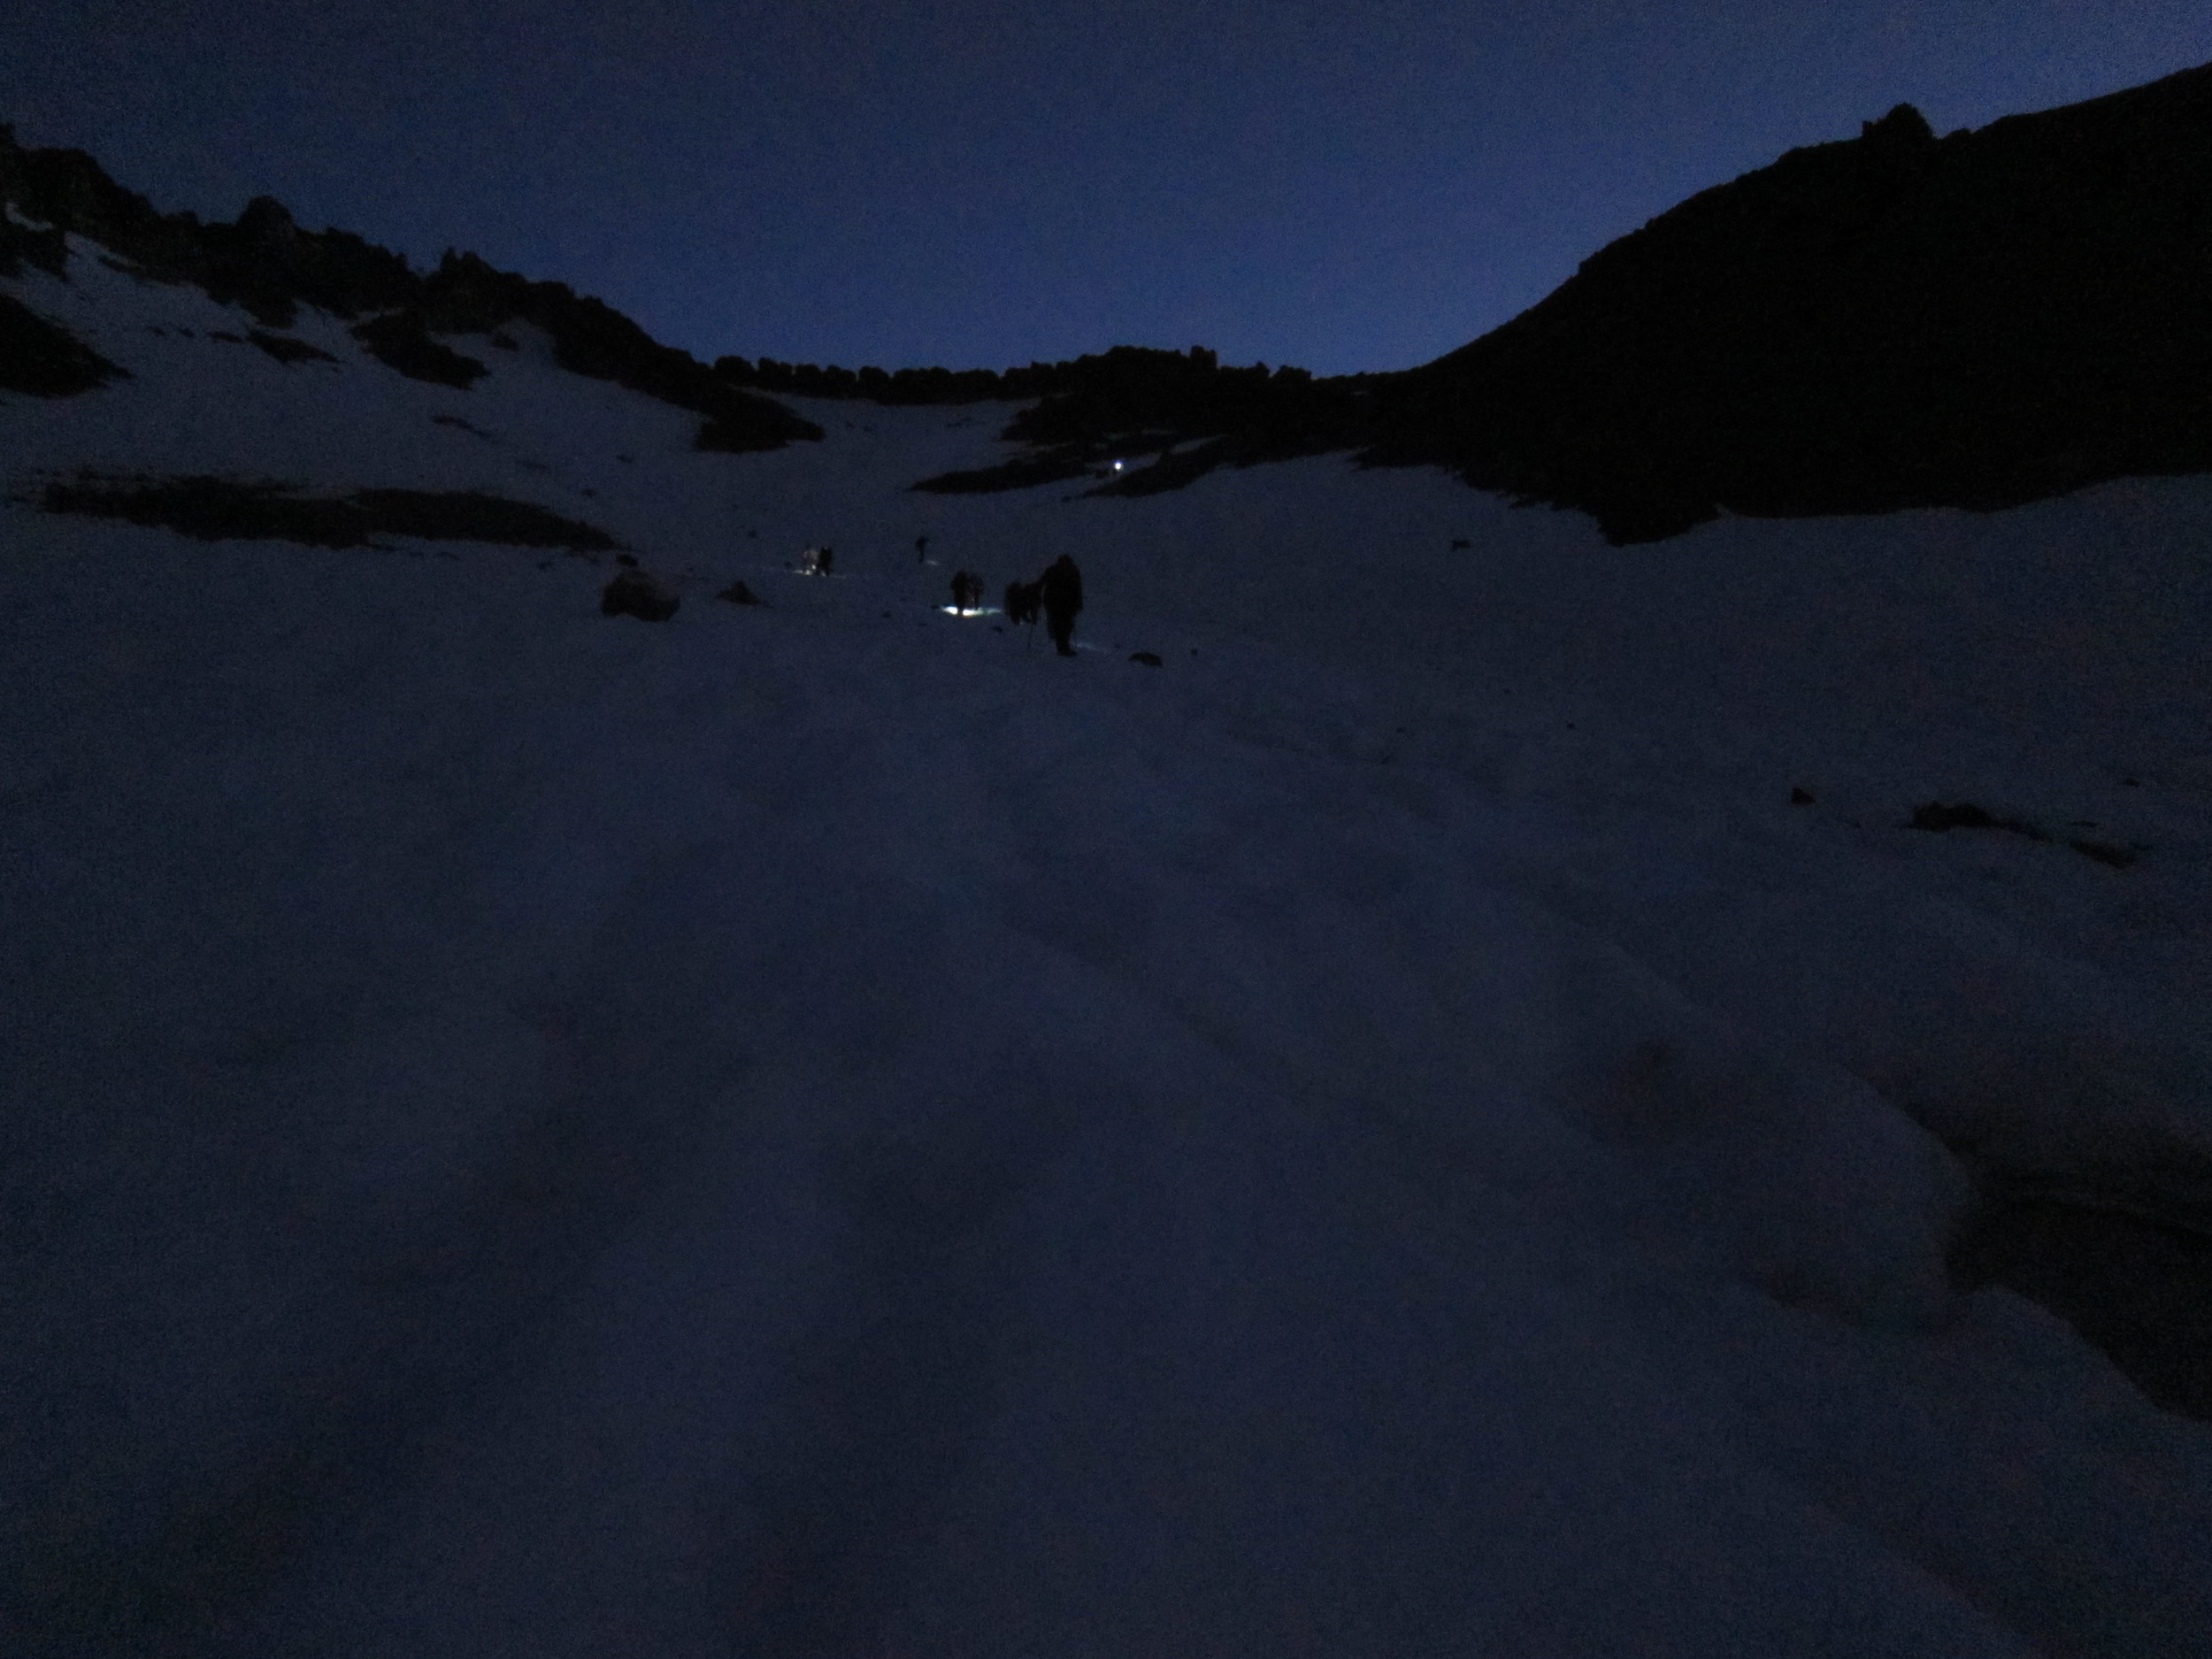
From Lake Helen, the ascent becomes steep, and technical through the heart. You will want to complete this part of the climb early on in the day – approximately 2 am through 4 am, because of the risk of snow/ice/rock fall. This area is not colloquially called “the bowling alley” just for kicks. Keep an eye and an ear out for falls; and wear a helmet at all times during the ascent and descent through this area. The route heads up the snowfield to the right side of the heart. This portion of the climb is grueling; steep, and punishing. In my opinion, this is the hardest portion of the climb. Once you pass the “heart” of the mountain, you will be at the base of the Red Banks. Depending on snow and ice conditions during the season; climbers will have picked one of the chutes as the safest and most traversable, and you will be able to ascertain that by either other climbers ascending that route; or by the tracks in the snow. Unless you are world-class, this is not an area you want to freelance in: follow the selected route.
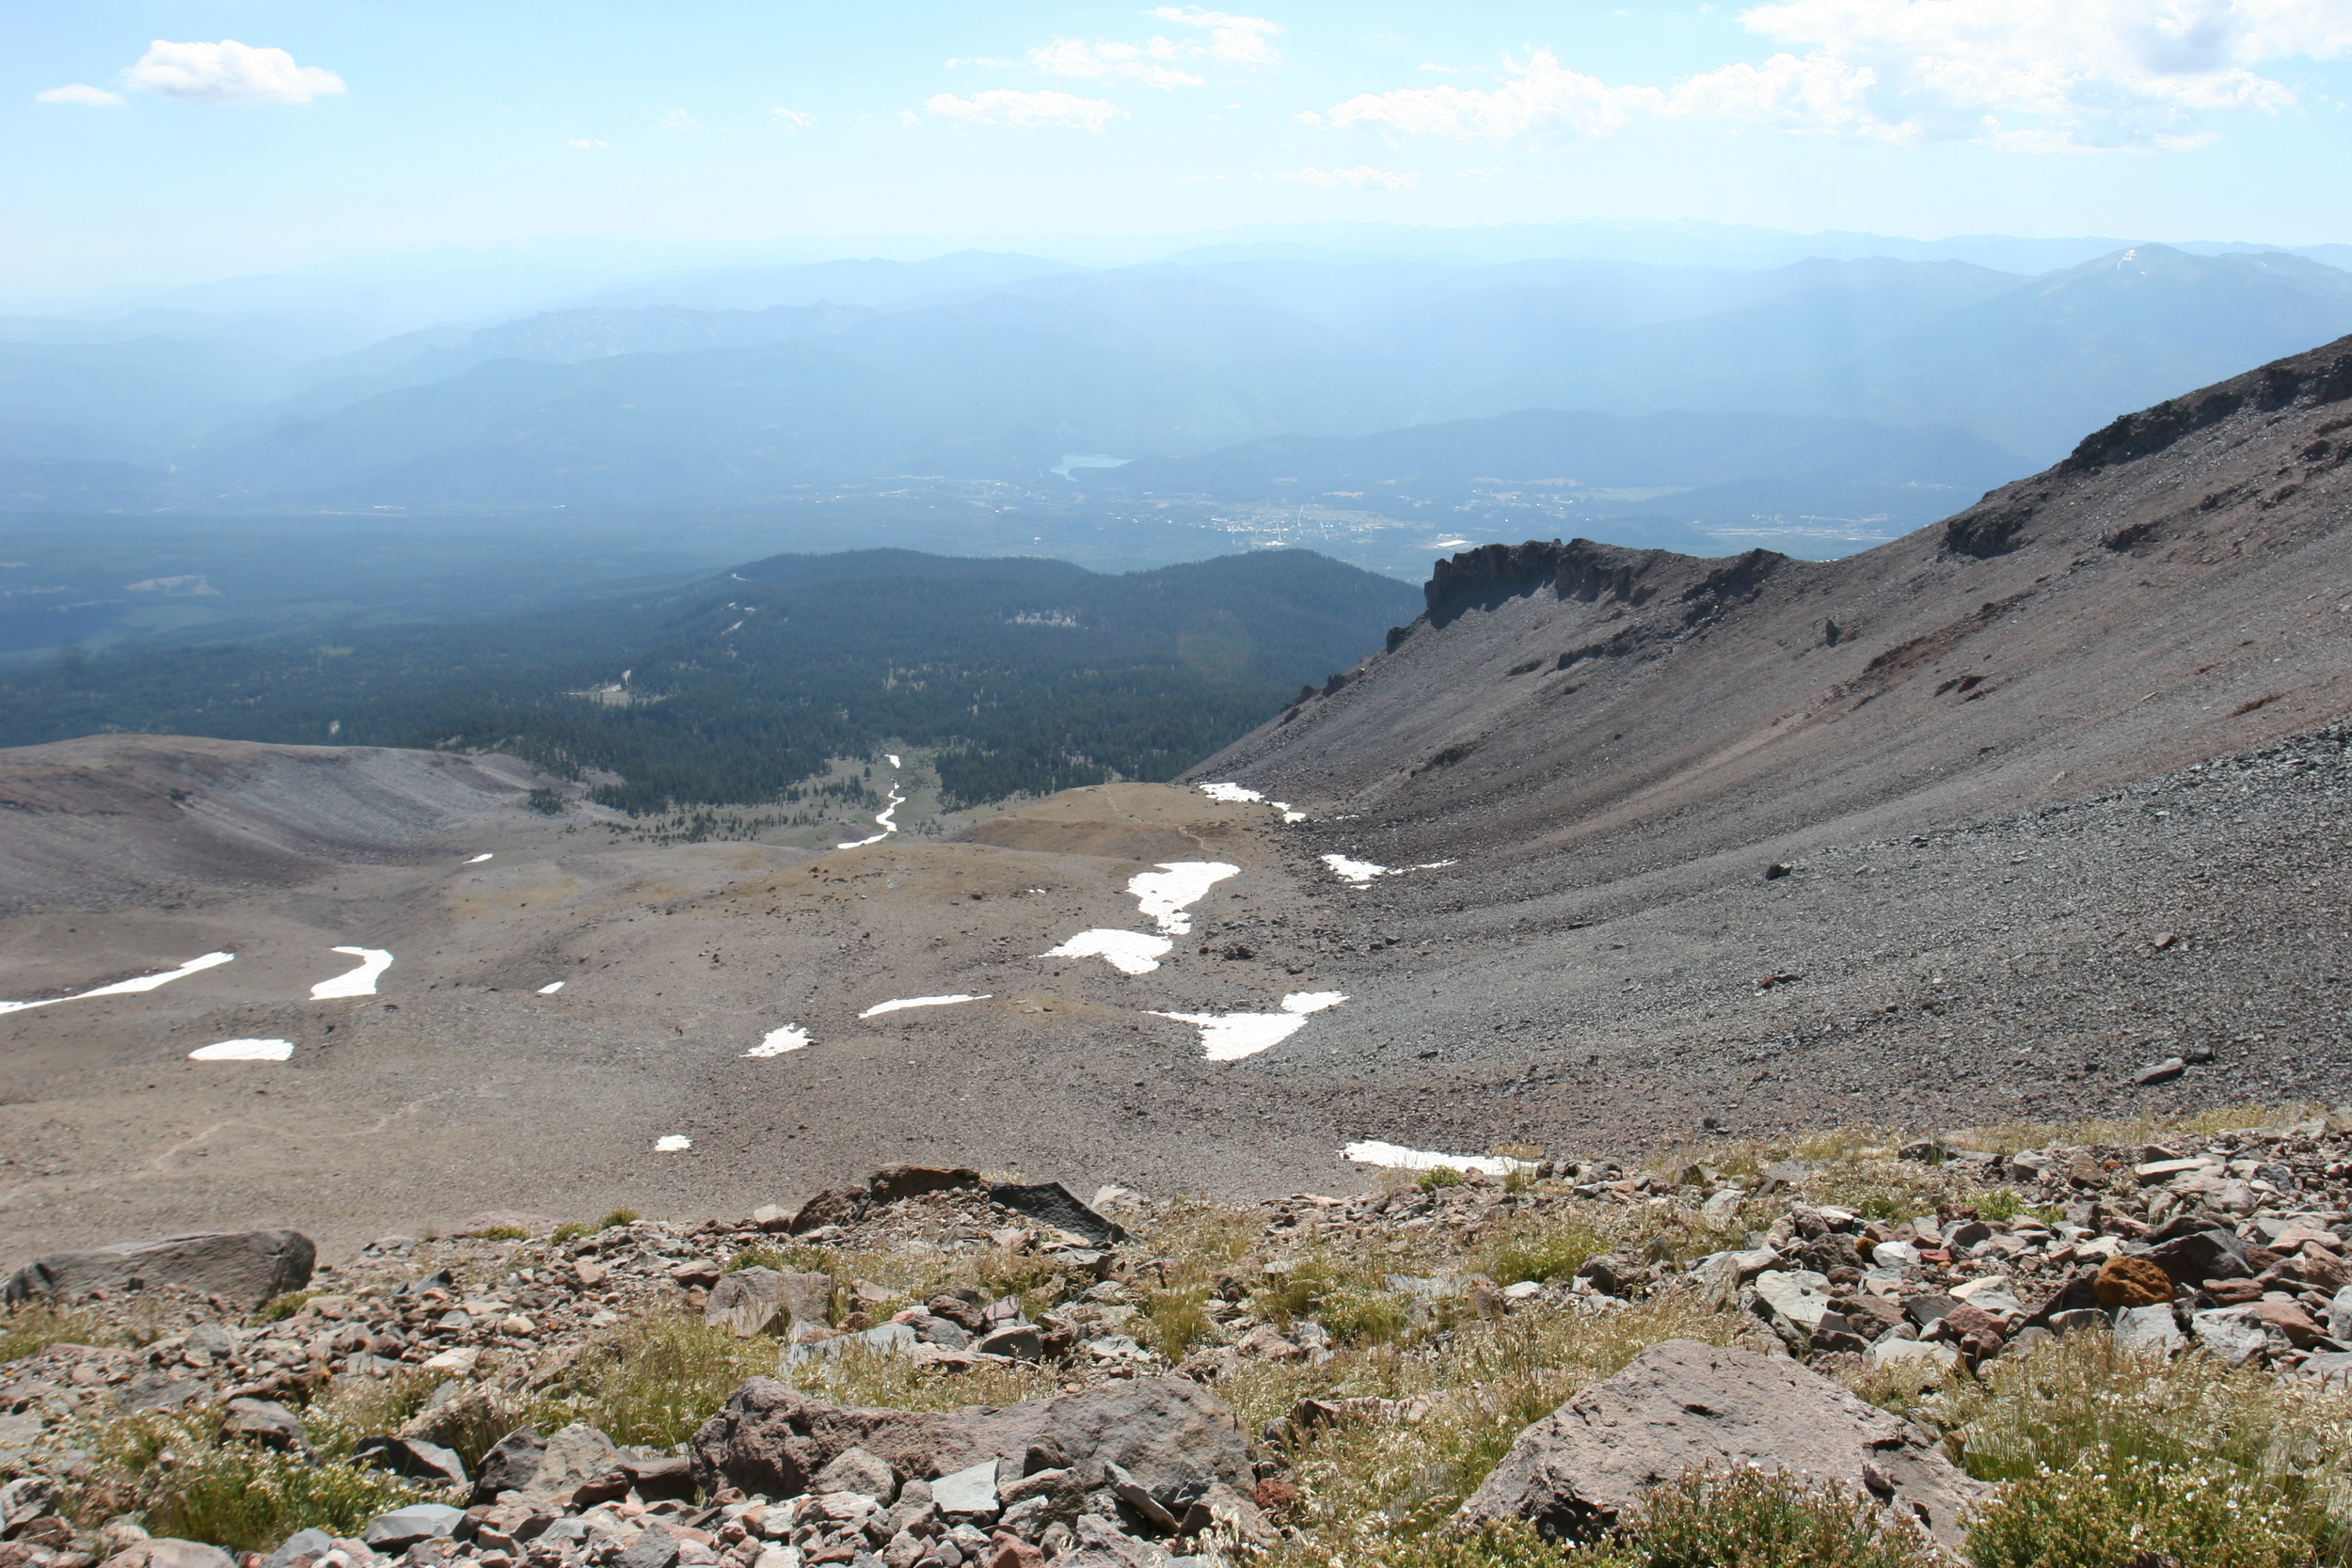
It’s worth noting that the Red Banks are the most technical portion of the climb: they are usually full of snow/ice; and are very steep. I would not recommend traversing this area without an ice axe ever, and it goes without saying that you also need crampons. These areas are narrow; and a slip; or fall will likely lead to you falling thousands of feet - so be very careful! Once you reach the top of the Red Banks, you will be at 13,200 feet . You only get a short respite before you head up Misery Hill; but in my opinion, this part of the climb, while grueling, is not that bad – you’ve covered most of the distance and the elevation. Once you have ascended Misery Hill, it is more or less a straight shot across the ridges, across a glacier and to the summit cone of the mountain. From there, be sure to enjoy the view before
descending the way you came for that aforementioned 11 to 12 mile roundtrip distance.