Lone Pine

The Alabama Hills

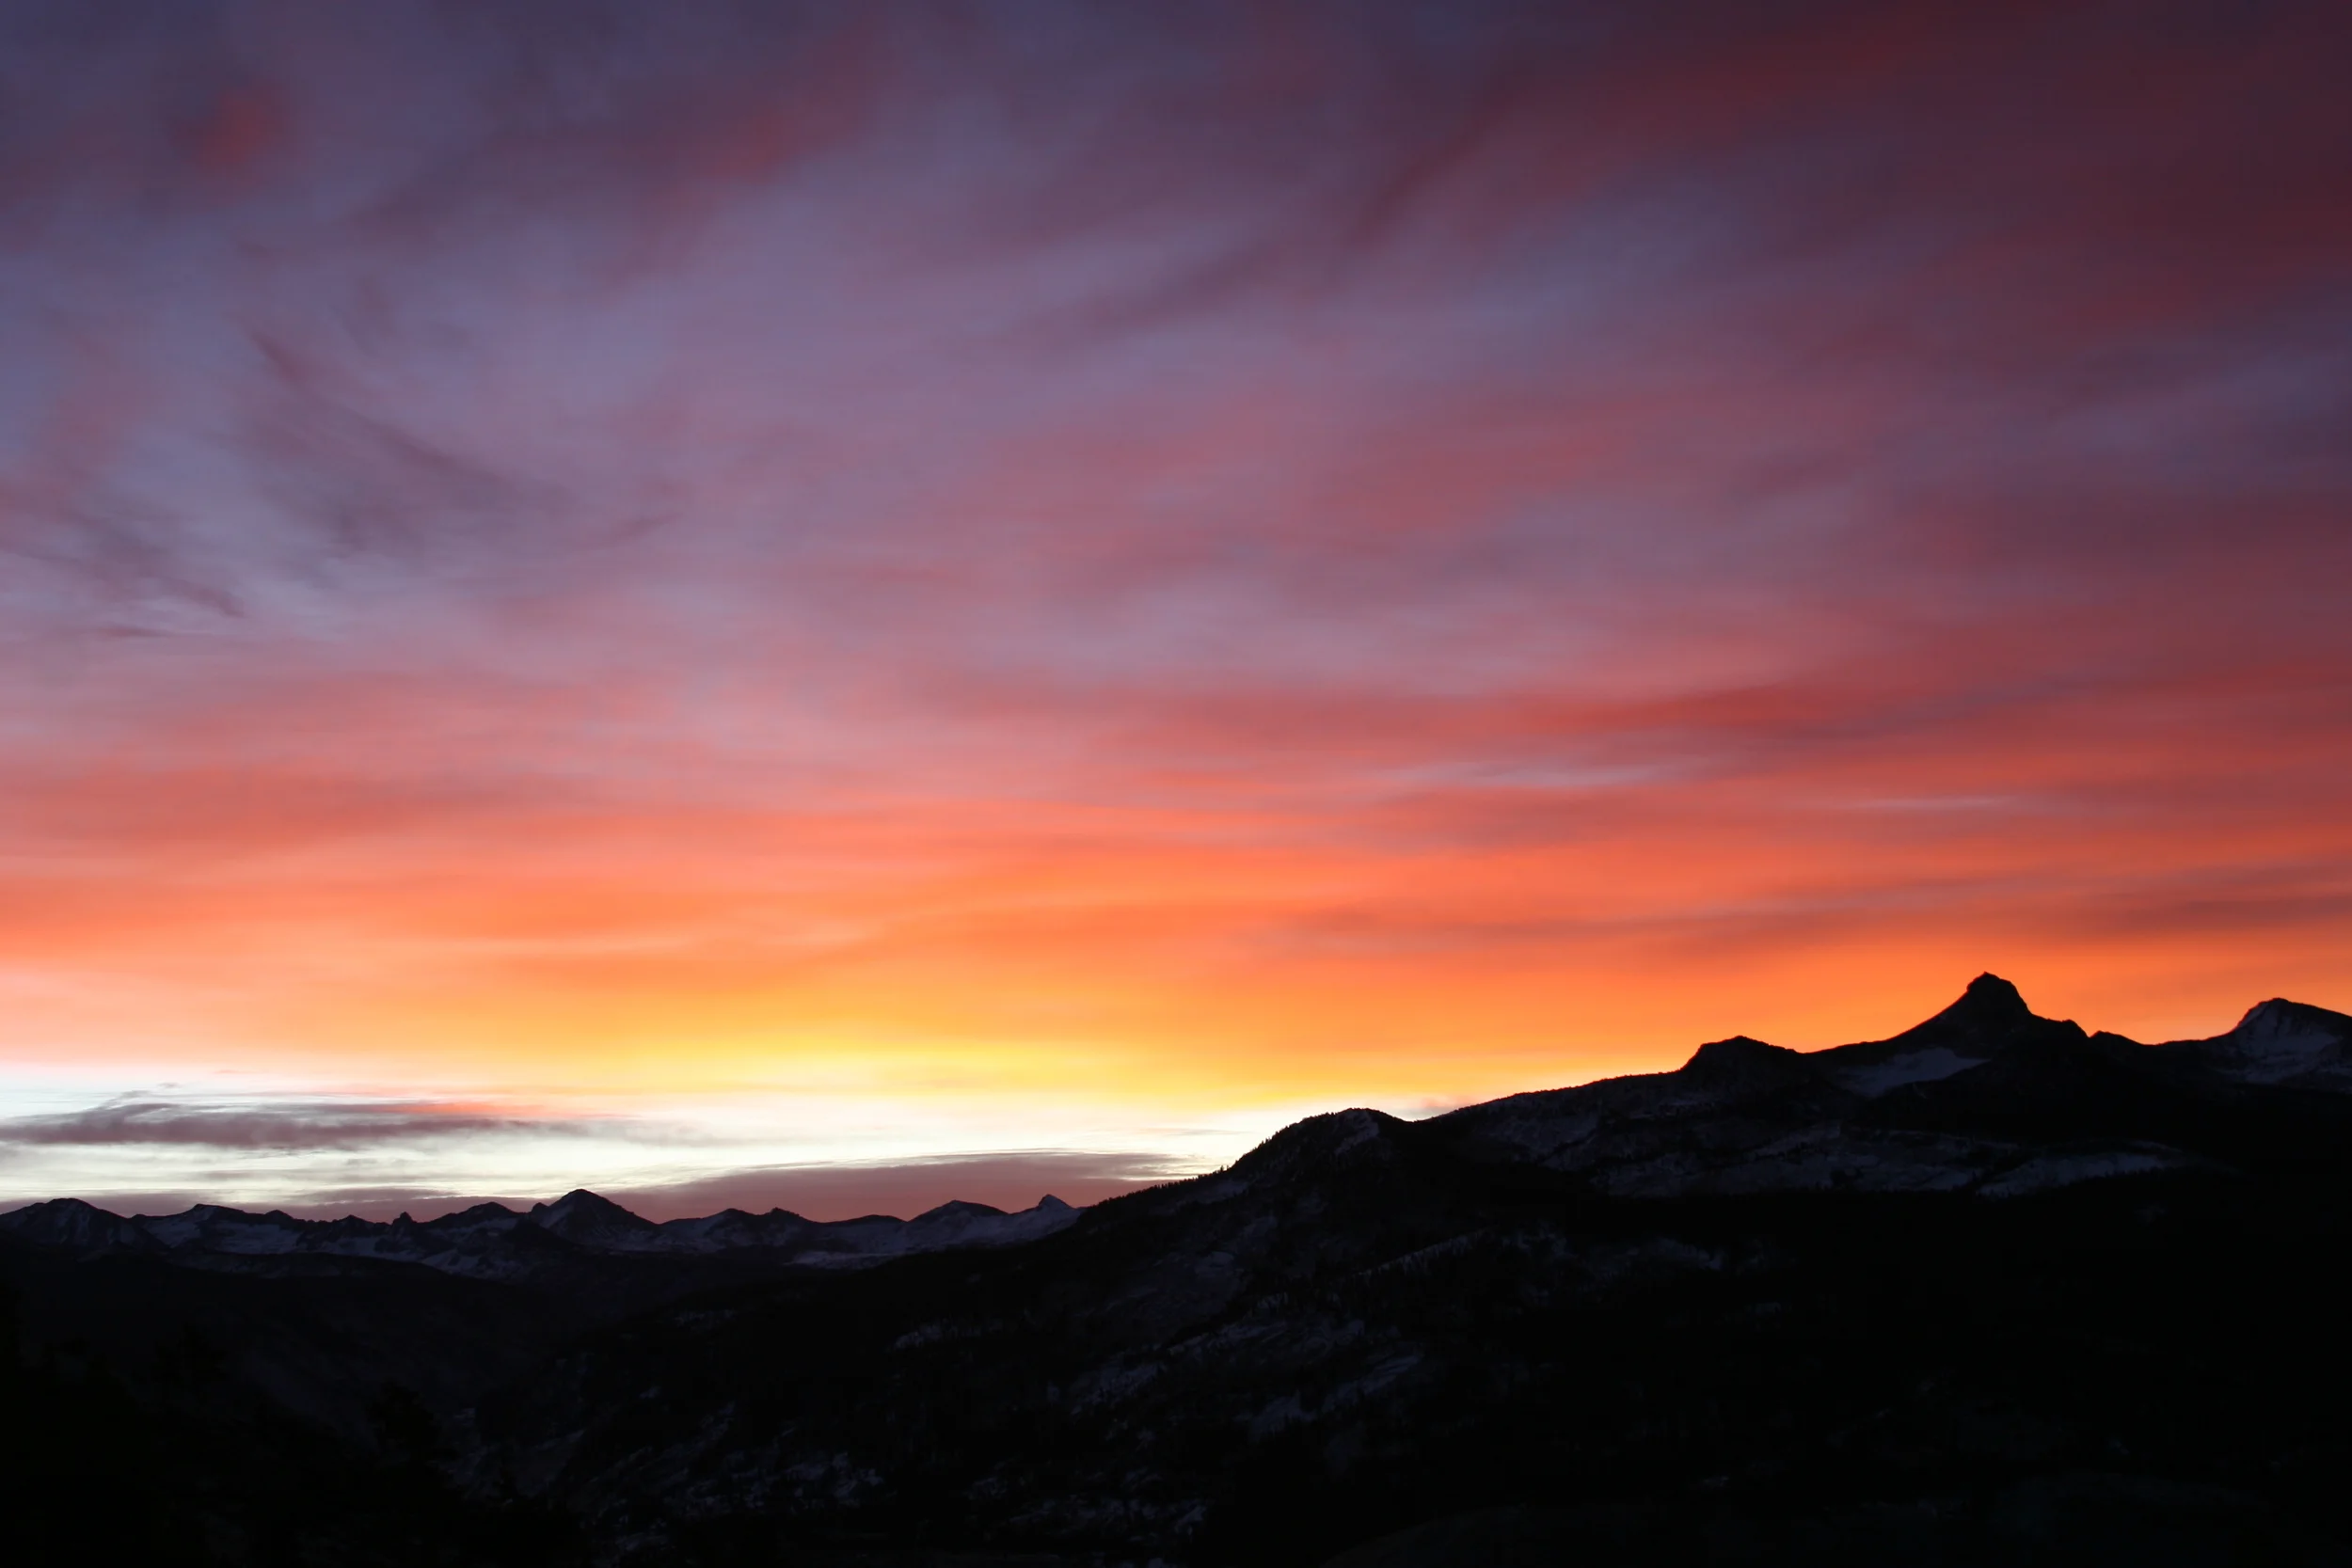
Stop me if you’ve heard this before: in order to save the world/survive the apocalypse, a lone wanderer/group of travelers travels across a rocky wasteland near some tall snow-capped mountains, and along the way, encounters zombies/aliens/cowboys/zombie-alien-cowboys. Sound familiar? Of course it does. It’s the plot from every summer blockbuster you’ve ever seen. You know where they’ve been filmed? I do. The Alabama Hills. Where are the Alabama Hills? Why, they’re at the base of a little-known mountain: Mt. Whitney. They’re also located right next to the town of Lone Pine, California, right off the I-395, and near another geological feature that I just talked about – Fossil Falls.

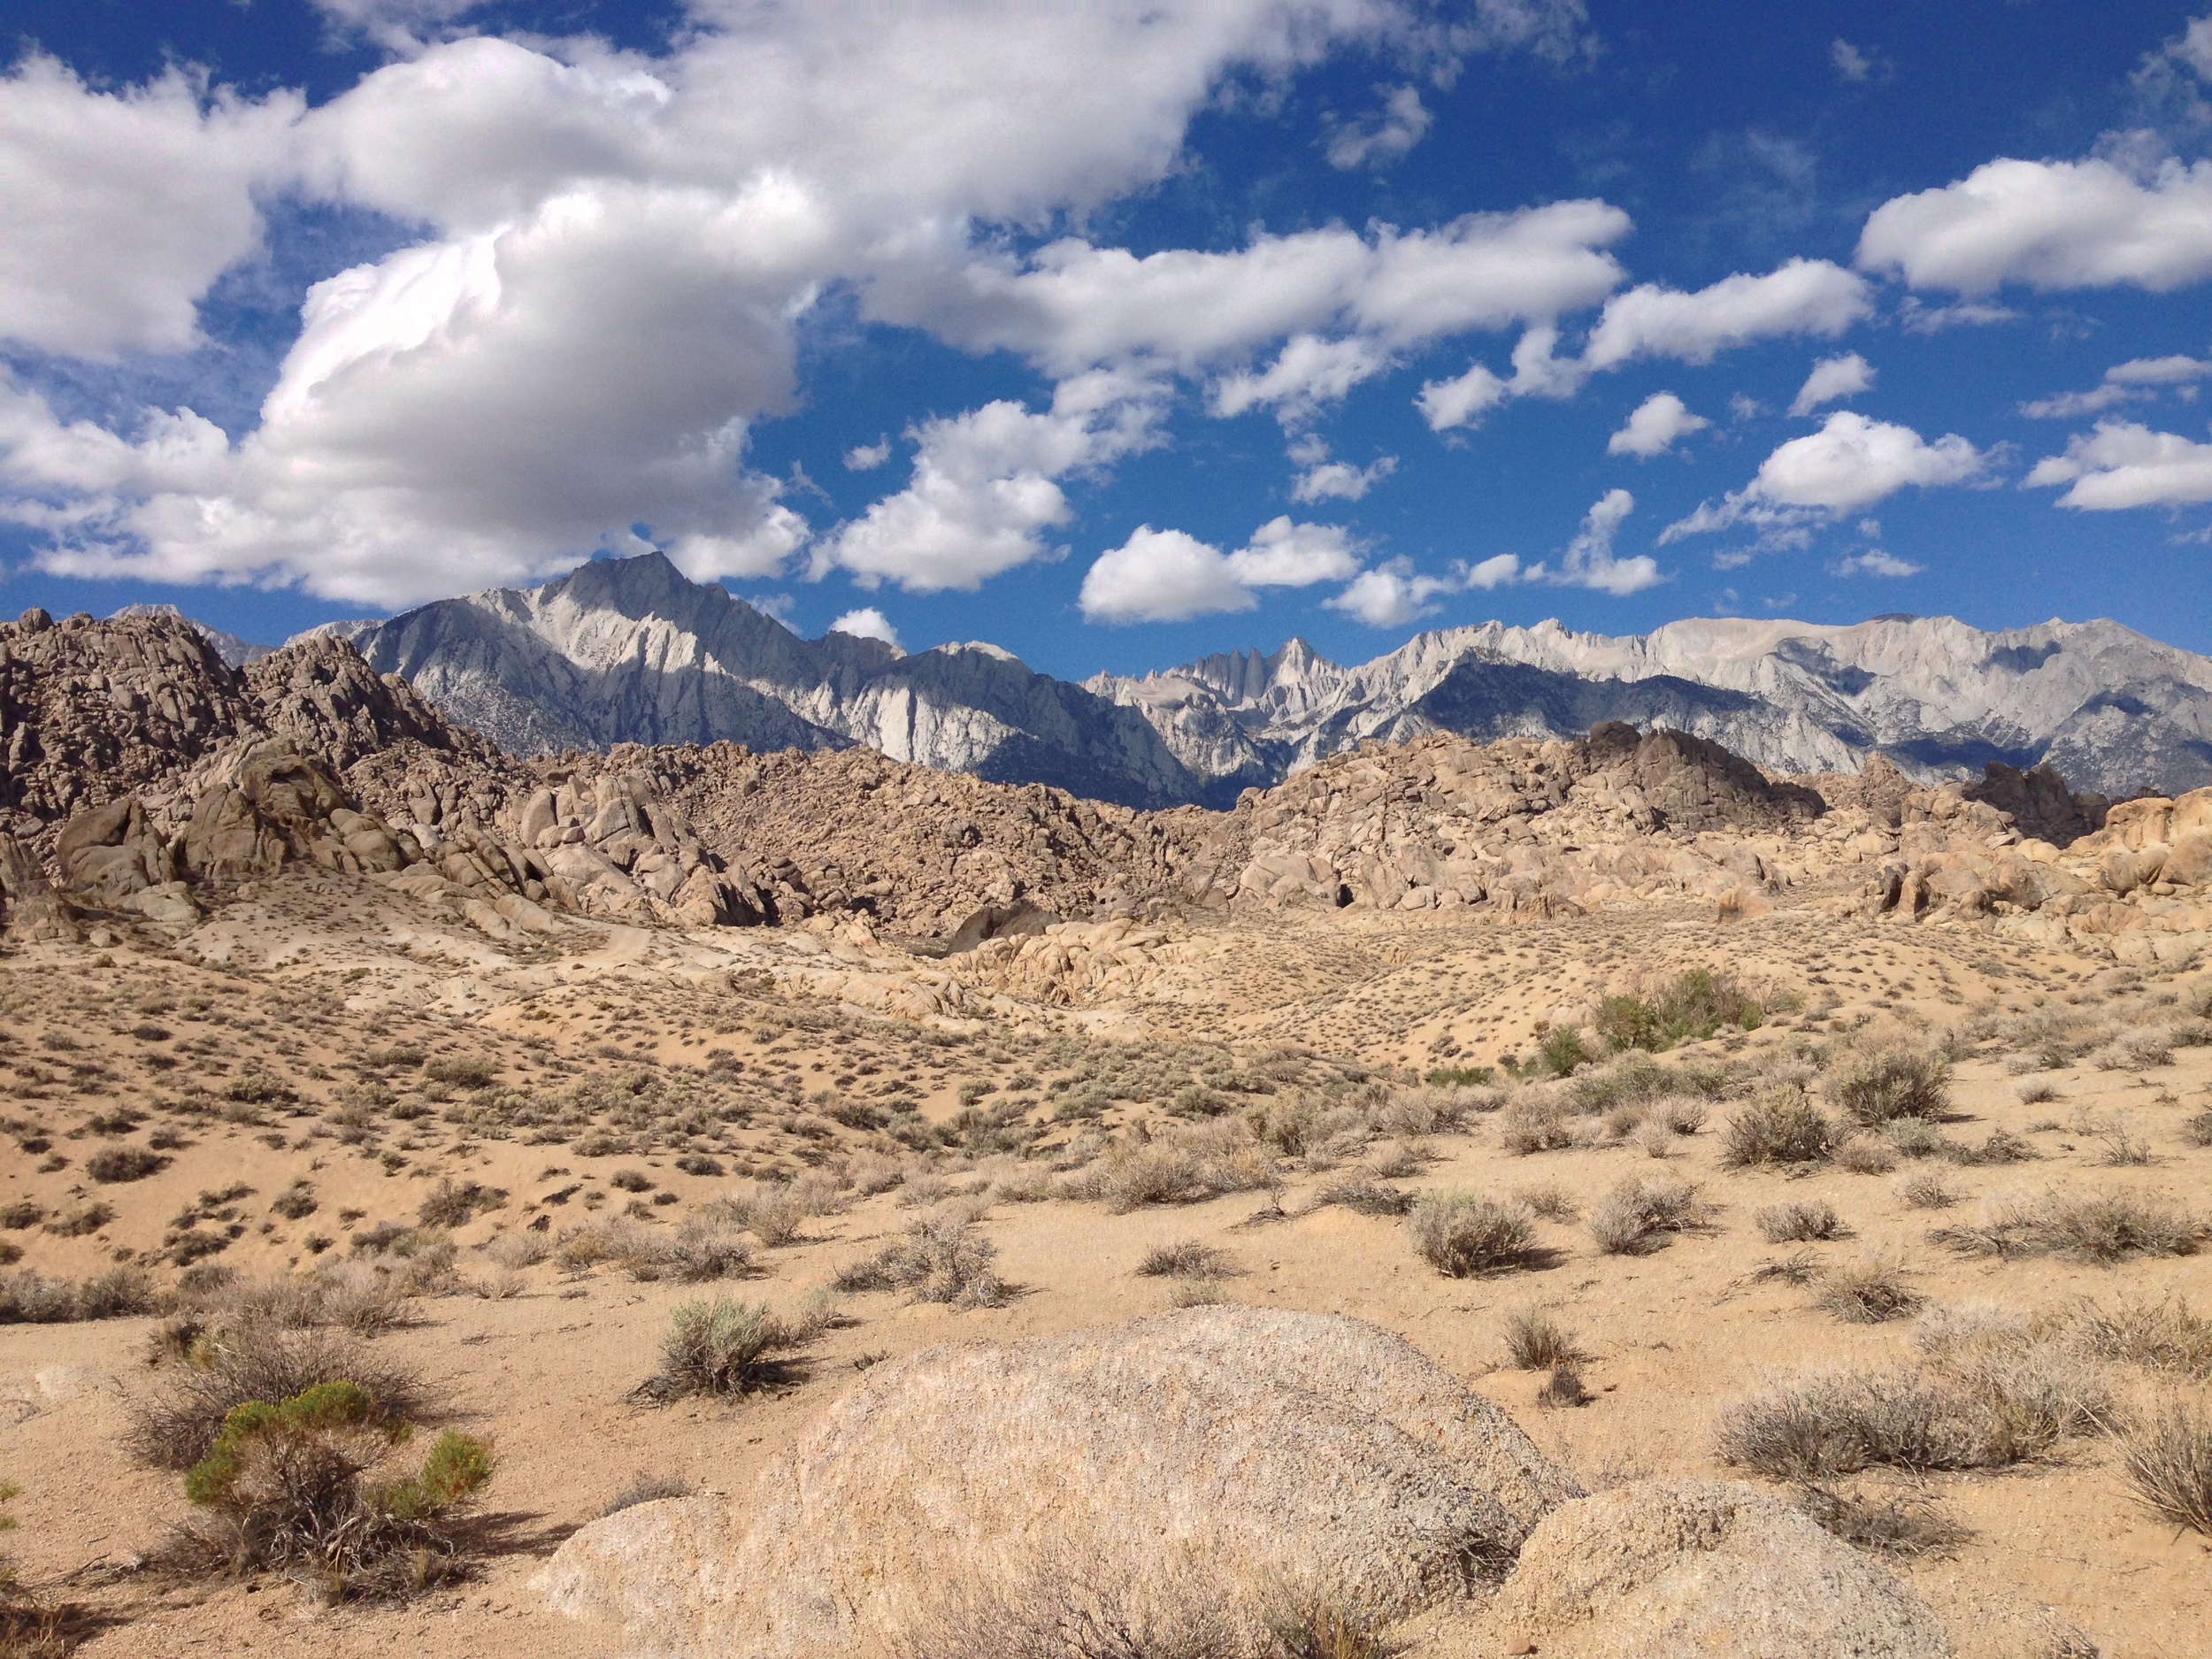
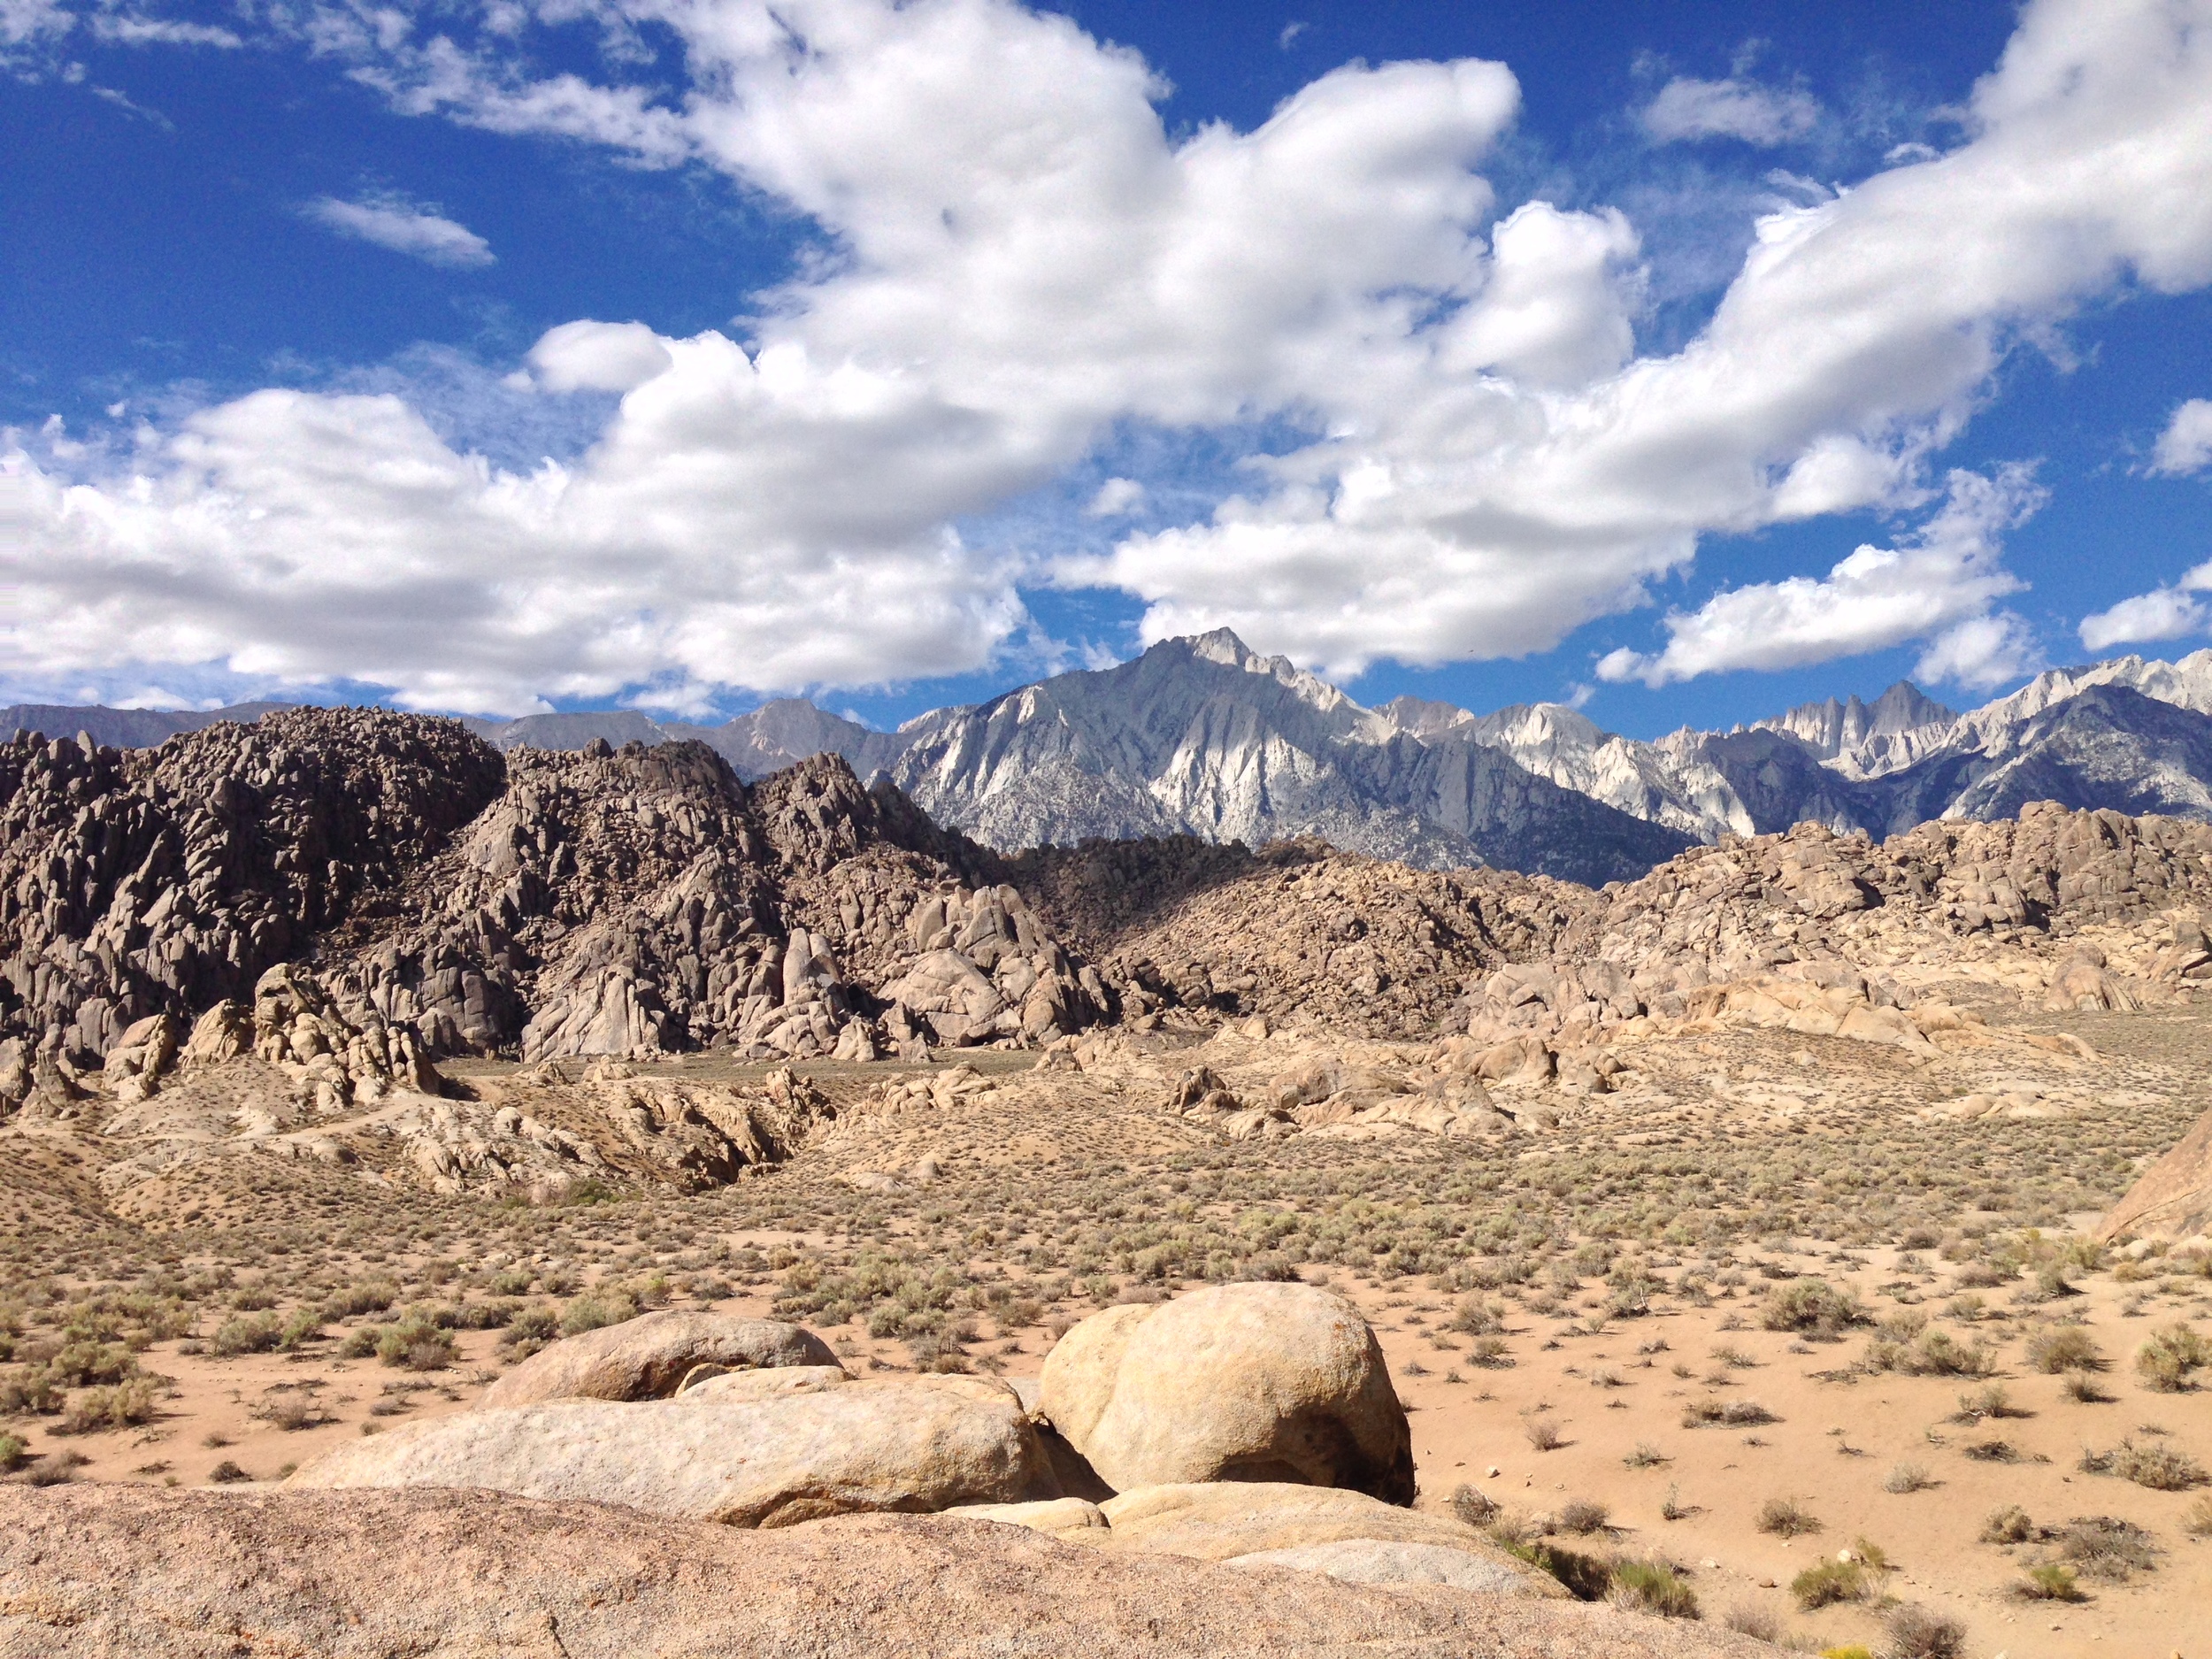
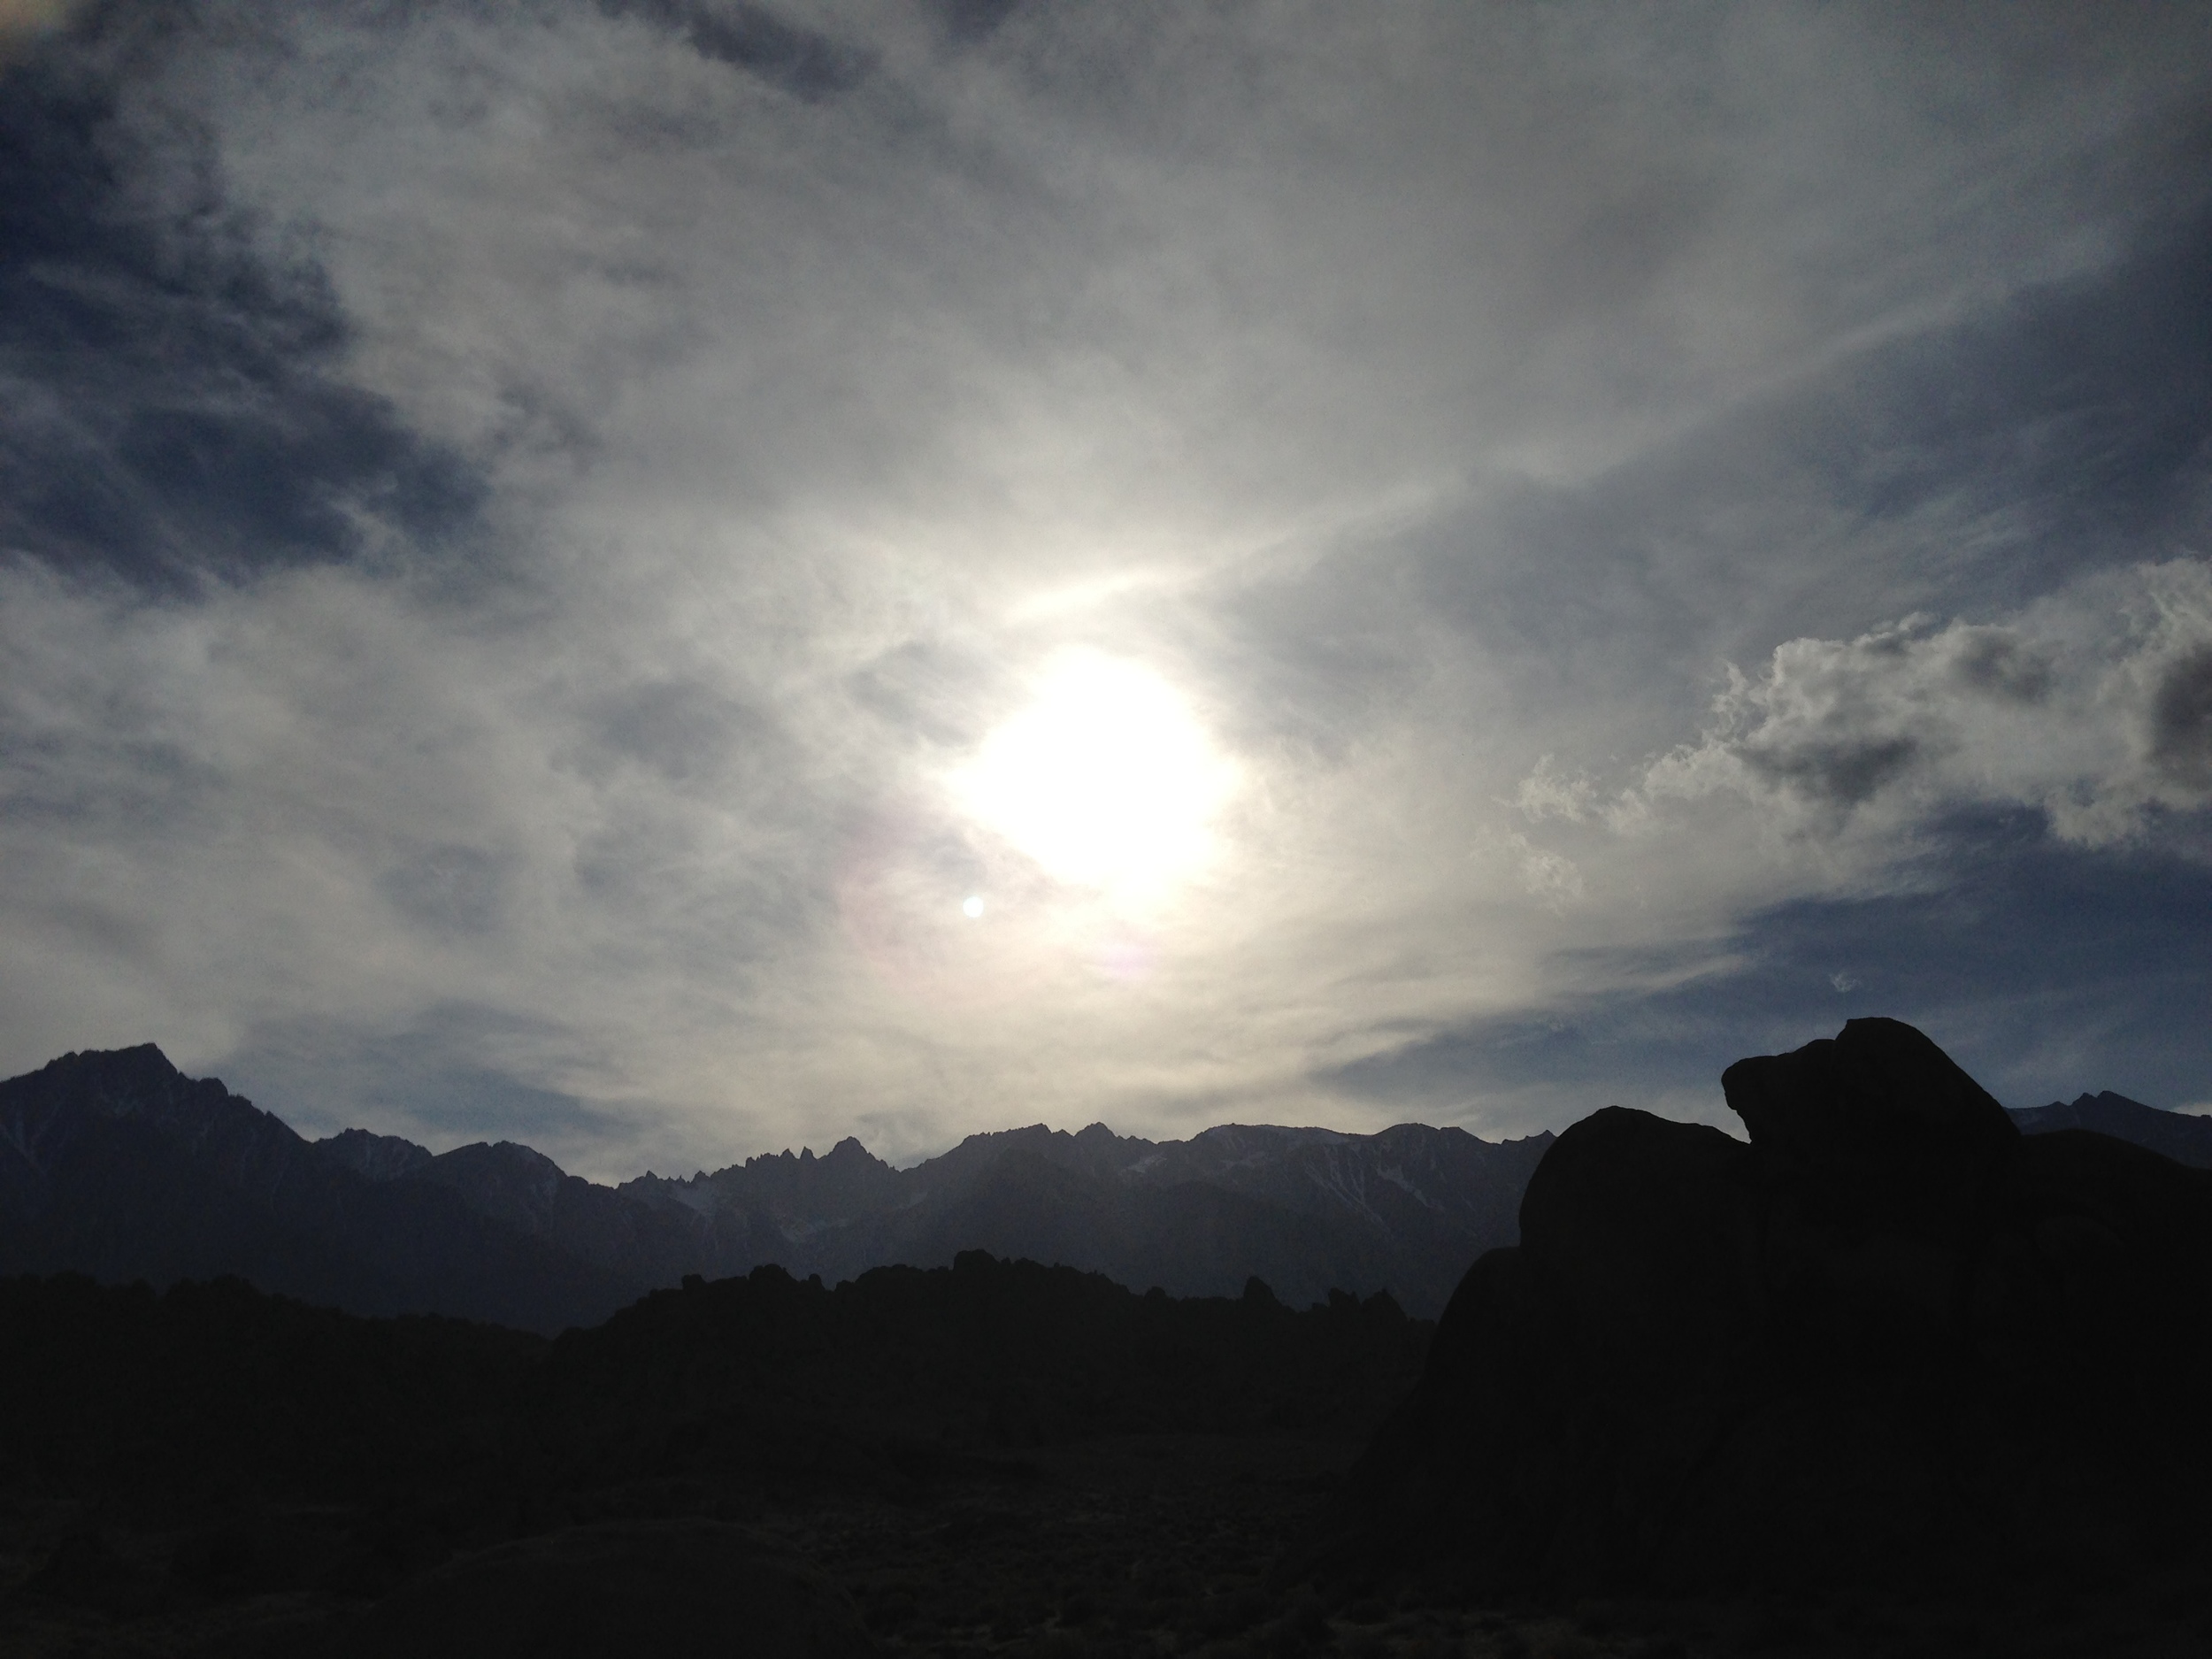
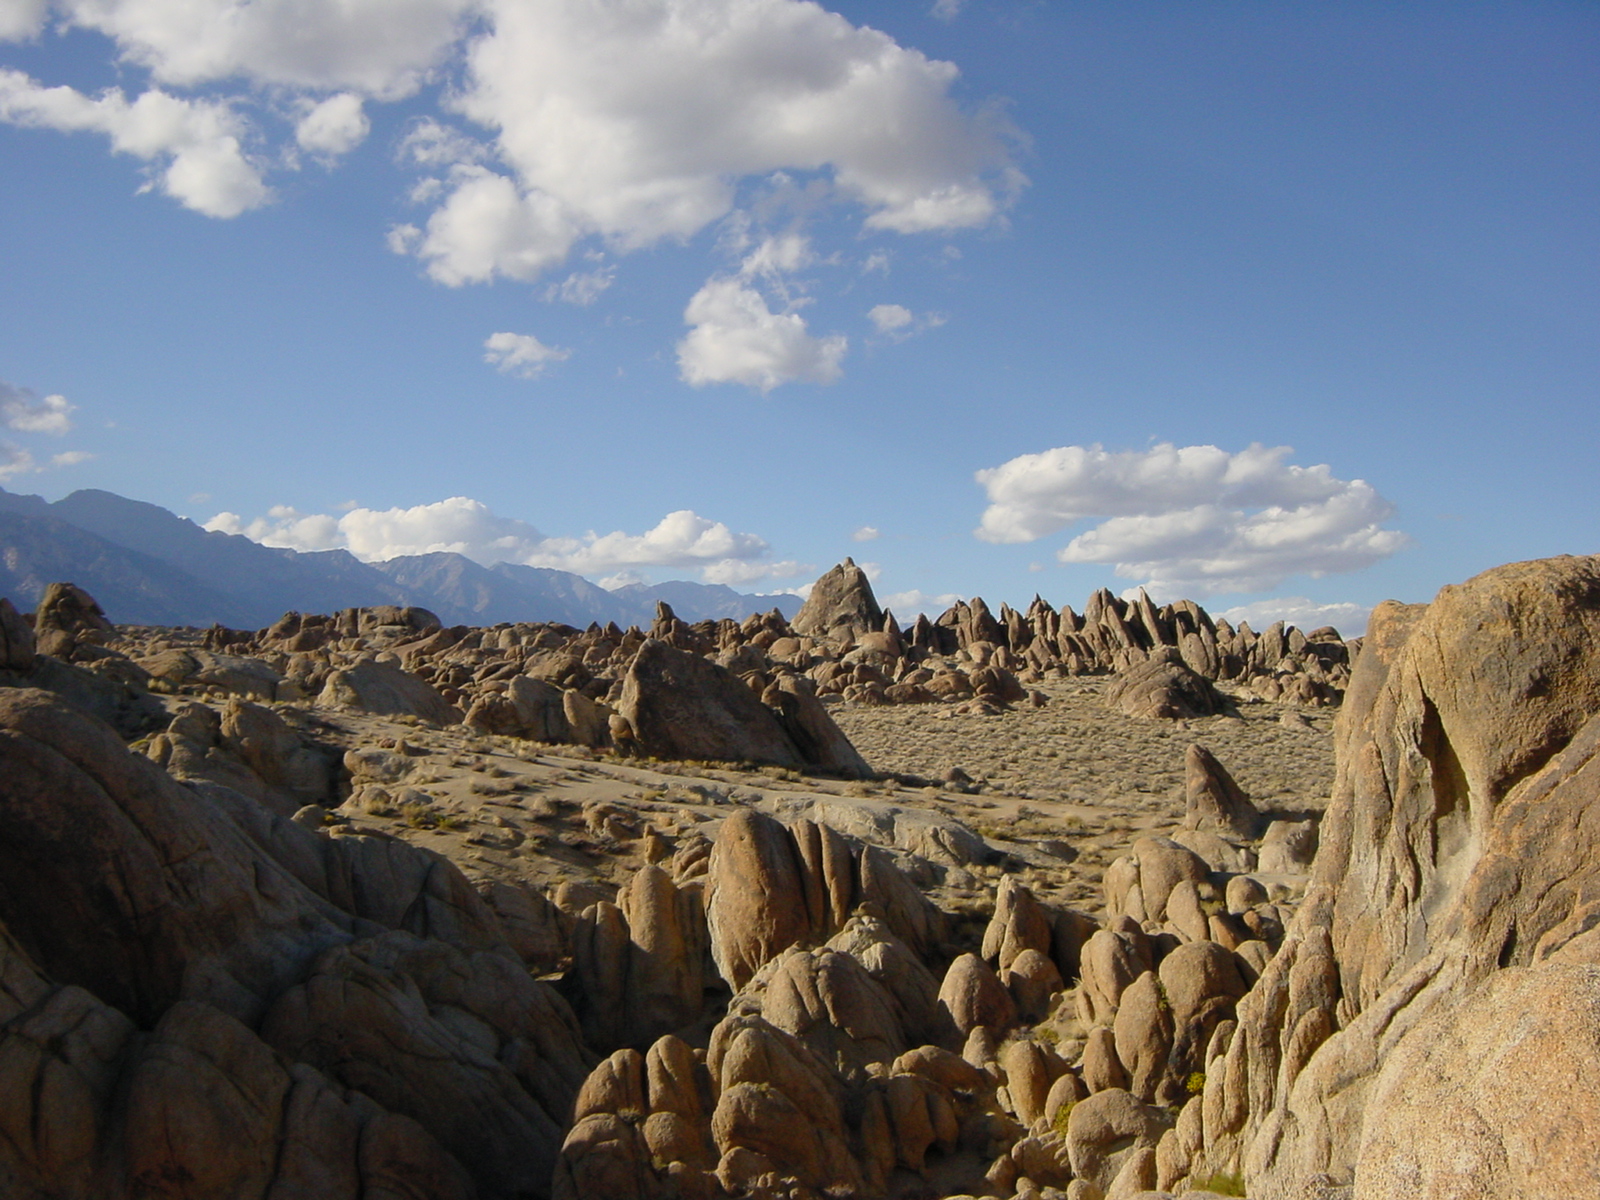
What are the Alabama Hills? The Alabama Hills are another interesting geological feature in the Eastern Sierra. According to the experts, they are the same age as the Sierra Nevada; and are made up of two types of rock: aged volcanic rock; and weathered granite. (More rock info here).  While I can’t get into the geologic particulars of the area, I can tell you that this is a great area to explore in terms of bouldering, hiking, and photography.

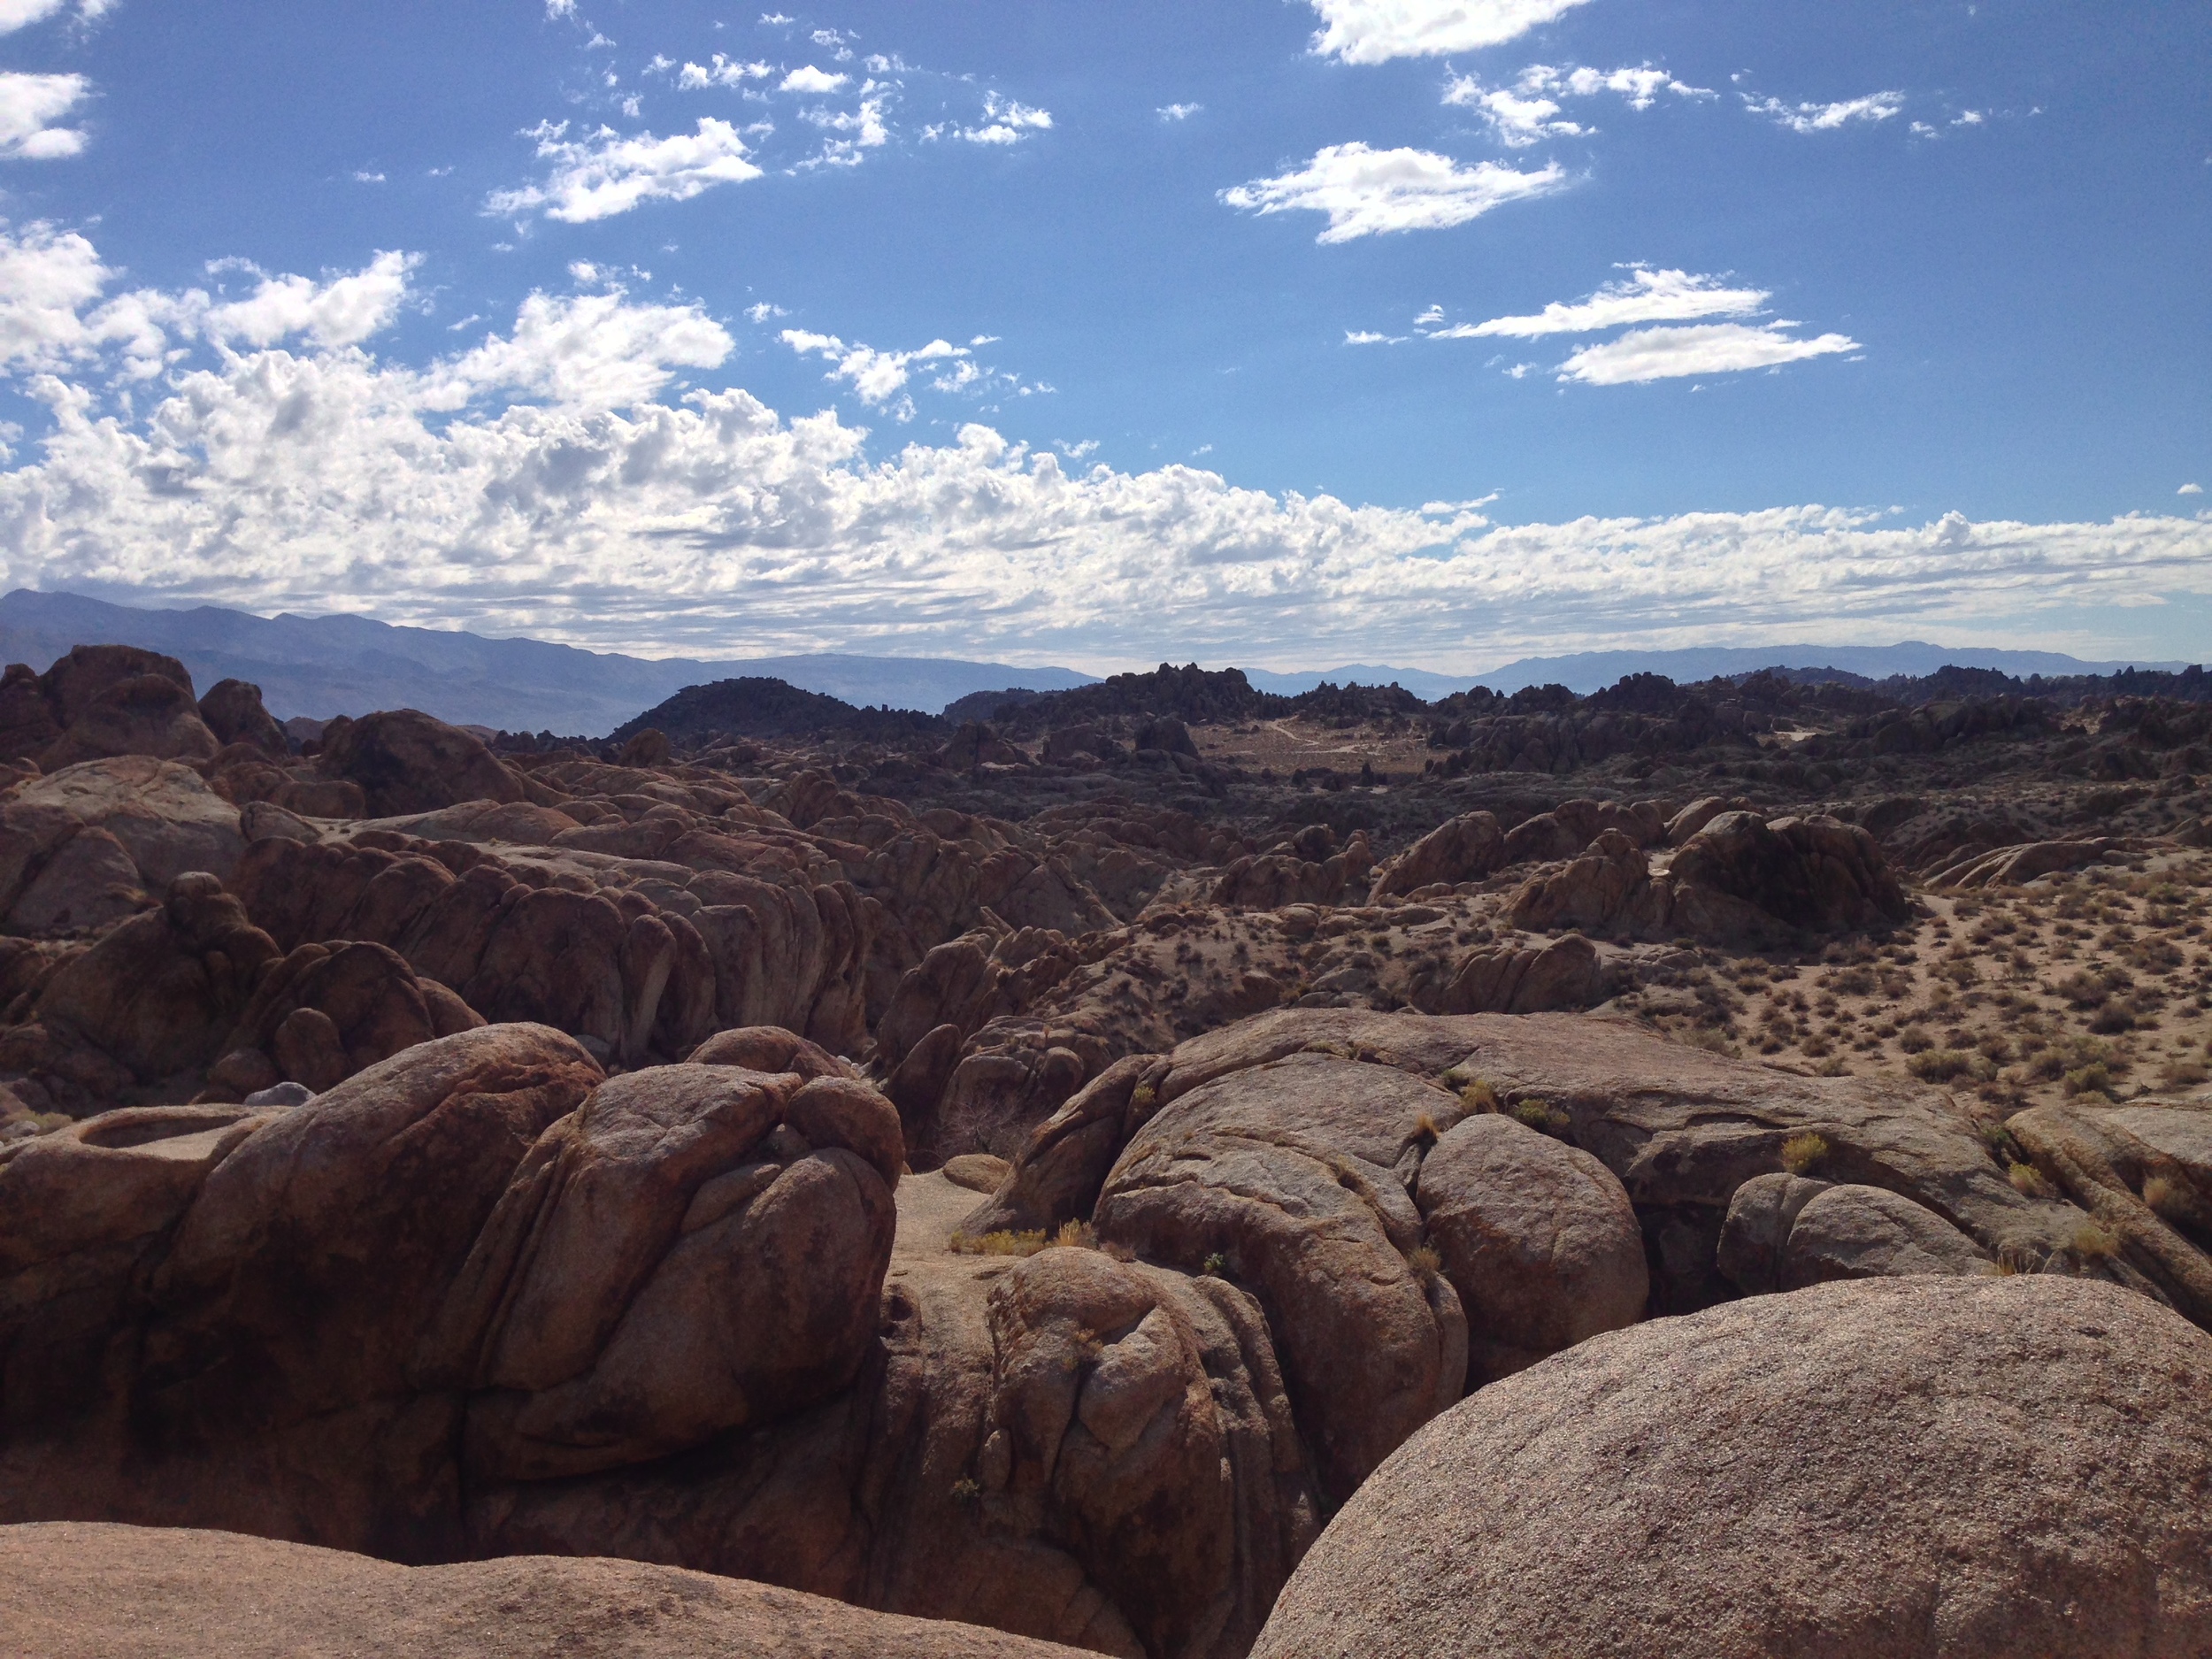
The Top Things to Do in the Alabama Hills. Unlike Fossil Falls, I’ve been visiting the Alabama Hills for years, ever since I started climbing Mt. Whitney and its companion peaks. While I haven’t yet explored the entire region, I have been in numerous spots and have never had a bad time. One of the key things to remember about the area is that it is BLM land; so it is almost an open area for exploring, either by vehicle or foot. In my opinion, the best thing to do is to simply head out into the hills to have an unplanned and unmapped adventure, assuming you’re prepared and don’t get lost! If you’re more into the tried and true, the below recommendations are also fun too!
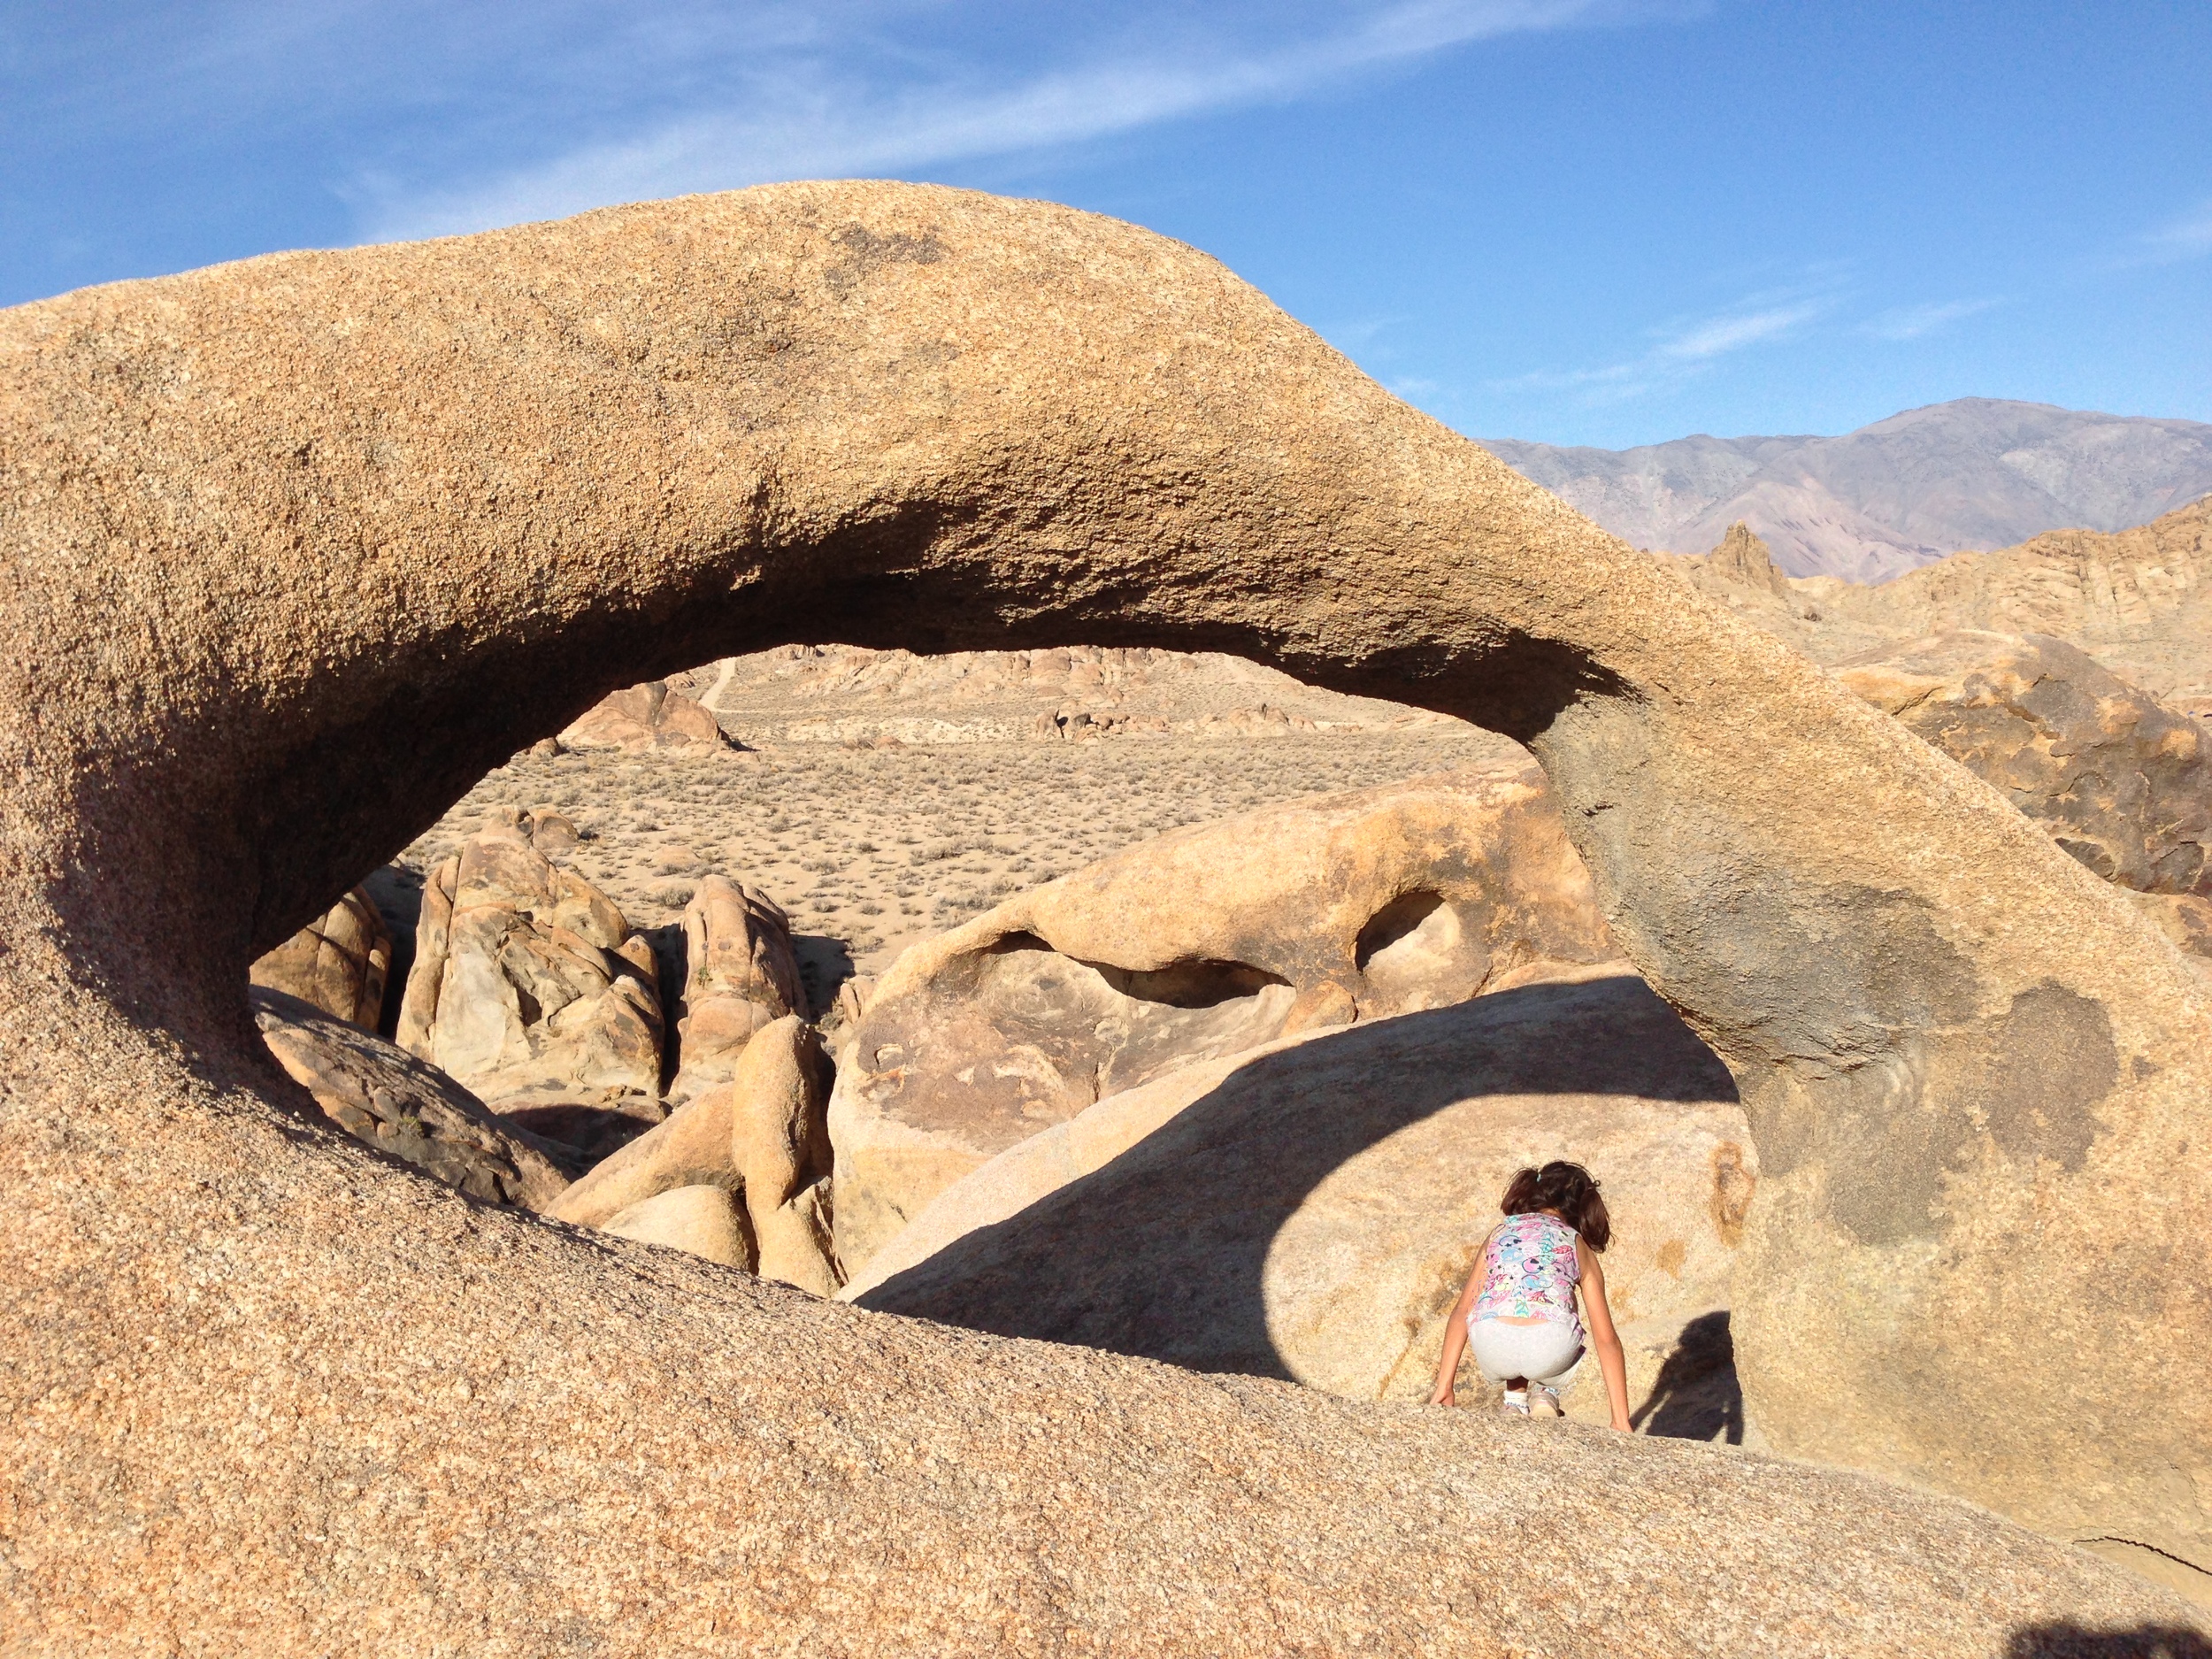
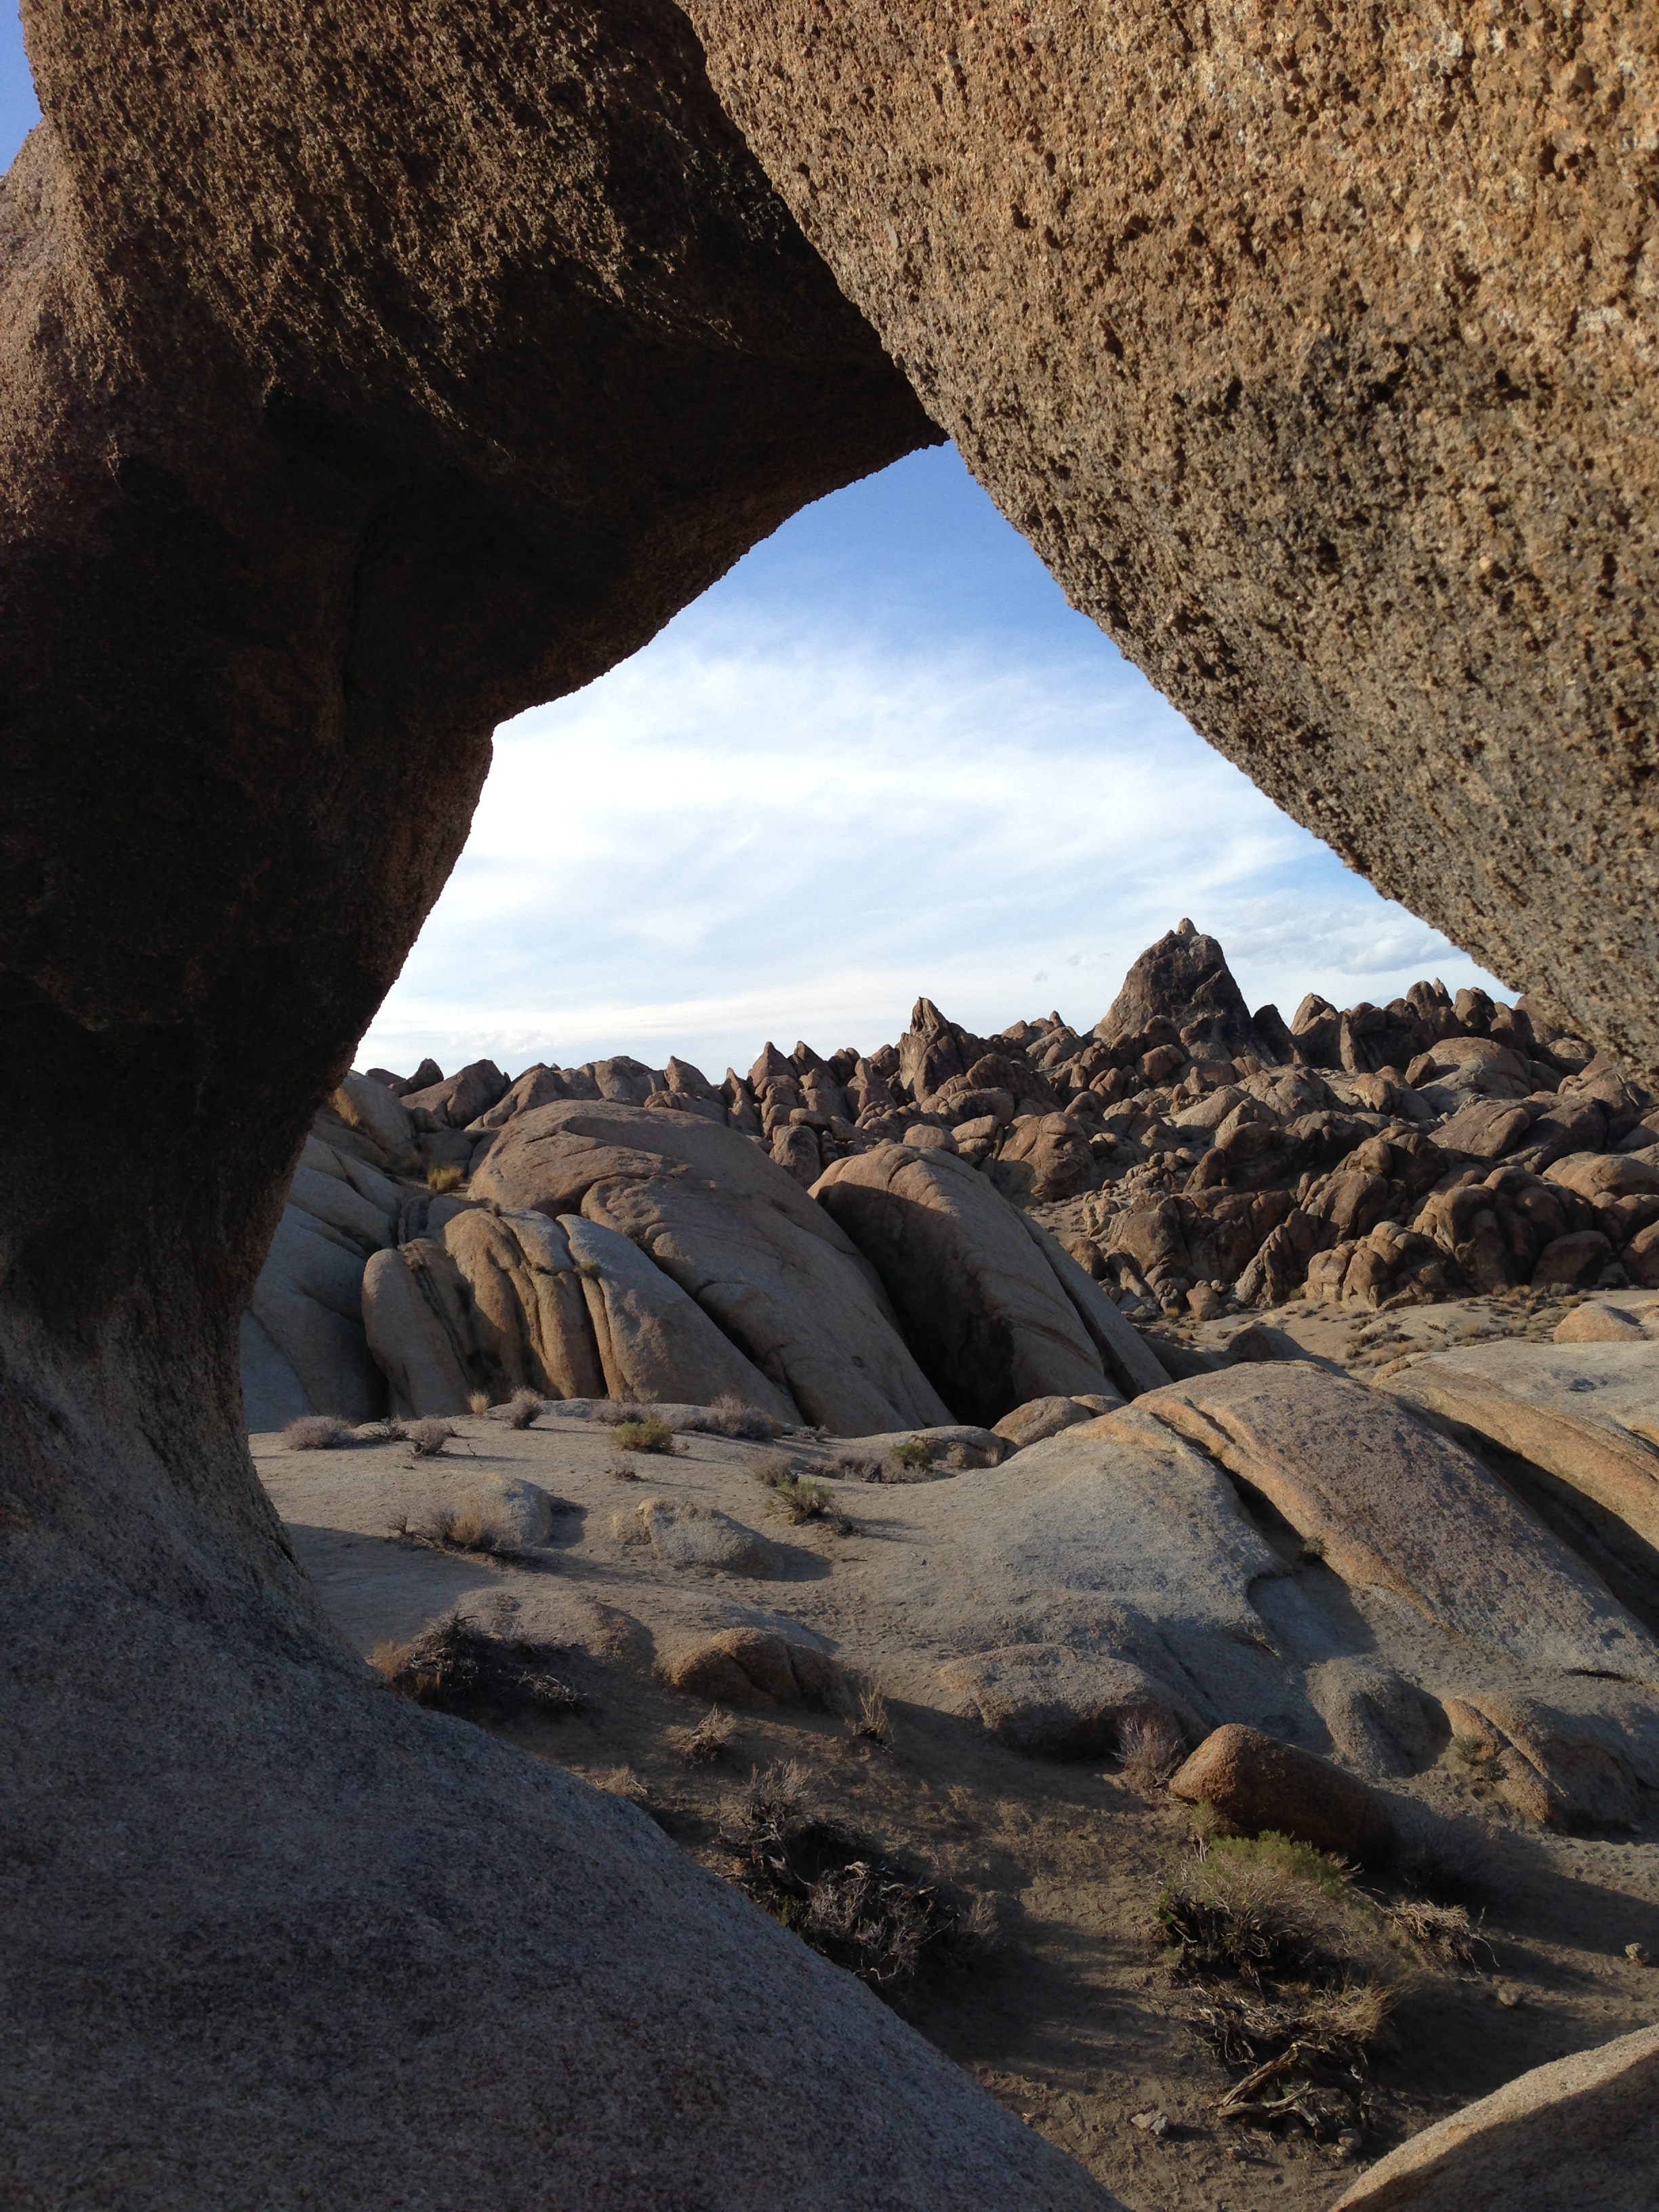
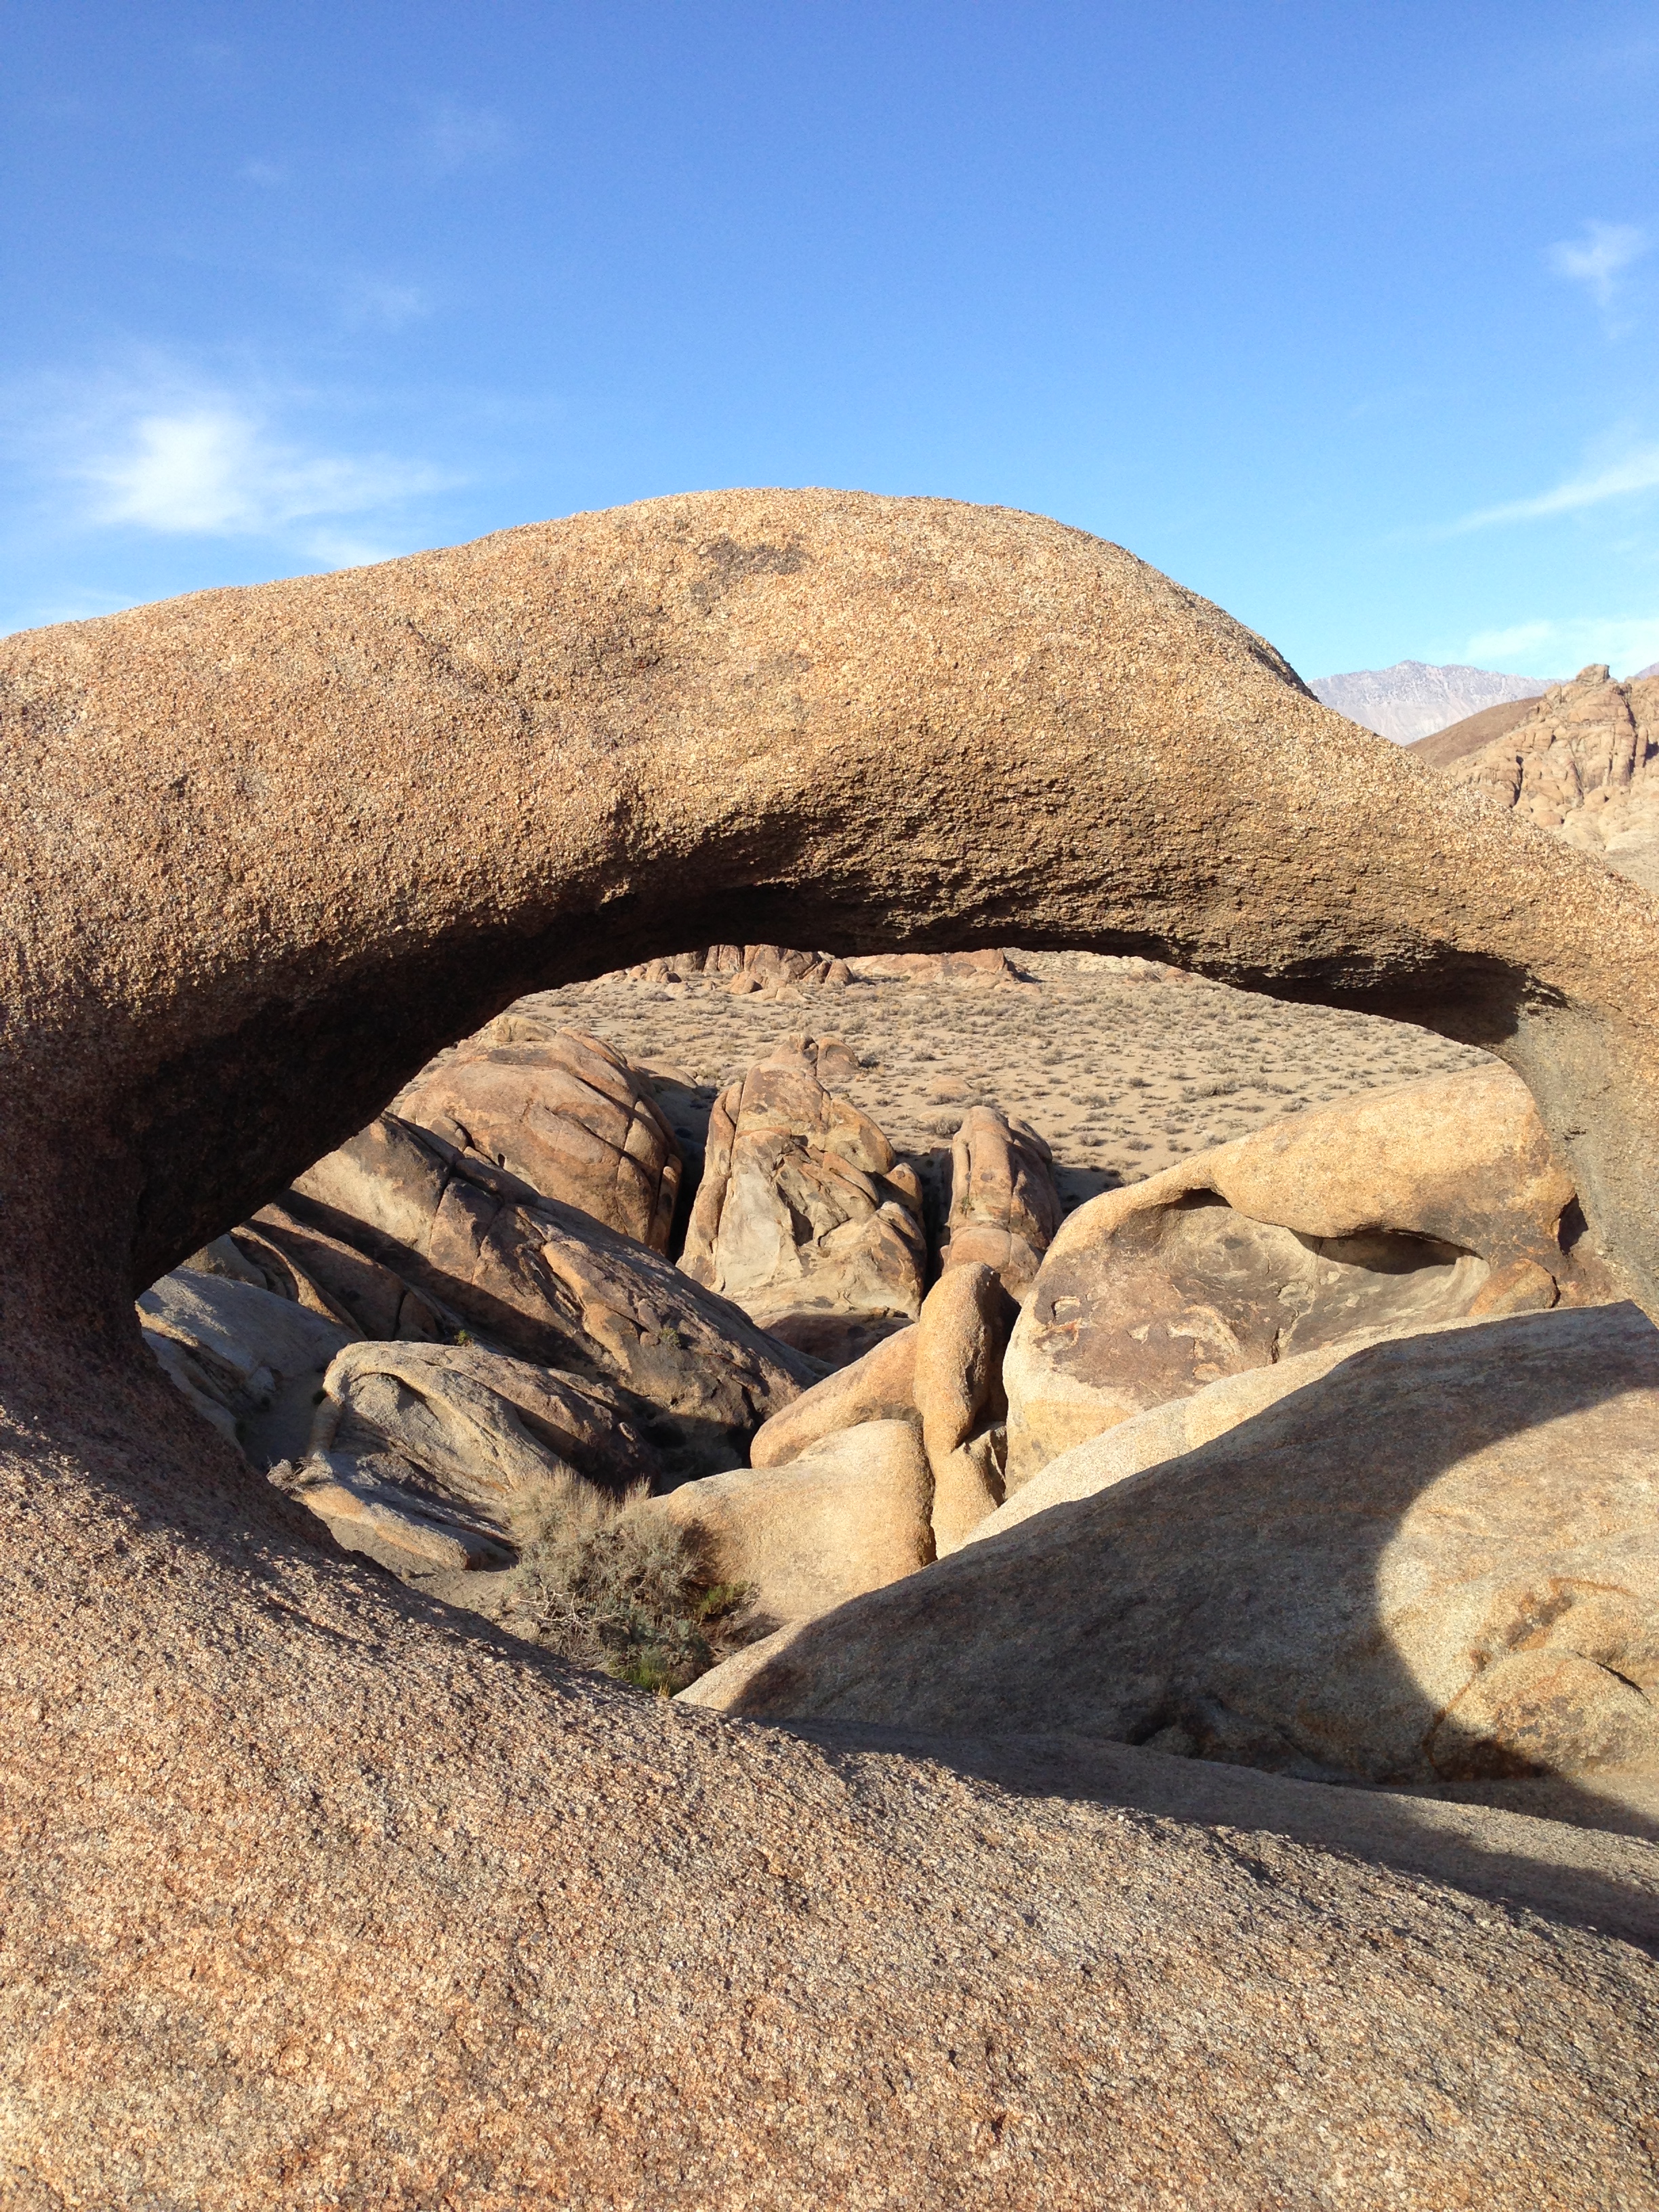
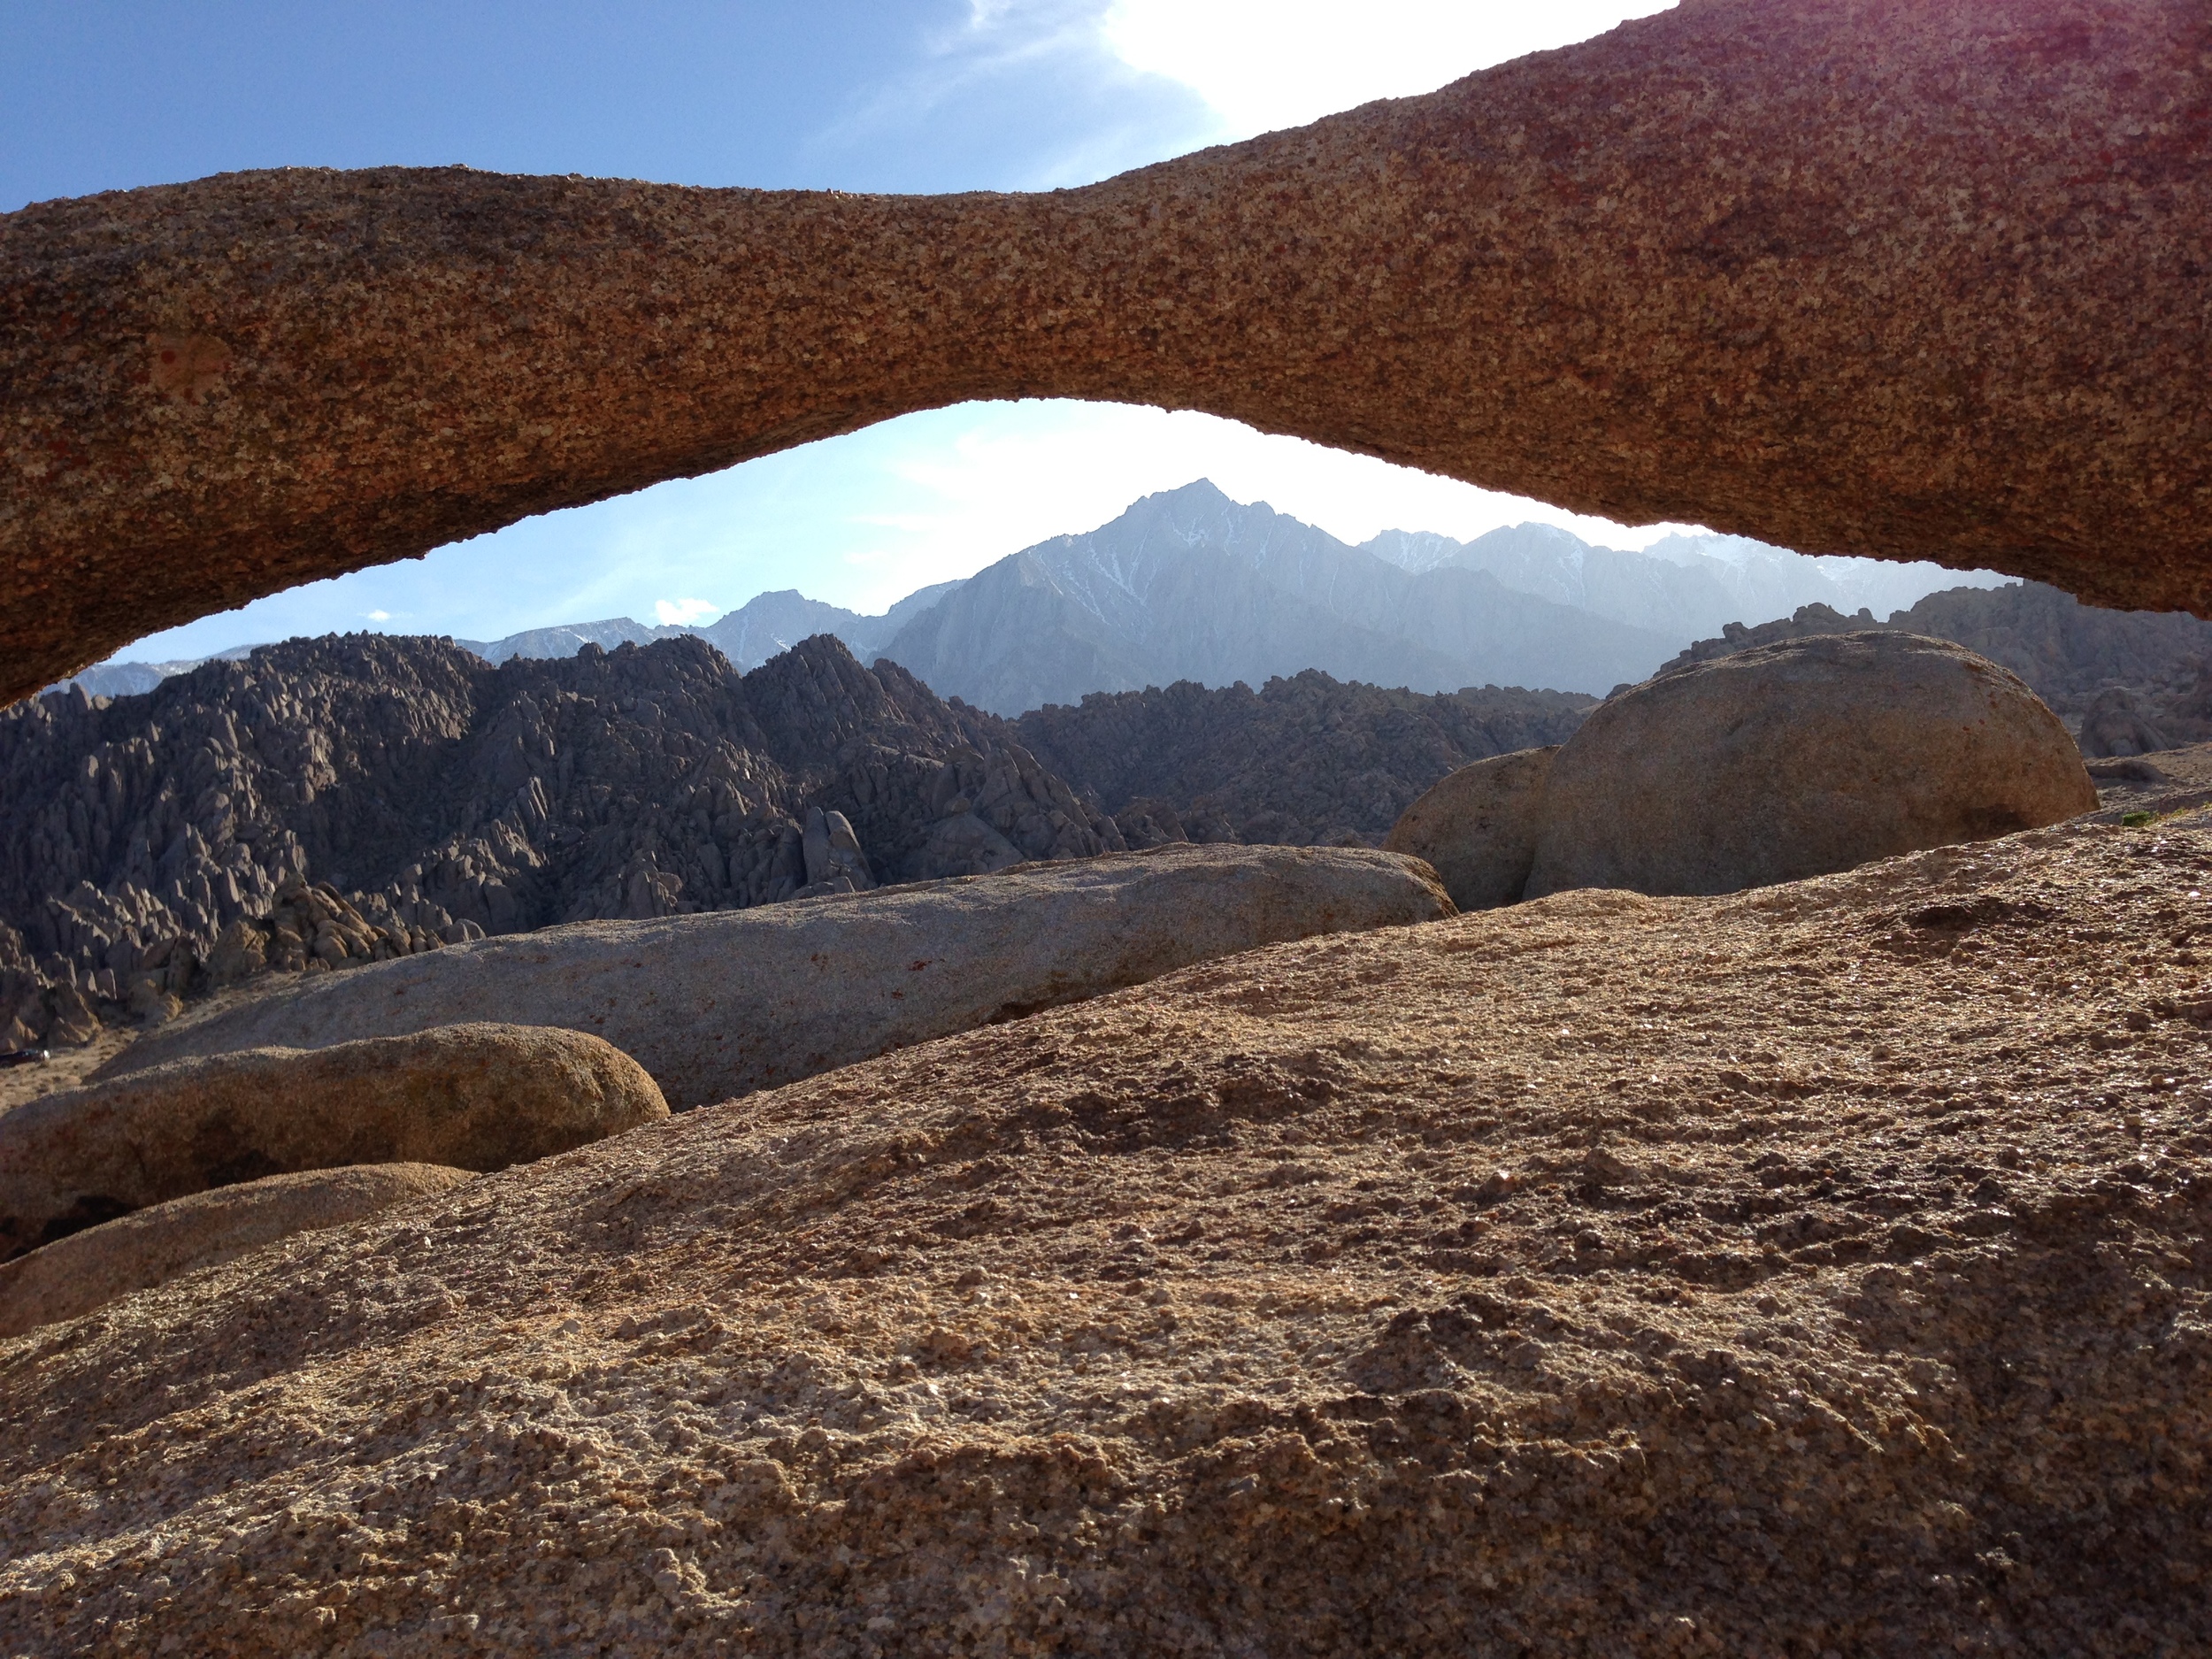
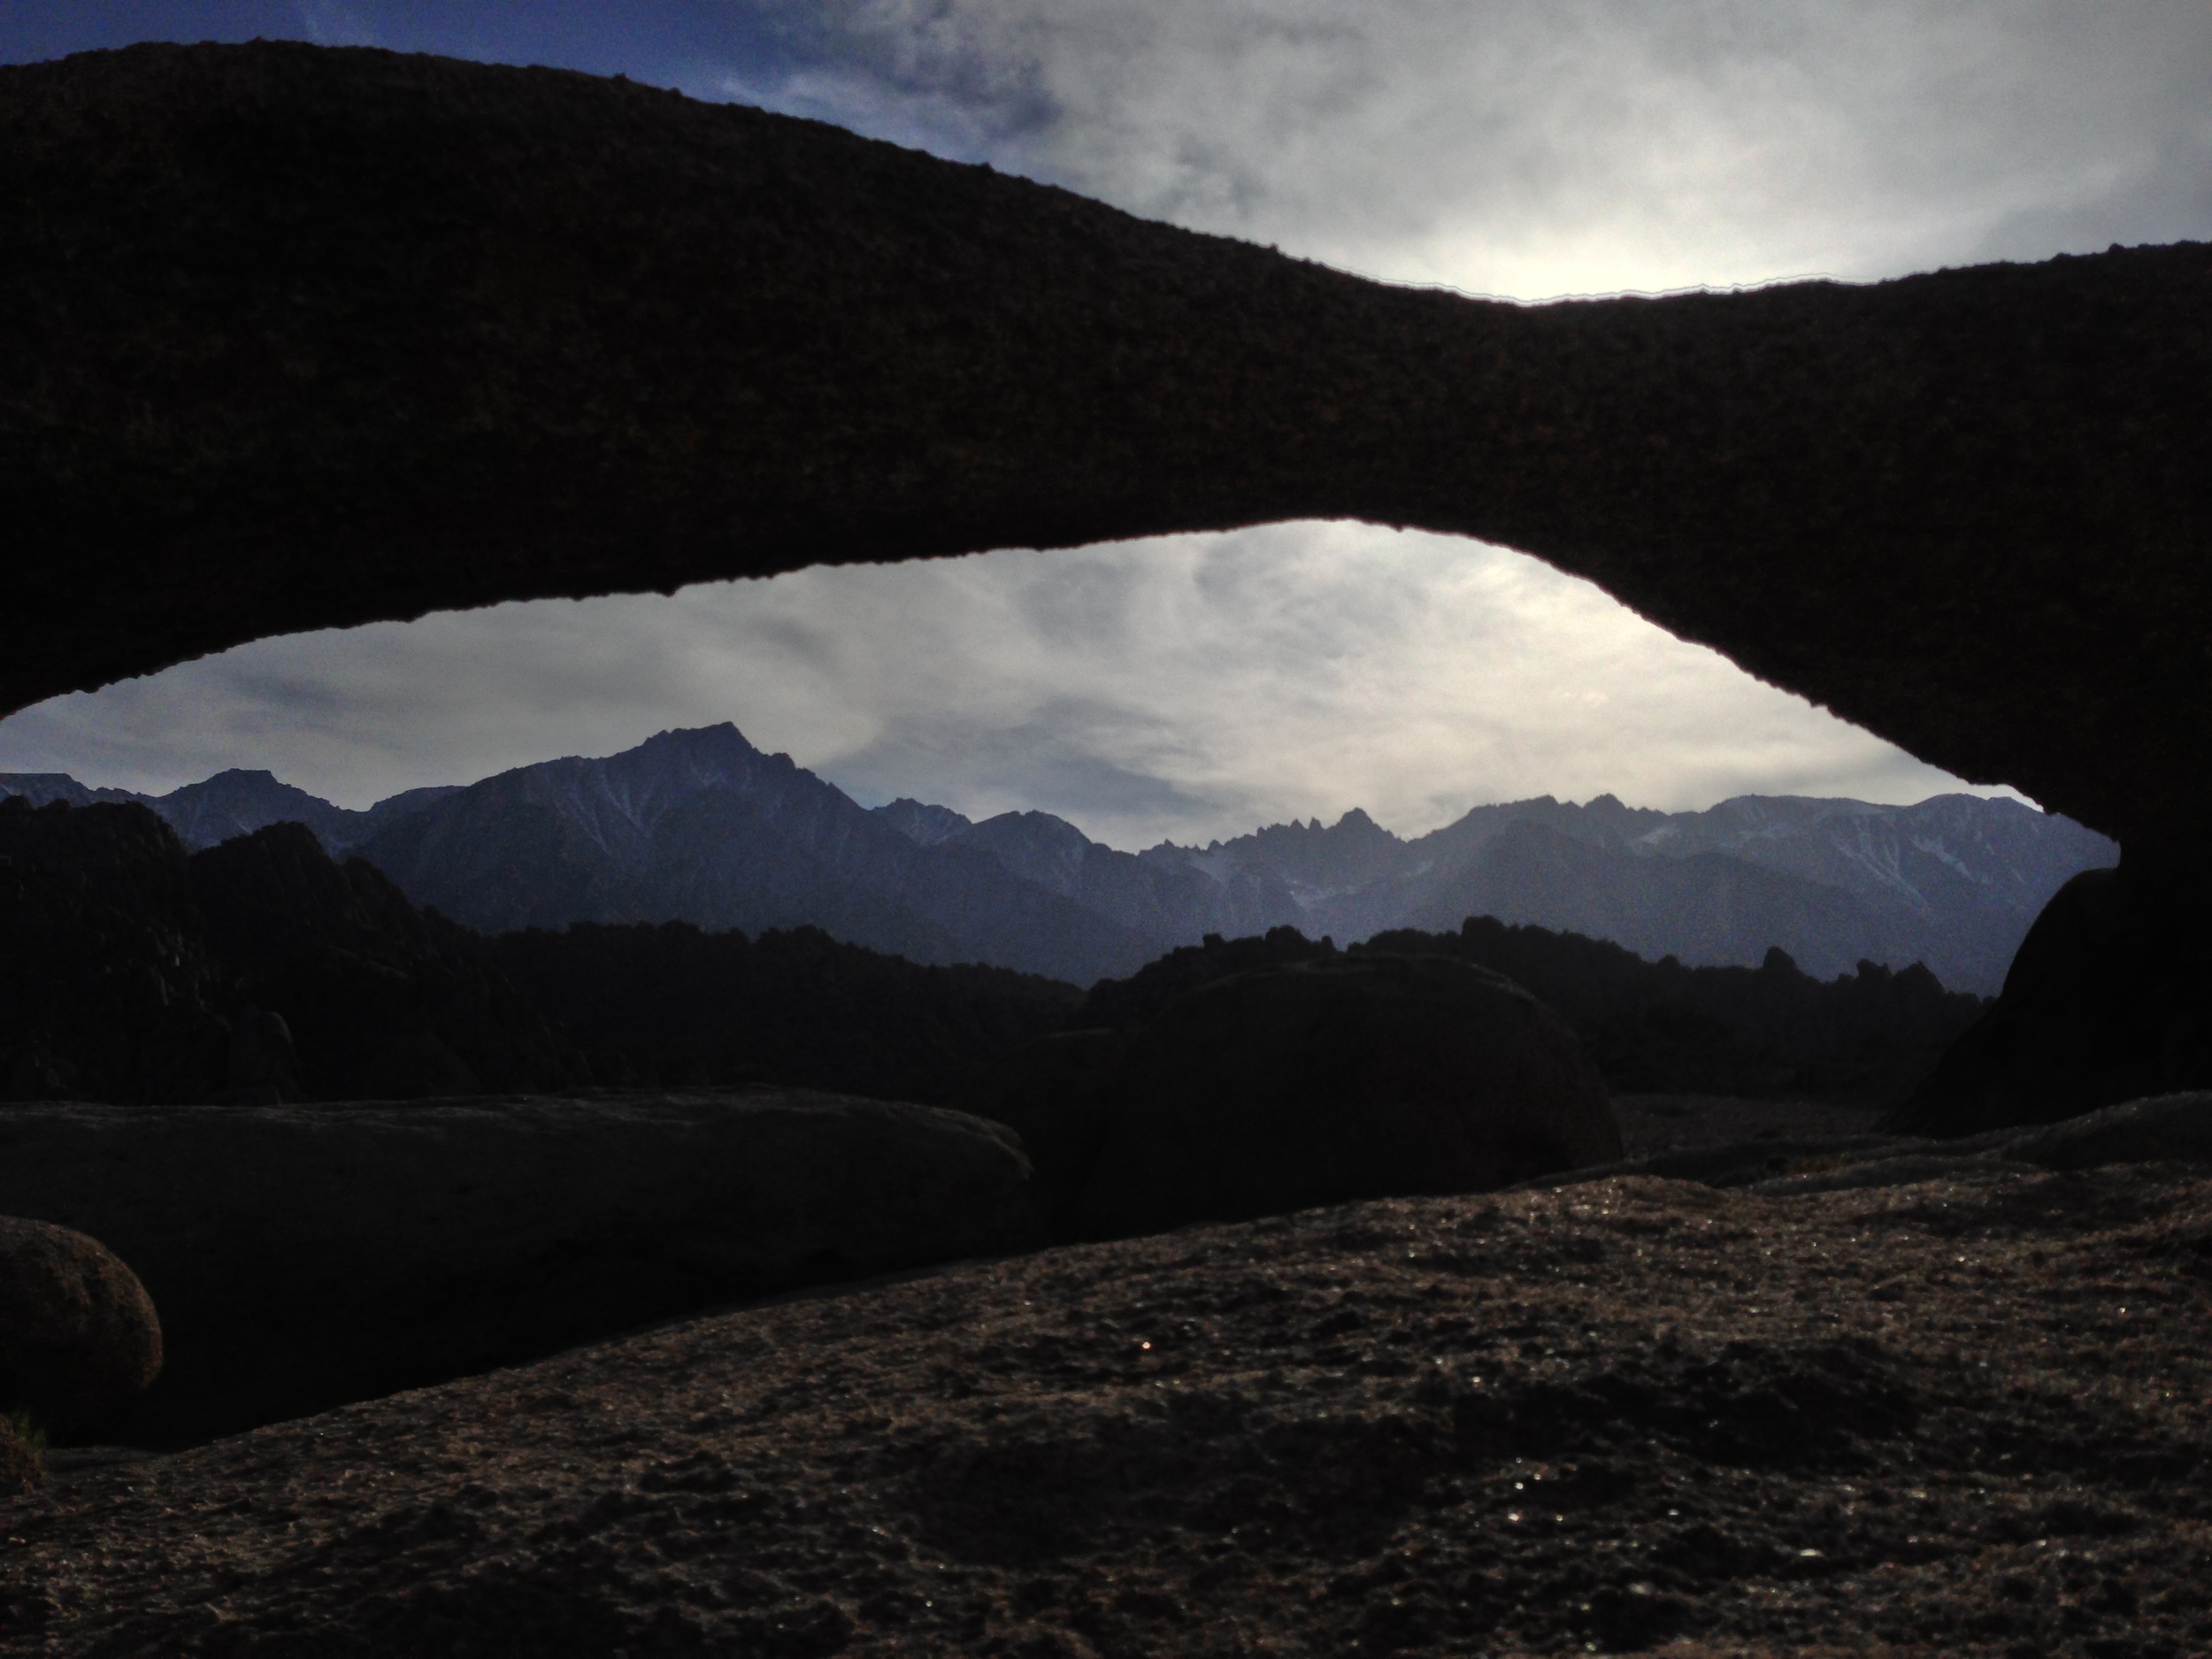
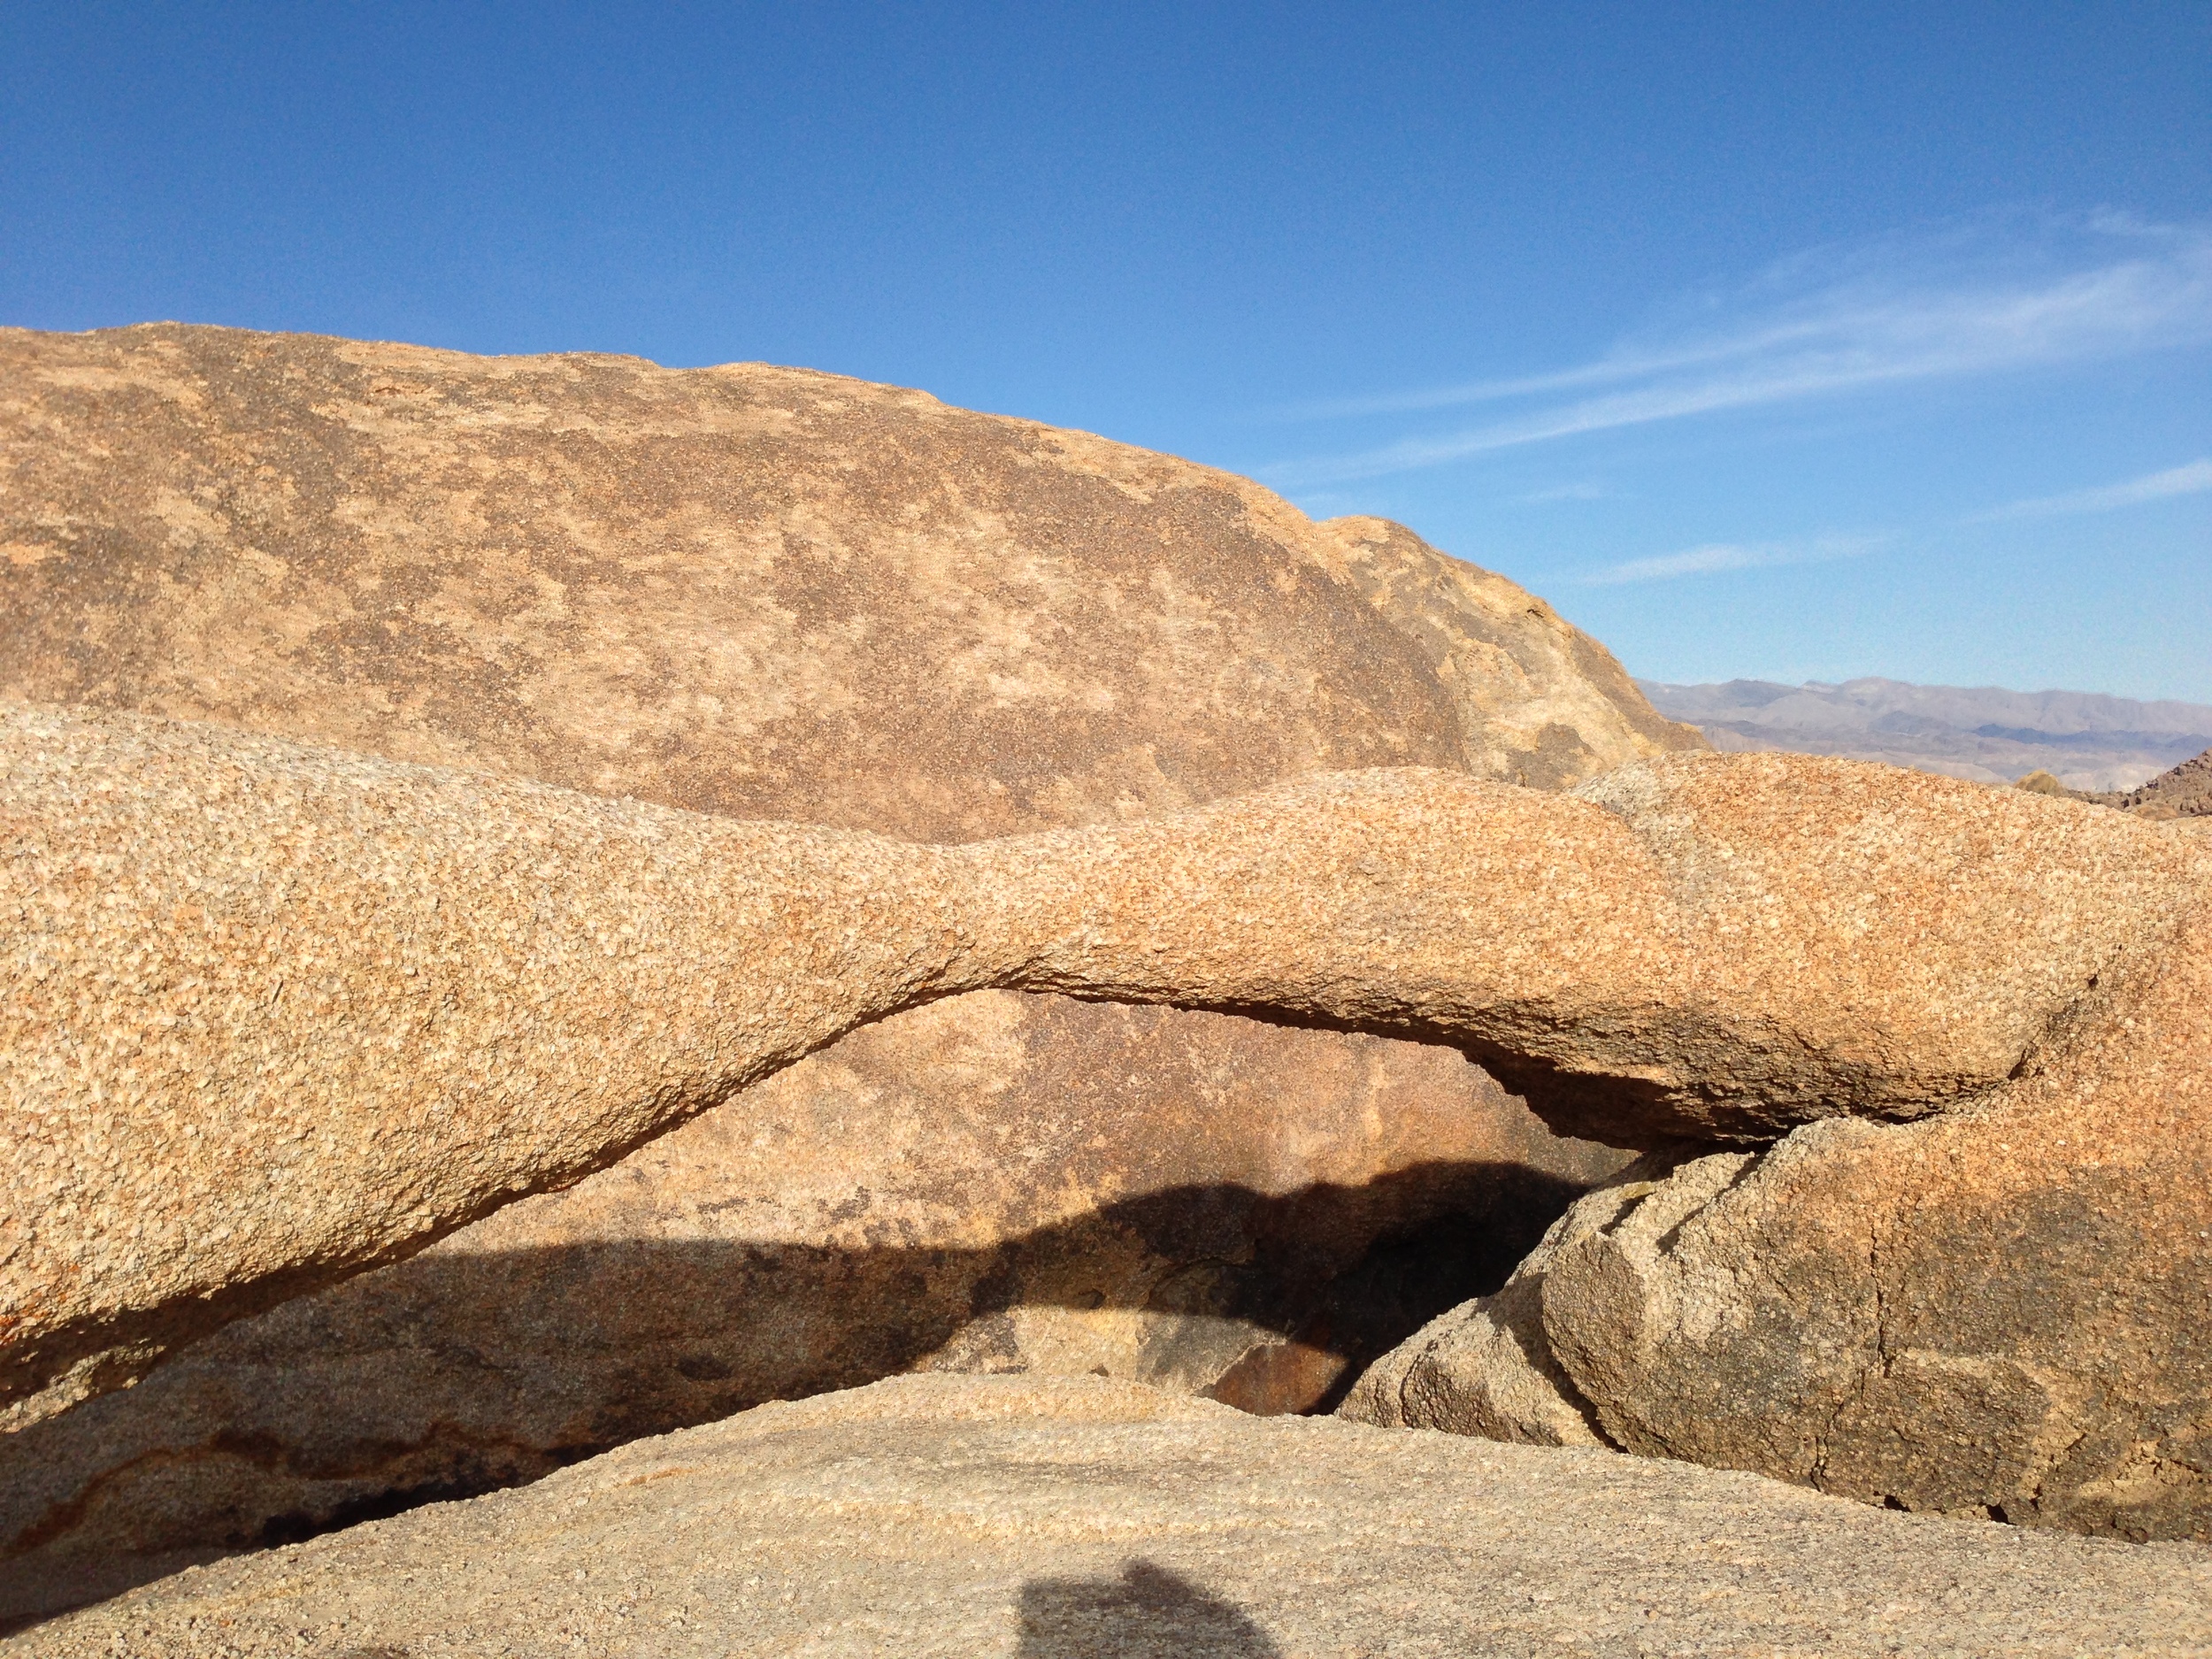
The Mobius Arch

The Mobius Arch

1) The Mobius Arch. On many of my early visits to the Alabama Hills, I explored portions of the area, and found many weathered openings and arches. Years later, I started getting questions about the “Mobius Arch”. At first I assumed it was like the Devils Punchbowl, and that everyone had their own Mobius Arch but after a while it became clear that it was a specific named spot. Again, in my opinion, the hills have many Mobius Arches, but now there is a specific Mobius Arch that has a specific trail and parking area that has been constructed by the BLM. To get to the actual named Mobius Arch, you will want to drive West on Whitney Portal Road from Lone Pine for three (3) miles until you reach Movie Road, which will be on the North (Right). Follow Movie Road for 1.5 miles until you reach a T-Junction. Once you reach the T-Junction, you will see the BLM parking area for the arch; and from the parking area, it is a .5 mile hike to the arch. While this is a stunning feature, keep in mind that it has become perhaps the most popular part of the Alabama Hills. You will see people on this hike; and chances are, you will see a number of photographers at the arch, striving for their own signature shot! 

The Mobius Arch

The Mobius Arch

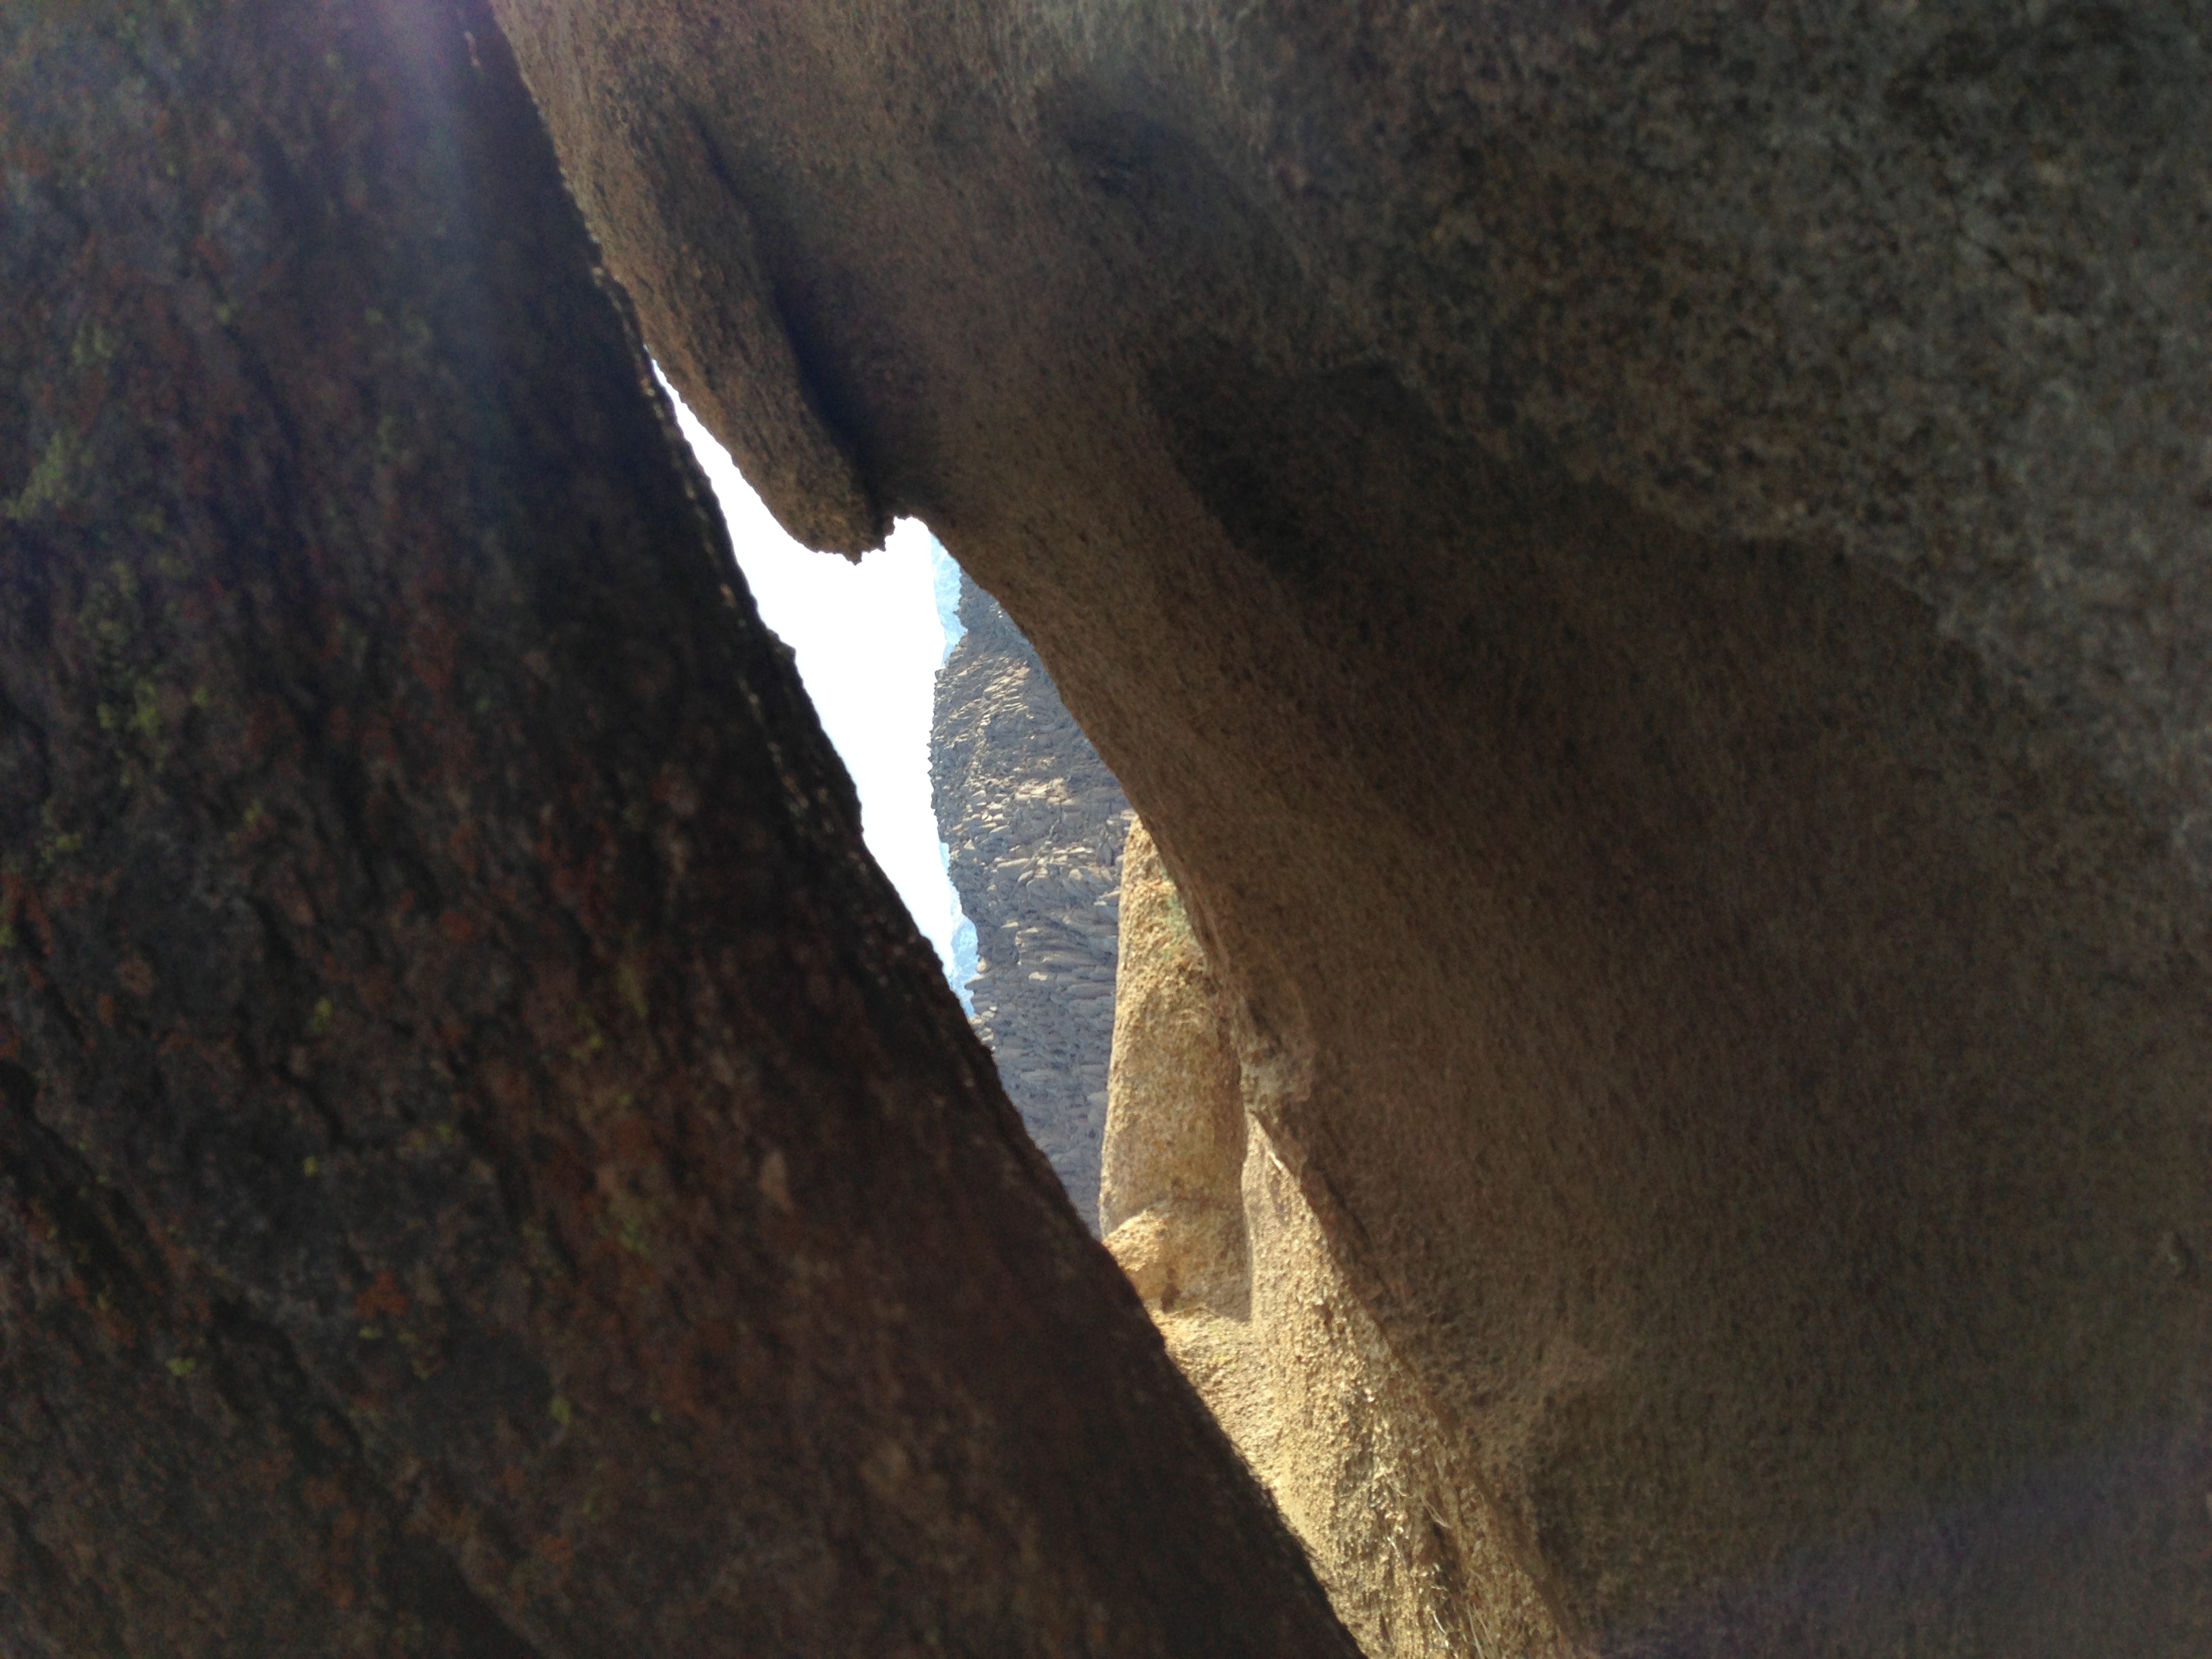
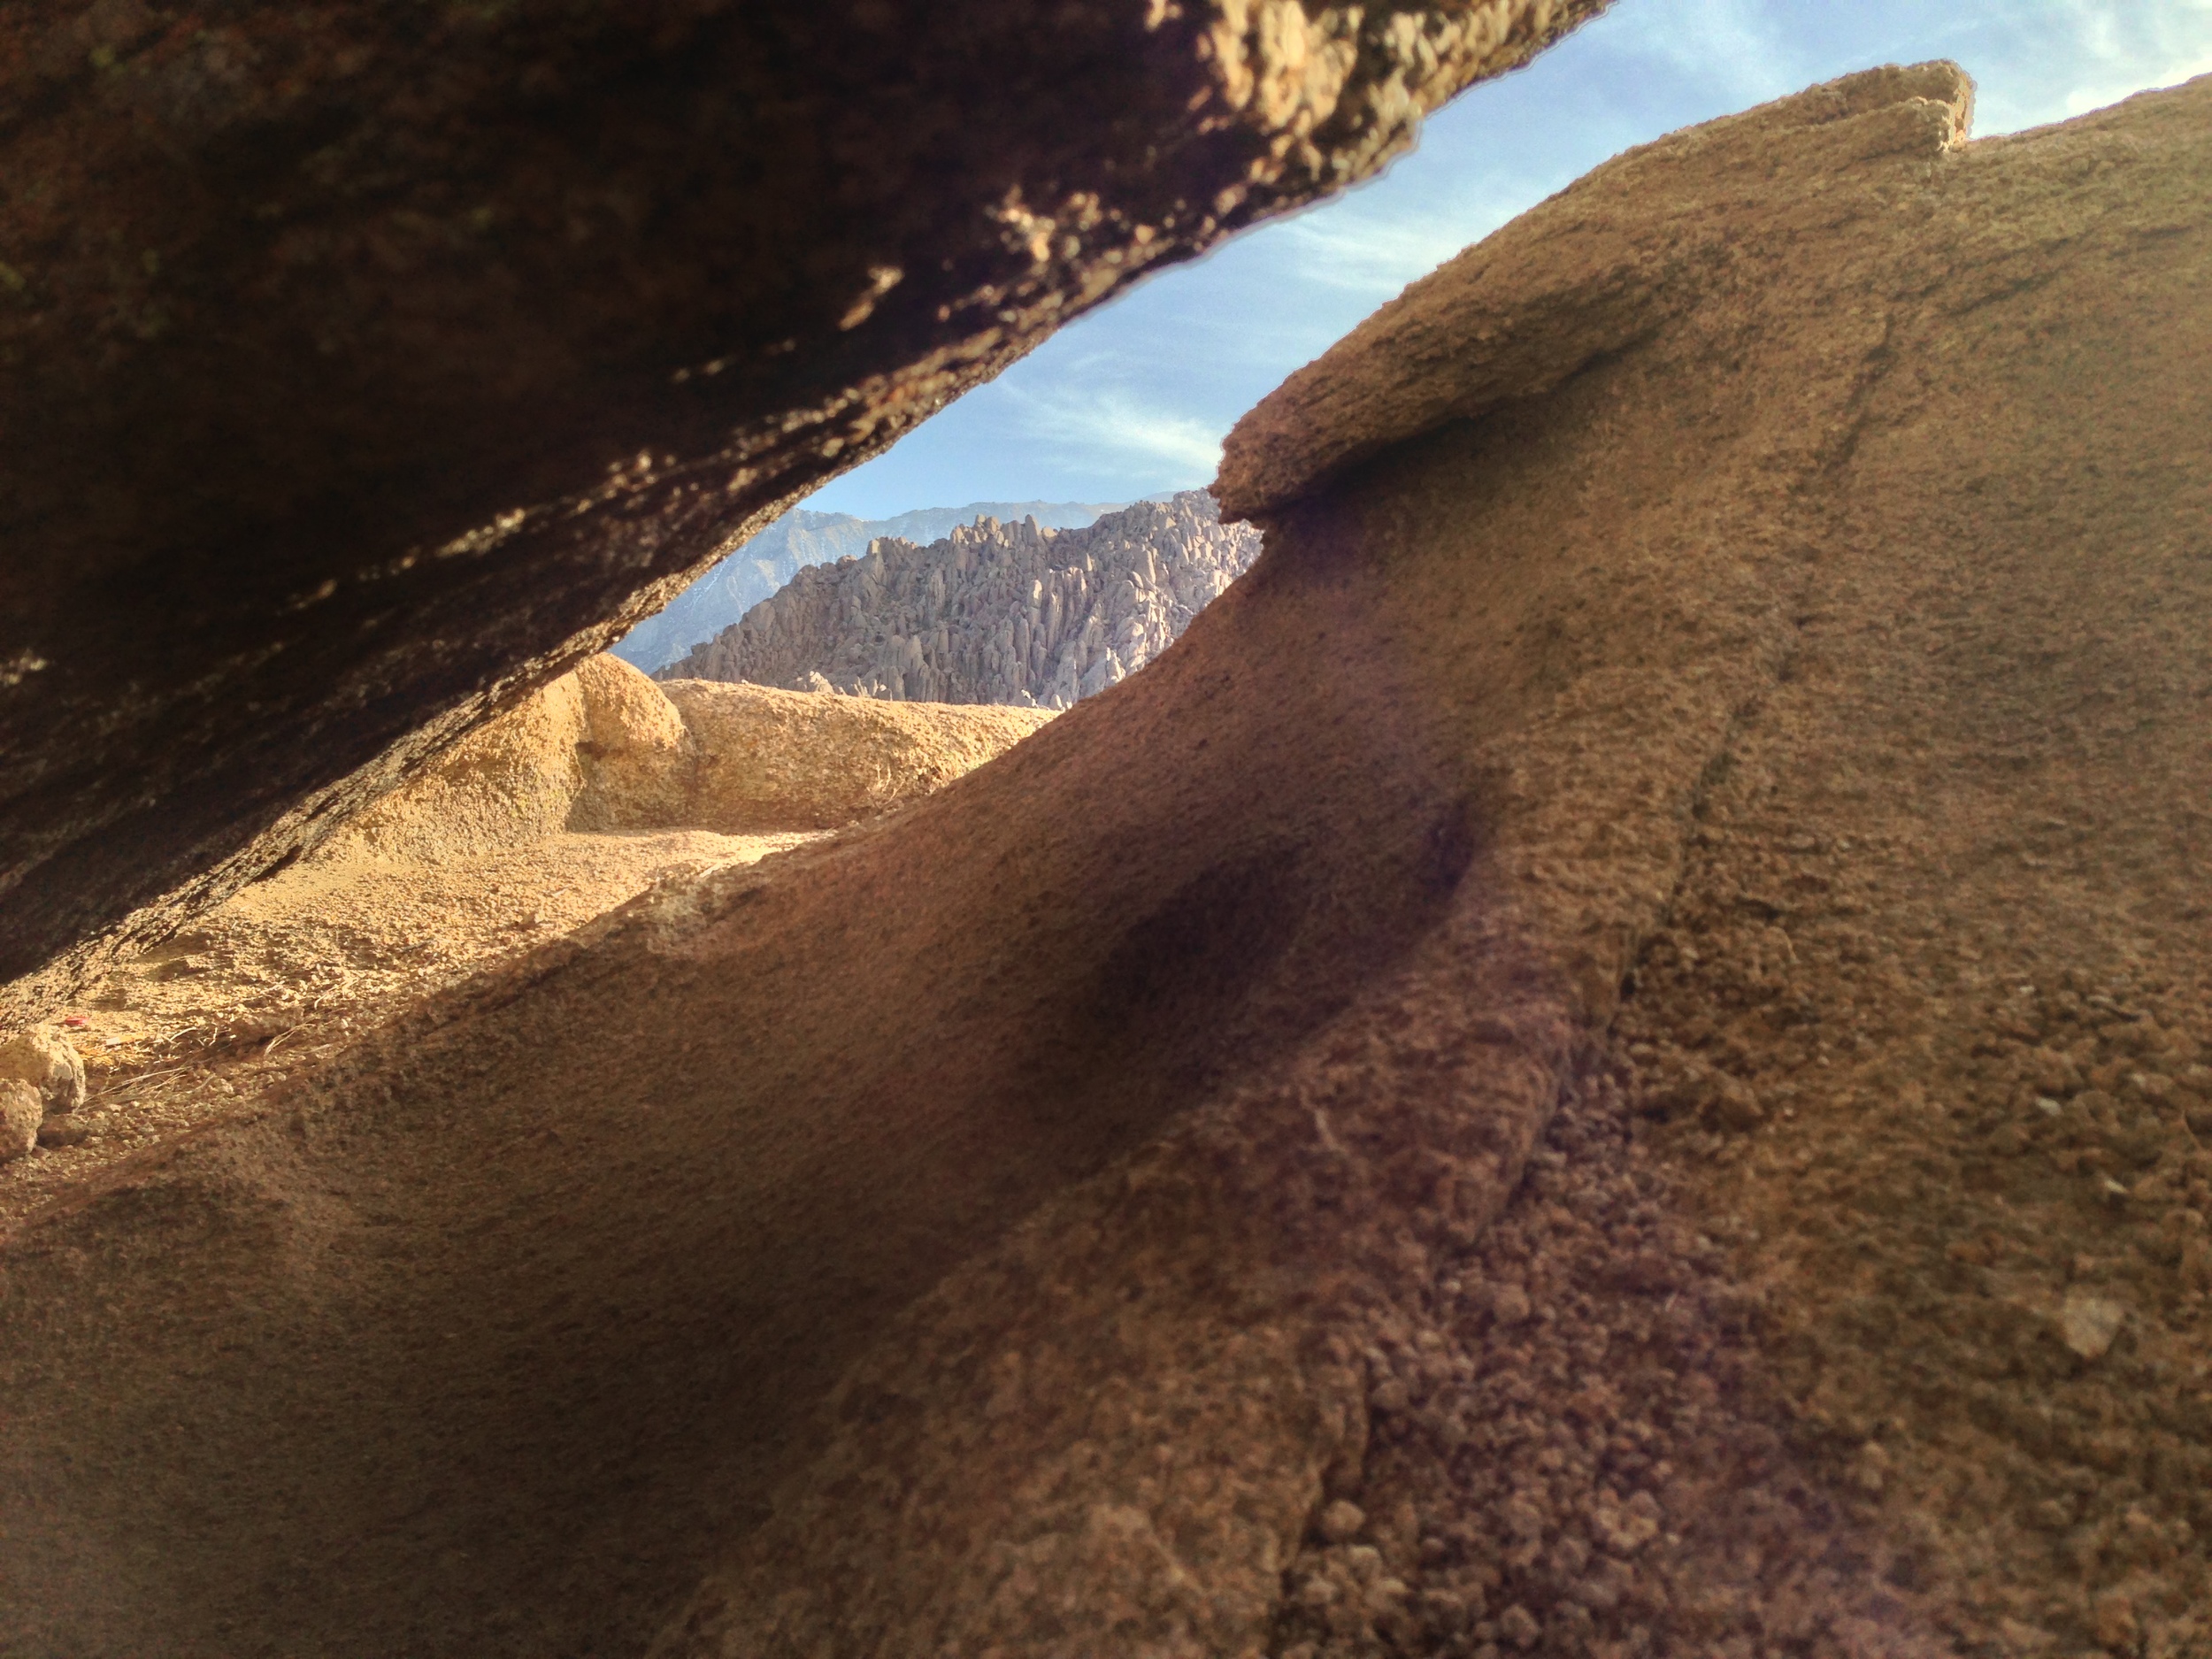
2) The Lathe Arch. This arch is located immediately to the West of the Mobius Arch, although it is much smaller arch than its larger friend. In order to get to it, you’re going to follow the directions listed above for the Mobius Arch. Like the Mobius Arch, the Lathe Arch has some great photography opportunities, and has a great view. However, as I said above, the Alabama Hills do have many of these eroded features, so if you’re looking for an arch, hole, or other angle that has not been photographed by many people, get out there, and find your own. I guarantee there are plenty of spots that have yet to be discovered.

3) The Self Guided Movie Road Tour. Did I mention something about movies at the beginning? Yep, I totally did. While the Alabama Hills always had “Movie Road”, some of the features and their attendant movies and TV shows were a little harder to find. While you could always speak to some of the locals in Lone Pine about where to go, now the BLM has a handy board in the Alabama Hills marking locations, and it also has a handy printout here online of how to proceed and where to go.

4) General Exploration. As I’ve mentioned frequently, the area is fairly open, and there is plenty to do, from looking for old mines, to fishing in certain spots, and just general camping, hiking, bouldering and photography. One word of caution: beware the Lone Pine Devil. Other than that, have a great time!

Interested in what other people think of the Alabama Hills? Check out my friend Paulina's thoughts here!

Lathe Arch

Lathe Arch

The Alabama Hills - Does the Lone Pine Devil truly live here?

The Alabama Hills - Does the Lone Pine Devil truly live here?

Gear list for a single day ascent of the Mt. Whitney Trail, Spring 2012

Note: The gear in this photo is not the gear talked about below!

Back by popular demand, it’s the list of gear that I will take up Mt. Whitney in a few days. As always, know the conditions and do not follow my recommendations blindly. Equally as important, know your own body, which will help you determine which items are best for you to keep your core temperature in the proper range during the ascent. As I noted yesterday, the weather on the mountain can change rapidly; and you will need to have the clothes to withstand such climactic changes. Chances are, unless you are some sort of alien, your body will go from cold to hot and back to cold during the hike, which means you will need to layer appropriately to avoid heatstroke or hypothermia. Last, just because I reference a piece of gear in my list that I am using does not mean that you need to have the exact same piece of gear – certain manufacturers make similar gear; some gear I am using may (gasp) be several years old, but reliable; and some gear from other parties may fit you better. Use your best discretion in utilizing this list as it is a mere guide, not the end-all-be-all of gear lists, but you can also be assured that I do know what I’m doing as I’ve been up this mountain 11 times, and summited 7 times, in addition to all of the other mountaineering that I’ve done. So, without further ado, here’s the gear I’ll be taking:

Mandatory (Meaning, I have to have it for the climb in May 2012, and if you are going in May 2012, you should probably have it too):

1)      Backpack: I run a slightly larger Arc’teryx daypack that I’ve been using for several years now. I’m not sure what the model is, but it’s served me well, and I like how Arc’teryx gives you comfortable padding on the shoulders/back/hipbelt. Whatever backpack you are bringing, I suggest that it has a spot to either strap on your ice axe or a loop to attach it. 

2)      Ice Axe/Crampons: At this point in time, there is snow/ice on Whitney, and if you are looking to ascend and descend safely, you will need these tools and the knowledge of how to use them. Both my ice axe and crampons are made by Black Diamond, but there are other solid brands out there. Make sure that the ice axe is sized for your correct height, and the crampons fit your boots ahead of time.

3)      Water: I carry a full four liters, mainly because I like to stay hydrated, which helps with the altitude, and because I hate stopping to filter water. I also like to have extra in reserve for emergencies, and as a bonus tip I’ll admit that I actually carry five liters, in that I’ll probably drink a liter before heading up the trail.

4)      Clothing (to wear): I’m going to be wearing a set of breathable hiking pants; hiking socks (good socks, almost as important as good boots); mid-weight fleece long underwear top; and I’ll bring a soft-shell fleece jacket that’s heavy for two reasons: 1) no need to carry an additional waterproof shell; 2) it will keep you warm when you do stop/protect you from the wind. Chances are I won’t put on my jacket until I get to Trail Crest; at which point I’ll also change my top despite it being a wicking fabric. I will also bring a pair of gaiters, because no one likes snow inside their boots.

5)      Clothing (reserve): Since you don’t want to carry much weight on a one-day climb, you want to keep your reserve clothes to a minimum; while leaving you with room for margin should you need them. Since I carry a soft-shell fleece, I don’t carry an additional jacket. What I do carry is a set of long underwear bottoms, and an extra long underwear top to wear from Trail Crest down. That’s it. The only way I would consider carrying extra clothes than that is if I knew the conditions called for extreme cold or weather, in which case, a lot of things would be different.

6)      Hats: I carry a fleece hat for cold; and a brimmed hat for sun.

7)      Boots: I will be using my set of Asolo Mountaineering boots that fit my crampons. The only good piece of advice I can give you about boots is that you should never take a brand new pair of boots on this hike that have not been broken in. Other than that, it’s personal preference.

8)      Food: Again, for a day climb, you shouldn’t be looking to eat gourmet meals. This again is a personal preference area, but you have to eat. For starters, you are going up 11 miles, and ascending 6,000 feet – you will be burning calories at an amazing rate. If you’re not eating, chances are you’re not going to make it because your body will run out of energy. I personally take energy bars and other high protein sugar fare, and munch through the day, knowing that I can have a good meal the night before and the night after. If you want to take sandwiches/cook food, know that you will be either: a) carrying extra weight; b) taking extra time. If it’s in your timeframe/plan, good for you; I pretty much only stop at Trail Crest and the Summit. Also, as another bonus tip: watch out for marmots when you do stop, because they are looking for food and quite aggressive, and will chew through packs, tents, and other items if you aren’t attentive.

9)      10 Essentials: Some of these are covered above – food, water, clothing. The ones that aren’t – such as matches, water purification tablets, emergency blanket, knife/multitool, map/compass (or GPS), sunscreen, sunglasses, and first aid kit, to name a few, you should have on your person. Even though Whitney is a popular trail, you should always be prepared.

10)  Wagbag/TP: Everyone poos. Chances are you will need to use it. Best bonus tip you will get: bring an extra bag to put the wagbag in, in case of leaks/spills and to cut down on the smell.

 The infamous "Wagbag" - everyone poos!

Optional Gear (You might want it; then again, you might want to save the weight).

1)      Camera: I’ve been to Whitney a lot, so at this point, I rely on my iPhone to get the shots/video. It works great and saves weight.

2)      Trekking Poles: I hear these save knees, but I’m not quite ready to sign up for a set just yet.

3)      Additional Clothes; additional food; additional water; or anything else that you think you need/want in particular. If you think you’re packing too much: you might be – don’t be like this guy here: http://youtu.be/ZzUDr3wdOac, and like me, enjoy your hike/climb!


Going for a Two Day Climb? Check out this list here: http://lastadventurer.com/last-adventurers-fieldnotes/2007/12/10/the-las-list-of-gear-for-whitney-october-19-20-2007.html