Skiing/Snowshoeing/Hiking the Mariposa Grove in Wintertime

The Mariposa Grove in Winter

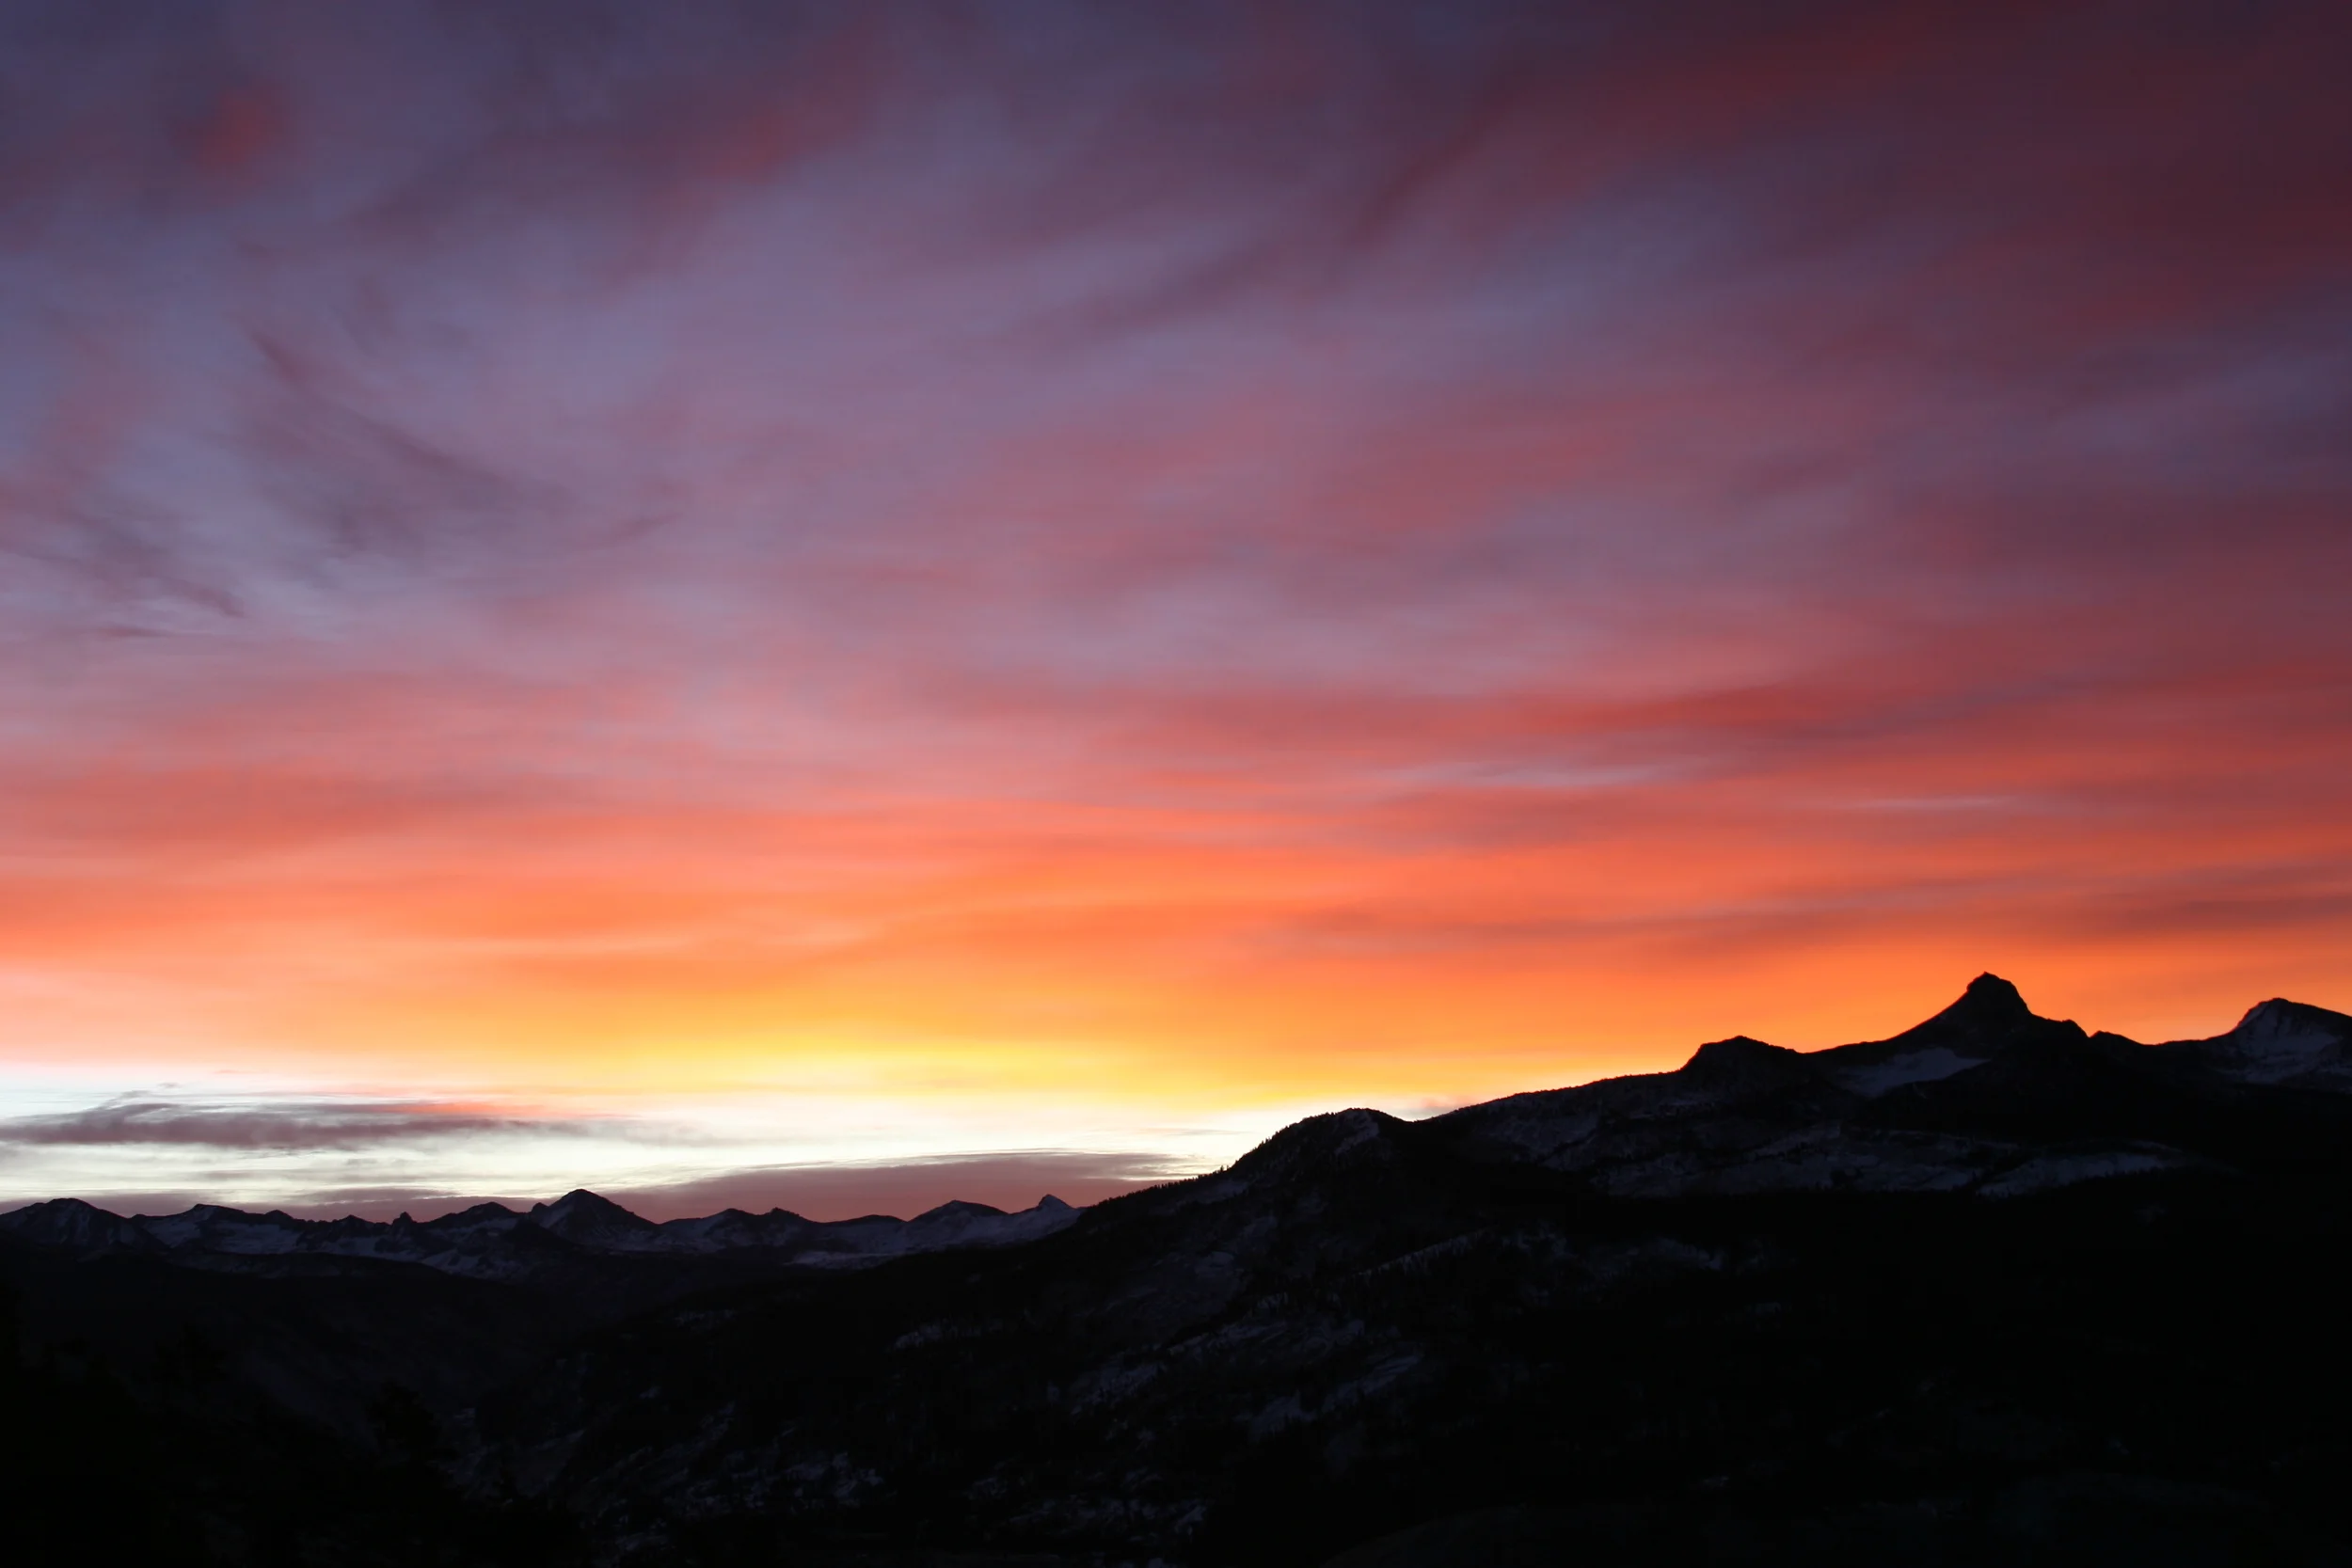
The first thing you notice when you enter the Mariposa Grove in the dead of winter is the silence. (http://youtu.be/uImXDsJ4VNA) The distant rumble of buses, the clarion call of horns, and the screech of car brakes are all gone. The babble of a multitude of voices speaking the languages of the world is also gone. Even the mild chatter of squirrels and scrub jays fighting over food is gone as well. There is nothing but silence. Then, you hear it. You hear the slight sliding sounds of snow shifting off of tree limbs before hitting the ground with gentle whumps. You hear the distant rustle of branches being shifted by the cold winter wind. Then, you hear the voices of the trees, groaning and cracking under the weight of snow and ice, shifting their limbs, and delving their roots into the sierra soil, and you realize that even though man is gone, and there is no noise, the grove is not really silent, it has just reverted back to its state of nature.

And that is what you realize second, as you stand before the Grizzly Giant, and other massive monoliths of the Mariposa Grove. You realize that Yosemite only became a park in 1864 when Lincoln signed the Yosemite Grant, and before that, these Giant Sequoias were there. You realize that even before that, when Galen Clark “found” the Mariposa Grove in 1857, these trees were already there. That when the Declaration of Independence was signed, these trees were still there. That the trees were there when Columbus discovered the New World, and that they were there well before that, as the Grizzly Giant is over 2,400 years old, and was there, in that spot, well before the modern world. That’s when you realize that you’re standing in a spot that is timeless, meaning in this case, that it is almost outside of time – these trees have existed like this, withstanding the depredations of hot, cold, fire, ice, and more in the same spot and in the same manner for millennia. If standing in that spot doesn’t blow your mind and make you feel like you could be standing there at any time for the last 2,400 odd years, or that those trees have stood there before man knew them, and will likely be there after man knows them, then there’s nothing I can say to you to make you wonder and marvel at this aspect of nature. But for the rest of us, let me give you some directions!

The Grizzly Giant in Winter

Directions:       If there is enough snow, NPS will have closed the summer access road to the Mariposa Grove, and there will be parking immediately next to the Entrance Station off of Highway 41 at the South Entrance of the park. From this lot, it is a two mile ski/snowshoe/walk to the Grove. Astute readers will note that I have provided three options to get to the grove and have not recommended one particular method. This is because you yourself will have to judge how the conditions are to determine which method of transportation will be the best for you. Last year, I walked in as there was a solid base layer of snow that I would not posthole through. I also chose to walk because I had torn off my cross country ski boot binding the day before, but that’s another story. In any event, the two miles up the road is an easy, mildly sloping trek/ski/snowshoe. Should you elect to stop here, your mileage will be four miles roundtrip. Should you elect to continue on (as highly recommended above), your mileage will vary between six (6) to eight (8) miles roundtrip. All of the mileage that you will accrue heading through the grove is mild; and even if you elect to go the full eight miles, or longer, I would rate this as an easy to moderate trek/ski/snowhoe.

Tips:    Snowshoers, don’t walk in the cross country ski track. Cross country skiers, don’t ski over snowshoers. Hikers, don’t walk in the cross country ski track, and don’t fall on snowshoers. Do note that the bathrooms at the Grove will likely be closed due to winter conditions, so plan accordingly. And, speaking of planning accordingly, be prepared for winter conditions on your excursion, because if you’re doing this in the wintertime, it will be cold. Above all else, take your time, and be prepared for a magical experience. Aaaaaaaand, don’t shout, just in case there are other people there trying to have their own magical timeless moment. Also, watch out for falling snow from tree branches. It can be a cold, sudden surprise.

See you on the trail!

More Information: http://www.nps.gov/yose/planyourvisit/loader.cfm?csModule=security/getfile&PageID=134999, http://www.yosemitehikes.com/southern-yosemite/mariposa-grove/mariposa-grove.htm, http://www.nps.gov/yose/planyourvisit/mg.htm, http://en.wikipedia.org/wiki/Mariposa_Grove

Penny Pines to Foster's Point

Heading South on the PCT to Foster's Point

Does this always look this beautiful? That was the question that kept rattling around in my head for the majority of my Friday hike. I had been asked that question a half mile into the hike, when I had passed the only other people that were on the trail. They were two backpackers heading to Mt. Laguna, and were only too happy to ask questions to catch their breath. I was happy to answer their question with a simple “yes” before I continued on, breaking trail for them and me to Foster’s Point. The question, however, stuck with me the majority of the day as I postholed through that section of the Pacific Crest Trail (“PCT”), while I thought about what I should have said to them, other than “yes”.


My problem with “Yes” was that it was, and is my stock answer whenever someone asks me if anywhere was that beautiful. It’s my stock answer, because, really, how am I supposed to answer that question? Am I supposed to be snarky, and say, “Nah, it’s extra beautiful today, just for you” or am I supposed to be negative, “No, not usually”. Instead of those two extremes, I always opt for honesty: every place is always that beautiful; it’s just that someone has to be there to see it and appreciate it; and subjectively wonder that human of questions: “is it beautiful”.

My thoughts on the trail from Penny Pines to Foster’s Point from that day, and other days are the following: this hike is on the edge of San Diego County off the S-1, the Sunrise Highway. The trail is literally on the edge of the Laguna Mountains, and from it, you can see what high forest San Diego County has to the West, while gaping at the tectonic drop off down to the Anza Borrego Desert in the East. From the desert floor, warm breezes cascade up and over the mountains, carrying hints of long lost geologic memories. The trail winds through quiet forests, and provides views of jagged peaks, and an observatory. Under the trees, you can smell the sound of the old growth trees of San Diego, making you wonder if you are still in Southern California at all. This is to say nothing of the other features that make this trail unique – of snow in winter, and dust in summer, and everything in between. But is it beautiful? I think so, because I keep coming back. If nothing else, it is unique, and that in itself is reason to do this hike. And that – along with, “except there’s not usually this much snow” is what I should have told the backpackers along with my simple “yes”.

 Penny Pines, where the Trailhead is located for this hike.

Directions: Take the S-1, “Sunrise Highway” to the Penny Pines parking lot located at Mile Marker 27.3 off the road. (http://www.yelp.com/biz/pacific-crest-trail-at-penny-pines-pine-valley) There is parking on both the East and West sides of the road, but you will need a Forest Service “Adventure Pass”, which you can obtain at the Ranger Stations for $5.00.

From Penny Pines, head up the trail .1 miles to the junction of the PCT, and then head South (right) on the PCT. The trail initially drops down, giving you a good view of the desert floor, and Mt. Laguna. Within the first .10 miles after you join the PCT, there will be a hidden, wrecked Packard that is rusting out in the canyon. (Details in my previous post below, and is an interesting nugget to view should you see it). The trail continues due South for 1.6 miles, before heading up the side of Mt. Laguna. I’d rate this ascent as gradual, but as you are at around 5000 feet, you will definitely feel the climb. For this portion of the hike, you’ll be surrounded by clumps of manzanita, but no trees. At two (2) miles out from Penny Pines, you’ll see a wooden signpost directing you to Foster’s Point to your left (East). Follow the sign, and you will find yourself at a great overlook with views of Mt. Laguna, Garnet Peak, San Gorgonio on a clear day, and the Anza-Borrego Desert, of course! This is what it looked like on Friday, December 23, 2011: http://youtu.be/FR6uiAa-ptI

 Foster's Point, December 2011

At this point, you can either continue on to Mt. Laguna, or head back to Penny Pines, and Garnet Peak. To do this loop without any side trips will run you a little under five miles round-trip (4.95 miles, to be exact).


Tips: Bring ample water, as this hike is very dry due to the desert winds that come up the canyons. Other than that, enjoy the hike, and the changing weather around it, as it can be done year round!


See you on the trail!


More Information:

http://lastadventurer.com/last-adventurers-fieldnotes/2010/11/22/the-good-the-bad-and-the-ugly-gowalla-foursquare-and-trailhe.html, http://www.signonsandiego.com/news/2010/jun/27/laguna-rim-views-take-your-breath-away/, http://www.sandiegoreader.com/news/2010/aug/04/roam-rama-foster-point/

The Gin Flat Loop

Entry Trailhead sign to the Gin Flat Loop

 Mountaineering is often and popularly known as “the freedom of the hills” (http://en.wikipedia.org/wiki/Mountaineering:_The_Freedom_of_the_Hills). I posit that if mountaineering is the freedom of the hills, cross country skiing is the freedom of the hills, valleys, meadows, ridges, and any other terrain that accumulates a sizeable amount of snow that you can ski upon. I know, not nearly as catchy. But forget being catchy: it is fun. If there’s enough snow, you can go just about anywhere on cross country skis. In Yosemite, the major cross country skiing areas are the Badger Pass/Glacier Point Road area, and the Crane Flat/Tioga Road area. (http://www.nps.gov/yose/planyourvisit/loader.cfm?csModule=security/getfile&PageID=134994http://www.yosemitepark.com/badgerpass.aspx, http://www.nps.gov/yose/planyourvisit/loader.cfm?csModule=security/getfile&PageID=134996)

While Yosemite Valley and the Mariposa Grove areas are quite stunning, the truth of the matter is that these areas are at lower elevations and may not have enough snow to snowshoe or cross country ski, particularly in late winters and dry years, (So far, 2011 appears to be a very dry year compared to 2010), so you will likely be headed out to one of the above two areas should you wish to snowshoe or cross country ski.

A pristine meadow on the Gin Flat Loop Both areas are great spots to ski, either for single or multi-day trips into the backcountry. It’s hard for me to identify one of these areas as my favorite, because each has unique opportunities. For example, the Ostrander ski hut off of the Glacier Point road is one of the most stunning crystal blue lakes in the Sierra, and it’s next to a great ski hut. Then again, heading into the high country up the Tioga Road is not to be missed either. However, if you don’t have the time – or energy for a long ten mile or more ski, or multi-day trip, the Gin Flat Loop near Crane Flat is another great beginner run.


Directions: Coming from either the North or the South, take Highway 120 to Crane Flat. From there, head East on Highway 120/Tioga Road for approximately .5 miles (depending on conditions/your car’s ability to handle such conditions), at which point the road will be closed. There will be parking available well before that point, either at the Tuolomne Grove lot, or the winter parking lot for Highway 120. From where you park, the Gin Flat Loop starts almost immediately at the gate; or as this link says, .2 miles from the closed gate. (http://www.backcountryskitours.com/pages/tours_1300/1303_tour.htm).

 Fresh tracks on the Tioga Road

From the gate, you should see the sign featured above, and the route is well marked from that point out. I definitely agree with NPS that the best way to do this loop is to head up via the trail, and ski back down the Tioga Road. While this trail doesn’t have too many expansive vistas, it is a great beginner loop, and a great place to get out and enjoy some high country backcountry skiing. There’s great scenery on the trail – after all, you are skiing in Yosemite – and you probably won’t see too many people as you are up in the high country. Personally, I like to cut off Tioga Road in a few places on the way back down to the trailhead to get in some longer runs, but those detours do lead to a lot of extra uphill traversing, which can tire you out if you don’t have skins. If, for some reason, you don’t take any detours, this run will run you 6.25 miles in roundtrip distance.

Tips:    As with any cross country or downhill run, this route is the best right after a storm has rolled through the area. On days like that, you’ll have ample opportunities to lay down fresh tracks in many areas. Also, while this area is not the most remote due to its proximity to Crane Flat, do take the proper precautions for winter travel in terms of being properly equipped, as you could be in for a long cold night should disaster strike leaving you out on the trail alone.


See you in the powder!

Cross Country Skiing Yosemite Valley

Fresh powder in El Capitan Meadow


The best time to visit Yosemite Valley is the winter. Sure, the valley is spectacular in the summer, and there is never a bad time to visit Yosemite, but if you want to avoid the crowds, the best time is the winter. In the winter, the snow falls on the granite monoliths surrounding the valley before trickling down to blanket the trees and floor in white silence. In the winter, everything moves at a slow and tranquil rate – including the Merced River. The coating of ice and cold silences summer’s lingering noise and lets Yosemite Valley recapture its wild glory.

The best way to see this primal beauty? On foot, of course. You can walk part – or all of the Valley Floor loop (http://www.nps.gov/yose/planyourvisit/valleyhikes.htm), or if you’re extraordinarily lucky as I was last year in 2010, you can cross country ski around the valley. (http://www.nps.gov/yose/planyourvisit/wintersports.htm) Now, as the NPS link states, there is rarely enough accumulation in the valley proper to do this, but sometimes, the internet doesn’t know everything. 2010 was a banner year for snow in the Sierras, and when I arrived in Yosemite for my yearly fall visit last November, I found myself arriving a day after several feet of fresh powder had been deposited over the entirety of the park.

Obviously, I was lucky – my timing was impeccable. These conditions existed on a Wednesday, and the storm had just passed the day before on a Tuesday, leaving perfect cold bluebird conditions at all elevations. There were few people in the park; and fewer still in the valley, where I parked my car alongside the road before strapping on my skis. To be honest, I felt a little guilty cutting fresh tracks across pristine, empty meadows under the mountains watchful eyes; and I was upbraided at one point by a raven for being too noisy as I passed alongside the burbling Merced; but in the end, it was an amazing experience. The valley was deathly silent from El Capitan meadow to points East and West, and I was able to again appreciate the timeless stillness of Yosemite Valley that has captivated people for centuries. And, if the photos don’t give you an idea of what the valley looks like when its deathly silent, this video will: http://youtu.be/PbV0gFTjcR0

 Fresh powder in Yosemite Valley

My Tip: If you are arriving in Yosemite after a recent snowfall, take a moment to see what the conditions are in the valley. It’s a great spot for beginners to learn as it is flat; and it’s a great spot to cross country ski regardless because of the natural features. Obviously, as Yosemite Valley only has an elevation of 4,000 feet, there will be a limited amount of opportunities to ski the valley, but if you’re lucky enough, I’d definitely recommend it for a good morning warm-up before heading on to more difficult terrain at Badger Pass or Crane Flat. The most open expanses are down by El Capitan meadow; but should there be enough snow, you should be able to tour most of the valley as I did.

See you in the powder!

Happy Isles Trail Junction to Cloud’s Rest

Happy Isles Trail Junction to Cloud’s Rest

The great thing about the Happy Isles Trailhead is that it is the jumping off point not just for day hikes, but for many multi-day trips into the backcountry from Yosemite Valley. Over ninety-five percent of Yosemite is designated as wilderness, meaning that there are few roads other than trails, and that one must hike to get to these pristine locations. If the Mist Trail is the most popular day hike from Happy Isles, the most popular long distance/multi-day hike is Half Dome. Half Dome is both a day hike and a popular overnight destination, with many people electing to climb into Little Yosemite Valley to spend the night before rising early to summit the next day. 

Mist Trail to Nevada Fall

Nevada Fall

One and one half miles of uphill ascent not enough of a workout for you? Looking to see more than one waterfall flowing from the power of the Merced River? Well, you’re in luck. There’s another waterfall directly above Vernal Falls, and it’s just as beautiful – if not more so than the first. How do you get there? Glad you asked.

Directions: Follow the Directions here: (http://lastadventurer.com/last-adventurers-fieldnotes/2011/12/12/the-mist-trail-to-vernal-falls-winter.html) to the first bridge crossing before Vernal Fall. After this point, you have two choices on how exactly, you want to get to Nevada Fall.

The first way is up the Mist Trail, as described in the above link and the previous series of postings. Once you reach the top of Vernal Falls, the trail follows the Merced River back into the trees (roughly East) for half a mile (.50). At this point, the Emerald Pool will be directly to your North (left, if you are coming up from Vernal Falls). The Emerald Pool is a slow area of the Merced River flowing down to Vernal Falls (sometimes not, depending on how fast the current is moving and how high the River is – just the conditions accordingly should you decide to enter).

To your right (South) there will be trail junction that will take you up to the John Muir Trail (JMT) in .40 miles past Clark Point. Continue straight across the Merced, and you will find yourself heading uphill through a series of forested switchbacks at the base of Nevada Fall. After approximately .50 miles, you will be on a series of graded switchbacks on the North side of Nevada Fall and directly under Liberty Cap. For my money, this is a great view of Nevada Fall, and is equally – if not more stunning than the Mist Trail. At the top of the switchbacks, you can either proceed left (North) into Little Yosemite Valley, or to the Right (South) toward the area around the fall (approximately .10 miles). This last portion of the ascent is steep, and I guarantee you will be working up a sweat if you are carrying a multi-day bag. From the Emerald Pools, it is 1.05 miles to the top, and 1.15 miles to the actual fall, leaving you with 1.65 miles of distance one way from Vernal Falls to the top of Nevada Fall.

Nevada Fall

The area around the fall is solid granite, only interrupted by the Merced River, which has eroded a deep furrow in the rock over thousands of years. To cross the Merced, you have to utilize the NPS bridge, but you can walk down the granite slopes to overlook the fall cascading down into the valley you just ascended. Once you are done, you can return the way you came, or you can return back down the JMT as described in the following paragraph in a loop. From the top of the switchbacks, it is .40 miles to the JMT/Pohono Trail Junction, which will lead you back down toward the Valley.

The second way you can reach Nevada Fall is to turn off on the JMT after crossing the first bridge. The junction is approximately .10 miles to the right (South) as you are approaching the Mist Trail. The JMT runs from Yosemite to Mt. Whitney, and it takes backpackers approximately one month or longer to travel the distance as it heads South through the Sierra Nevada Mountain range. The first section of this challenging trail winds up a moderately graded series of forested switchbacks for .32 miles. If you are backpacking out of Yosemite Valley, you may want to consider this route as it is usually cooler and shadier than the busy Mist Trail. Once you have traversed the switchbacks, you will be up above the treeline, and on the edge of a stunning cliff that looks down upon the Merced, and waterfalls below. (In late spring or early winter, this section should be traversed with caution, as ice can build up along the area, and it would not be a good place to slip!) From this point, it is a gradual uphill climb for a mile (1.0) to the JMT/Pohono junction, and Nevada Fall described above. 

Both routes have great views; and it is hard to go wrong by heading either way. Personally, I’d recommend doing the whole route – Mist Trail to Vernal Fall, past the Emerald Pool, up to Nevada Fall, and returning to the valley by the JMT as a loop, but it will take you some time, as you will be gaining 2,900 feet of elevation from the valley floor to the top of Nevada Falls. Also, bear in mind that you will be hiking seven miles roundtrip should you head all the way up to Nevada Falls, plus any additional distance that you may tack on should you not ride the Yosemite Valley bus.

 Top of Nevada Falls, Merced River flowing into Yosemite Valley

Despite the distance, this is a great loop hike from the Valley, and a great way to see a lot of the scenery of the area. Once you pass Vernal Falls, the crowds dissipate somewhat in the summer, although both locations remain very popular.


See you on the trail!


More Information Here:

http://www.nps.gov/yose/planyourvisit/valleyhikes.htm, http://www.yosemitehikes.com/yosemite-valley/mist-trail/mist-trail.htm, http://en.wikipedia.org/wiki/Nevada_Fall

The Mist Trail to Vernal Falls (Summer)

The start of the "Mist Trail" proper

So, you’ve been warned. Not just by me, but by every guide book, blog, friends, and family. You’ve heard the horror stories. You’ve listened to the not-so-dire-warnings. For whatever reason, you really, really want to do the Mist Trail in the summer. I could tell you tales that would curdle your blood, that a majority of park service rescues occur on the Mist Trail in the summertime, or that the majority of deaths that occur in the park occur on this section of the trail (mostly from people falling over the falls), or that hungry bears regularly carry off unsuspecting tourists from the trail and eat them to fatten up for the winter, and you’d still want to do the Mist Trail in the summer. 

And you know what? I’m not going to tell you not to. There’s plenty of reasons why you want to do it in the summer. First, the best time to see the fall is right after the snow melts, when it seems like there is more water in the Merced River than it can possibly accommodate. Second, summertime is vacation time, and any time you’re on vacation, it’s the time to have an adventure, regardless of whole else is there. Third, like it or not, Happy Isles/the Mist Trail/the beginning of the John Muir Trail is the gateway to many backpacking and multi-day adventures. And fourth, why the heck not – it’s there!


Directions: Same as the last two posts. (http://lastadventurer.com/last-adventurers-fieldnotes/2011/12/12/the-mist-trail-to-vernal-falls-winter.html)

 Vernal Falls, 2002

Tips: The best tip I can give you is to get an early start. Even then, you won’t beat the crowds. You will, however, beat the hordes. If you are heading up the trail around 10:00 a.m. through 3:00 p.m., expect to be backpack-to-backpack the whole way with other people. The other reason to get a good start: you will avoid being caught out in a late-afternoon thunderstorm.

The next best tip I can give you is to wear solid shoes. Yes, the stairs of the Mist Trail can be traversed in bare feet, thong sandals, Chaco’s, tevas, high heels, and completely destroyed sneakers. But, just because you can do it, doesn’t mean you have to. In the summertime, the trail is completely covered with water, which makes the granite slick, and your footing uncertain. In many spots, should you slip, you will experience a near fatal to fatal fall, even though the terrain is not that daunting. I say: why risk it? Wear something you’ll be comfortable in, and something that you can trust. Furthermore, as the trail is crowded, you will be forced into weird positions as people run past you, or descend in front of you. You’re better off with something that will keep your footing secure, and your feet happy.

Additionally, if you want to be happy, insulate your gear properly whether you’re backpacking or daypacking. The last thing you want is a completely ruined camera or cell phone, or a completely soaked sleeping bag on the first night of your trip. Along with insulating your gear, bring a good coat should you not want to be completely soaked on the ascent and descent. Then again, if it’s a blazing hot day, don’t bring a coat, it’ll feel great to be naturally cooled!

Vernal Falls, 2007 

As my final tip, I will say this: watch out for rodents. Squirrels, chipmunks, and other small woodland creatures know the Mist Trail almost as well as people do. Should you leave your bag unattended at the top of the falls, or at certain other spots on the trail, you will likely find that you have picked up a furry hitchhiker, who will either jump out of your bag, giving you heart palpitations, poo in your bag (nasty), or chew their way out of your bag. Avoid this problem by watching your surroundings, and not feeding the animals.

Things Not To Do: There’s probably plenty, but I’ll stick to the one that is guaranteed to end your life. At the top of Vernal Falls, there is a fence that is at the end of the granite and anywhere between no inches and two feet from the top of the waterfall, depending on the water flow. The fence extends back up the river a fair ways, and then stops. Do not, under any circumstances climb over the fence. Let me make this even more clear: do not climb over this fence if you want to live. This isn’t just me telling you this – there are NPS signs all over the fence warning you. This isn’t just NPS telling you this either, this is your common sense speaking. When you are at the top of the falls, you can see for yourself: this is a several hundred foot drop. The waterfall is right there. The river is flowing rapidly. Should you step over that fence, you know that you will likely be dead. It is not worth the risk in any way. I don’t care how hot it is, how much fun it looks, how daring you are, how lucky you are, how funny it is, it’s just not worth it. I used to warn/lecture people when I worked there, and I still do (in an unofficial capacity now, kind of lame, I know). Don’t take it from me though: there’s plenty of stories this year about people who didn’t make it: (http://www.cnn.com/2011/12/05/us/california-yosemite-body-recovered/index.html?hpt=hp_t3). So, out of all the things you should not do: don’t do that.

 Vernal Falls Single Rainbow

Other than that lecture, have a great time, and see you on the trail!