As you’ve seen above, #preservethegood could mean anything – it could mean helping someone in a time of need; it could be picking up trash on a trail, or a wilderness area; it could be educating people on leave no trace principles; it could be making a difference in any way you want; and it could be just about anything you want as long as you are focused in keeping the magic and the unique positive things in this world and this life. In terms of tangible things, I encourage you, my readers and followers to use the hashtag when you post a photo of something amazing; or when you’re talking about something exceptional you – or someone else has done to improve the world. I look forward to seeing how all of you end up preserving the good in 2015, and you can rest assured that as always, I will keep preserving the good where I find it as well, because as Plato says, “Good actions give strength to ourselves and inspire good actions in others.”
As I mentioned previously, Waimea Canyon is a site that is most definitely one of the “must-view” locations on Kauai, and in the world; and as I also mentioned, the best way to experience it is to hike it. While there are many great hikes through the canyon, the best hike in my book is the Canyon Trail to Waipoo Falls. It is the best hike to me because at four miles roundtrip, it is accessible, it has stunning views of the canyon from inside the canyon, and it ends at the top Waipoo Falls. It also allows the hiker the chance to swim in a waterfall, which is a once in a lifetime experience.
Mill Creek, heading up Vivian Creek Trail, 6/2012
There’s something about San Gorgonio. I don’t know exactly what it is, but there’s something about it. There must be something about it, because I keep going back to climb it. There is one thing that I am sure about, however, and that is that the mountain doesn’t get any respect. In the mountaineering community, the summer ascent of San Gorgonio is written off as a mere “walk-up”, meaning that all you have to do is walk to the summit – no technical skill is required. While it is true that no technical skills are required to summit in the summertime, let’s talk statistics for a minute though: San Gorgonio is the highest mountain in Southern California at 11,502 feet. If you are taking the most popular trail, the Vivian Creek Trail, which I am discussing here, the trailhead elevation is 6,080 feet.
Moreover, according to the National Forest Service, from the Vivian Creek Trailhead, you will hike 9.3 miles one-way to reach the summit (more on distance at the bottom). This means that you will gain over 5,000 feet of elevation and walk over 18 miles to summit the peak and return. In order to summit San Gorgonio in the summer, you can also encounter a temperature range of 30 to 90 degrees. So, no, San Gorgonio is not the hardest, most technical peak to summit in the world. Then again, it’s not a cakewalk either. At the easiest, it’s a hard moderate hike; and in some respects, it is strenuous – so be prepared.
Treeline, Vivian Creek Trail, 6/2012
Directions: The trailhead is located at the Forest Falls parking area. If you are coming from the West, you will take the I-10 East, and exit University Avenue, which you will follow for one mile, before turning right onto the CA-38, which at that point is signed as Lugonia Avenue. From that point, it is fourteen miles to the trailhead. Along the way, you will want to stop at the Mill Creek Ranger Station, which is located in Mentone to pick up two things: 1) A wilderness permit; and 2) A National Forest Adventure Pass. This is a popular hike (especially as it is right outside Los Angeles), and it is possible that you may not be able to obtain a permit if you are going on a weekend. However, reports of never being able to obtain a permit are exaggerations. Obviously, like any regulated trailhead, the day you are going, and the size of your group will affect whether you can obtain a permit or not. I’ve been going for years, and I’ve never had a problem; but I’ve also never had a group of larger than seven people. The good news about the permit is that it is free. One of the things that has changed about this hike is that the Forest Falls parking area now has a fee kiosk prior to entering the lot, and the Rangers do monitor the area for compliance, so you will need that $15.00 Adventure Pass for your car, unless you want a more expensive ticket!
From Forest Falls, the trail heads up past some inholdings, before crossing Mill Creek. Once you cross Mill Creek, the trail really begins, and the next mile of trail leading up to Vivian Creek Camp is steep. I’ve climbed steeper sections of trail; and longer sections of trail, but in my mind, this section is up there as one of the most difficult and steepest sections that I have traversed. Be sure that you pace yourself accordingly, as the remainder of the trail is also uphill, and you still have a long distance to go. After this section, you will be in a wooded valley next to Vivian Creek, and Vivian Creek Camp. The trail levels out slightly to pass through the valley, and winds up gradually to Halfway Camp. I always try to enjoy this section of the hike, as there is no gradual elevation gain from Halfway Camp to the peak.
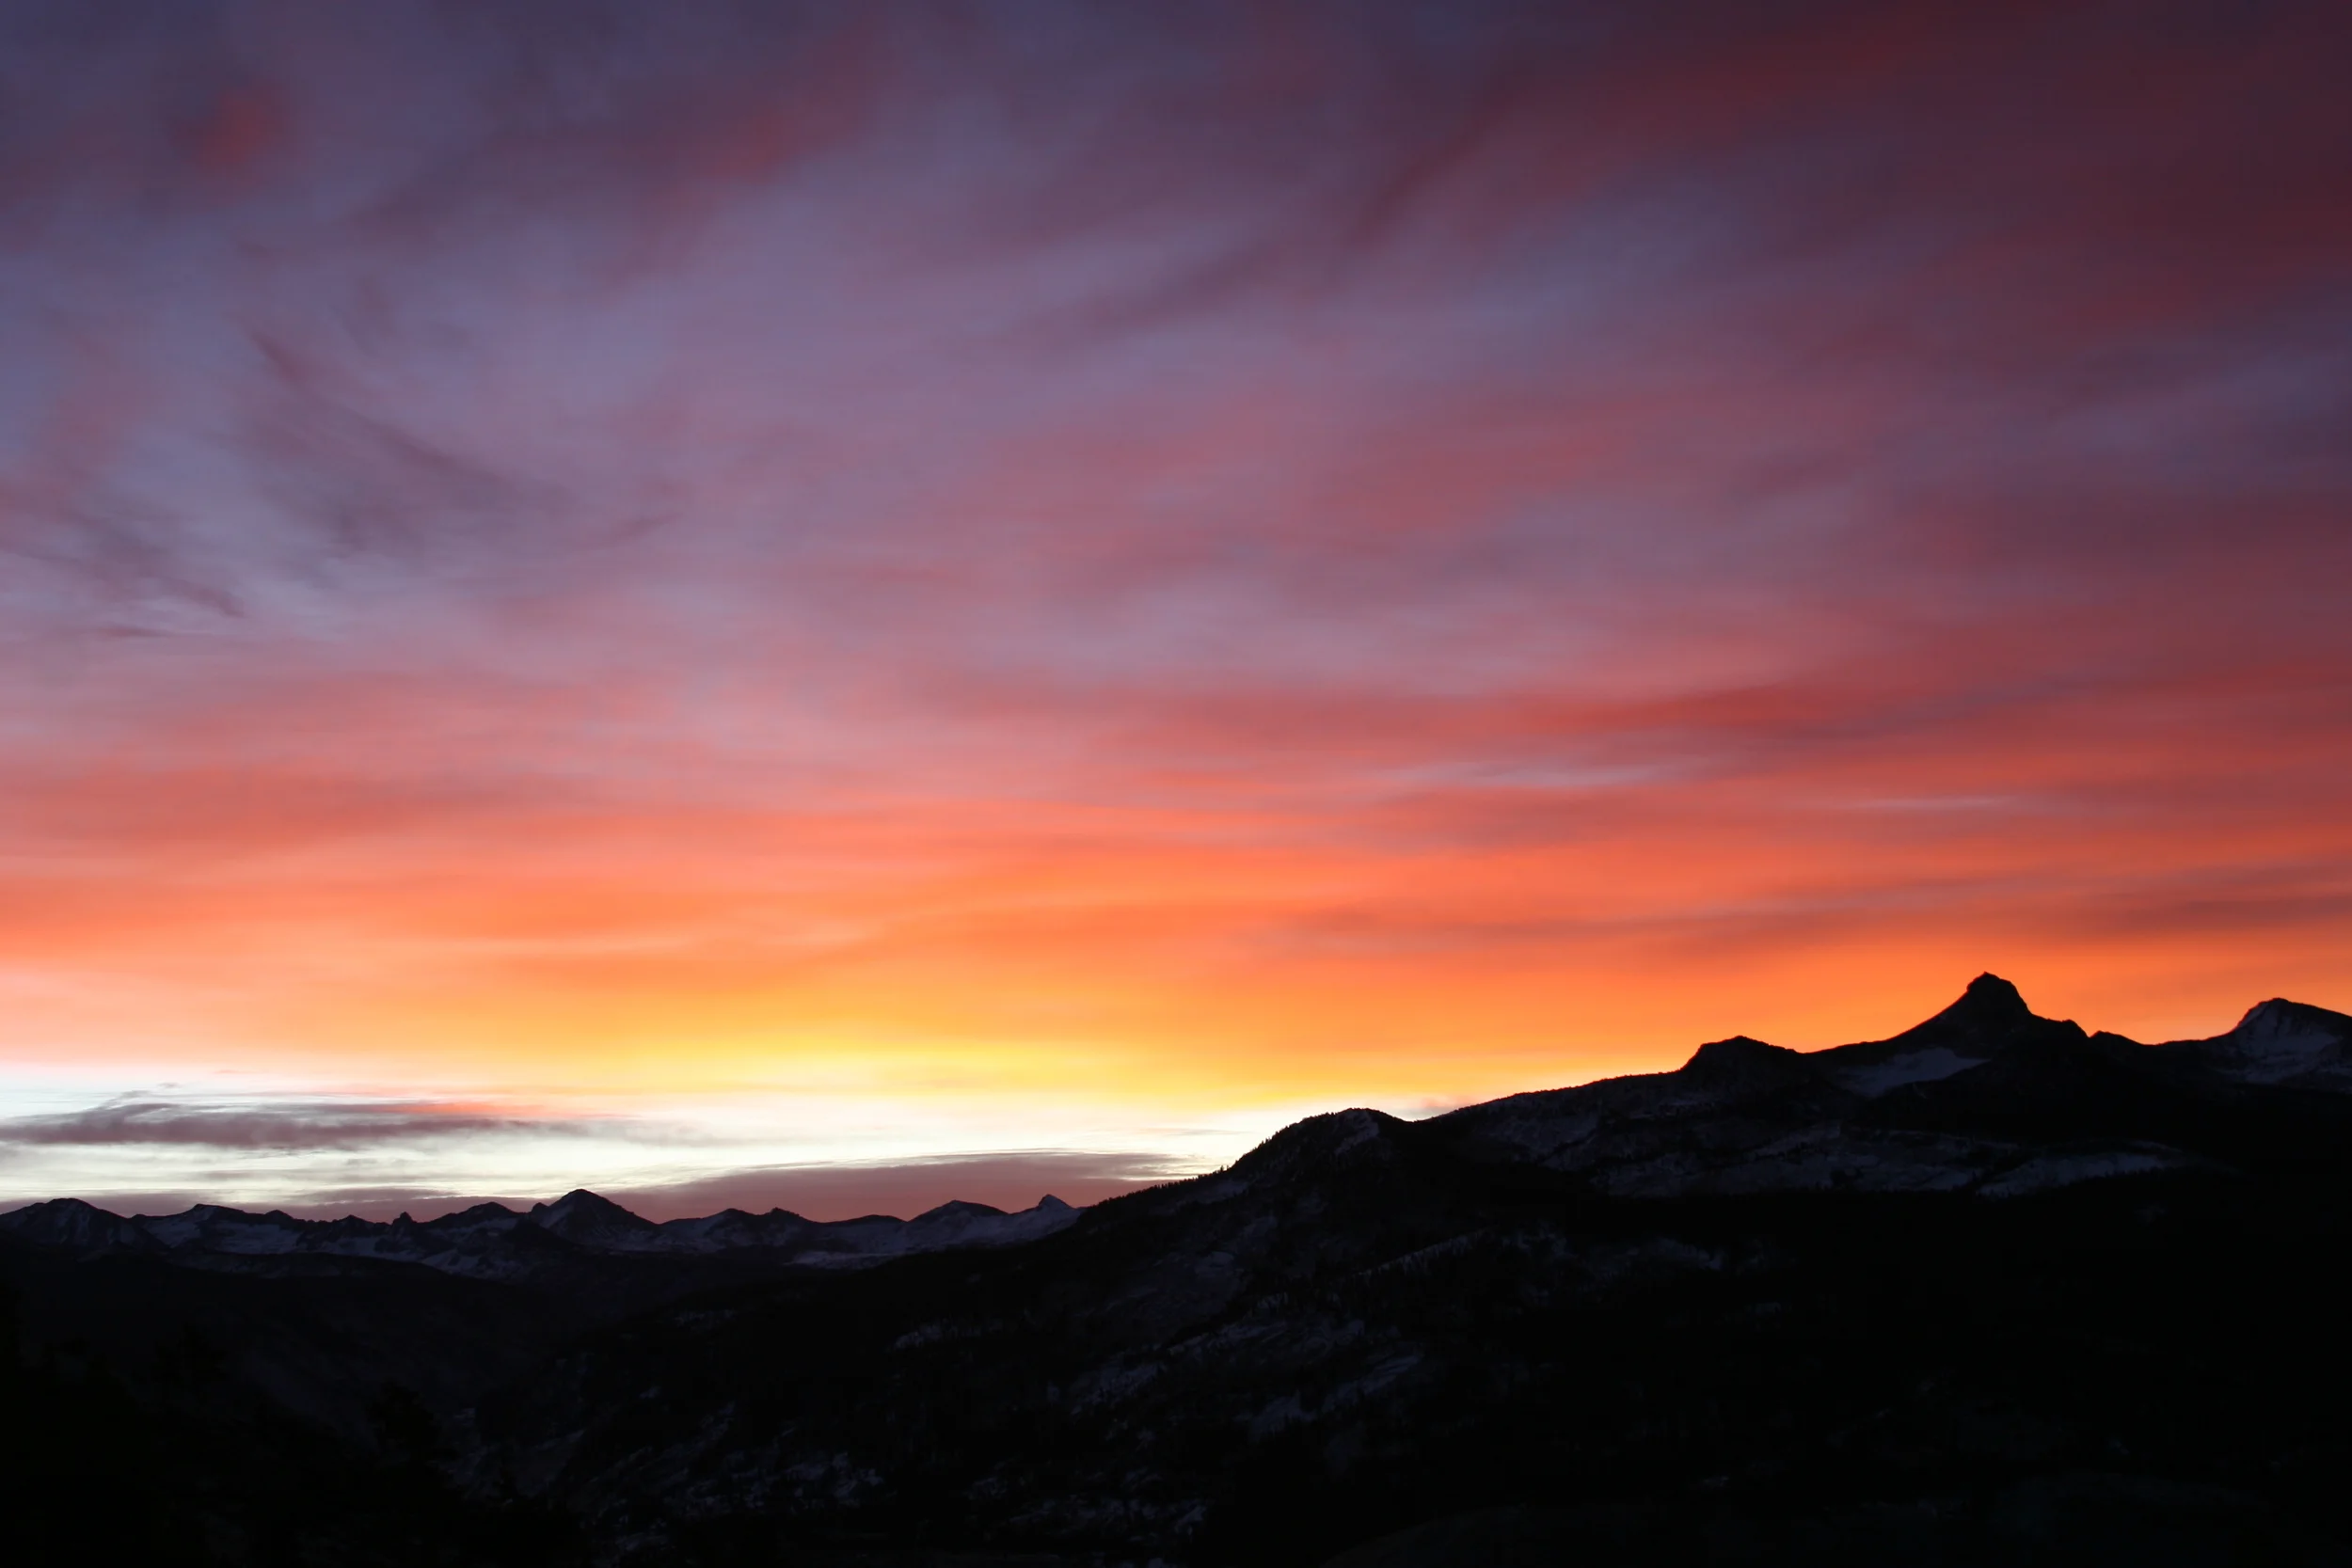
Summit, San Gorgonio, 6/16/2012
From Halfway Camp, there are a number of switchbacks that lead up to High Creek Camp; and then from High Creek Camp, there are a series of steeper switchbacks that lead you up to a ridgeline, where you will have clear unobstructed views of the peak, and the surrounding high country. At that point, there are a few remaining switchbacks that remain before you clear the treeline, but after that, it is a long steep ascent along the ridgeline up to the saddle just below the summit. Once you have attained the top of the ridge, you will be approximately half a mile from the summit, and have a negligible amount of elevation left to gain. After you have reached the summit, you will return the same way you came.
Current Conditions: I arrived at the Forest Falls parking area at around 7:25 a.m. on Saturday, and as I expected, the lot was nearly full at that point. Make no mistake about it, this is a popular hike, and should you arrive later in the day, you will risk not finding a parking spot. Since my gear was already packed, all I had to do was put on sunscreen, and I was ready to go. As it’s been a dry year, there was a negligible amount of water in Mill Creek – one foot wide, several inches deep; and I would not consider it a crossing at this point in time. Again, I can’t say it enough – that first section of trail up to Vivian Creek Camp is brutally steep, and I passed a number of people who were hurting/gassed on that section of trail on Saturday. While there was water flowing in Vivian Creek by the campground, it was flowing at a very low level, one that I would expect to see in late August or September. If I was to estimate, I would say that it will likely be dry within the next two weeks to a month. It’s also worth noting that I did not see any water flowing above Vivian Creek, so if you are backpacking or day-hiking, and plan to filter water; you should likely adjust your plans accordingly.
Vivian Creek Trail, 06/16/2012
As for the rest of the trail, I’d say that it was in excellent shape the rest of the way up the mountain; and there were no obstacles that I saw to report or avoid. In terms of weather; as I got an early start, I avoided the heat from Mill Creek up to High Camp. However, it was very dry, and at or around High Camp, there were strong wind gusts of 25-30mph that persisted along the exposed traverse from treeline to the summit. These strong winds pelted me with all sorts of rocks, grit, and dirt; and at times, were physically pushing back against me on the ascent. There were also a few occasions, I felt like they were ripping the breath from my lungs. These winds made an already long day longer, as they were dry, which took more of moisture; and cold, which raised the potential for hypothermia (if I had not had the proper gear).
With respect to the second point, I saw a number of people who were not prepared for the cold – no jackets, wearing shorts – who were really struggling with the conditions past treeline. As always, be prepared with the proper gear; and check the conditions before you go. There is no snow anywhere on the summit; nor anywhere near the summit. Again, past Vivian Creek, I saw no flowing water of any sort; so plan accordingly. I spent a little less time on the summit than planned (due to the wind); and headed back down after about twenty minutes. On the descent, it was hot at all elevations below Halfway Camp. It looks like it will be a long, hot, dry, summer, so be warned if you are attempting the mountain from this point on. Roundtrip time for me was 8:05 (excluding stops), which seems pretty good in retrospect, but seemed slow at the time, but it was still a good day. At this point, I cannot reiterate enough: carry plenty of water if you attempt this hike during 2012, as it will be dry and hot!
Distance: It may surprise you, but the jury is out on how long this hike actually is. I spent a lot of time ruminating about this in 2010 (http://lastadventurer.com/last-adventurers-fieldnotes/2010/8/19/san-gorgonio-july-31-2010-vivian-creek-to-summit-156-miles-r.html); but the point is that it is a long hike. Summitpost lists it at 7.8 to 8.4 miles one way (http://www.summitpost.org/vivian-creek/155752); Local Hikes lists it at 16 miles roundtrip (http://www.localhikes.com/Hikes/SanGorgonioviaVivianCreek_4472.asp); and the National Forest Service calls it 18.6 roundtrip (http://www.sgwa.org/Wilderness_Mileage.pdf). Someday, I’m going to have to use my own GPS on it, and find out for sure how long it really is but at this point, I’m becoming more and more inclined to call it 18.6 to 19.5 miles, as confirmed here: http://trailtrove.com/san-gorgonio-peak-via-vivian-creek-trail. In any event, be prepared for a long day (or series of days, if you backpack it), and to go at least sixteen miles roundtrip.
More Information: http://www.sgwa.org/trails2.htm, http://www.sgwa.org/trails.htm#wilderness_conditions, http://members.boardhost.com/sgva/, http://www.fs.usda.gov/recarea/sbnf/recarea/?recid=26575
Glider Port Trailhead
I’ll never forget the first time I climbed Black Mountain. I was halfway up the mountain, my legs were covered in scratches from the shrubs that I had been crashing through for the last twenty minutes, and I was annoyed. I hadn’t been able to find hide nor hair of a trail up the mountain after the first quarter mile, and I had been following odd foot trails after that point. Suddenly, I stumbled into a nine foot by nine foot clearing that inexplicably enough had carpeting all over the ground. I was hot, sweaty, and annoyed. I said: “What the CORNDOG!?!?!?” Later on, after I reached the base of the mountain, I passed an individual who asked if I had been up on Black Mountain “gliding”. I gave him a “what-the-corndog” look and stomped off to pull thistles and foxtails out of my shoes and legs. That was then.
Today, Black Mountain is part of the Black Mountain Open Space Park (http://www.sandiego.gov/park-and-recreation/parks/blackmtn/), and there are actual, designated trails going every which way. (Including the Lusardi Loop Trail:http://lastadventurer.com/last-adventurers-fieldnotes/2011/11/8/lusardi-loop-trail-black-mountain-open-space-park.html) It’s the home of an Xterra Trail Run (http://lastadventurer.com/last-adventurers-fieldnotes/2010/5/2/xterra-black-mountain-trail-run-march-14-2010-515k.html). What a difference over ten years makes. With this in mind, I decided to check out the Glider Port trail up to the summit of the mountain yesterday.
Fence at the 1 mile point - should I stay or should I go?
What did I learn? Ten years makes a positive difference in this case, the Glider Port Trail is one of many well-maintained trails to near or at the summit of Black Mountain. What I also learned, however, was that Black Mountain was indeed the site of many Hang Gliding and Paragliding launches from the 1920’s onward (there is a handy interpretive panel discussing this near the trailhead). However, you can color me skeptical about whether gliding is going on here today: just because there is a history of gliding from the mountain, and a couple chairs set out by the trailhead and launch area, does not mean there is actual bona fide gliding happening on a regular basis. Then again, it is fun to imagine all sorts of gliding occurring in this area, as well as blimps taking off from the Del Mar Airfield (http://lastadventurer.com/last-adventurers-fieldnotes/2011/11/9/the-del-mar-airport-1.html) in some sort of steampunk alternate reality. If you are an actual glider who utilizes the “airstrip” here at Black Mountain, drop me a line so I can come out, see you in action, and say, “what the corndog!”. (More information on gliding here: http://voices.yahoo.com/californias-black-mountain-open-space-park-glider-4005277.html)
Directions: The portion of the Black Mountain Open Space Preserve you are looking for is the entrance located off of Carmel Valley Road (Pictured here: http://www.sandiego.gov/park-and-recreation/pdf/blackmountaintrailmap.pdf). There are two places you can park: you can park in the lots at Black Mountain Ranch Community Park, and cross the street, or you can park at the Glider Point turnout on the South side of Carmel Valley Road. Note: if you are heading West on Carmel Valley Road, there is no left turn for the Glider Point turnout as there is a median running down the road; you will have to either make a U-Turn at the Black Mountain Ranch Community Park light, or park and walk across the street. If you are parking at the Community Ranch lot, use the signal at the Carmel Valley light, cross the street, and walk a tenth of a mile (.10) east to the Glider Point Trailhead, which is well-signed.
Looking at San Diego from Black Mountain summit - a cloudy day, and a re-vegetation work in progress.
From the trailhead – which is next to one of the gliding takeoff/landing zones, the trail heads straight uphill for a mile. This is not a trail for the faint hearted, or anyone looking for a leisurely walk. Although you are only gaining ~875 feet, the trail is steep at places, and you will get a workout. I’ve walked in steeper terrain, and chances are you have too, but if you don’t want a challenge, this is not the hike for you. If you do want a challenge, I suggest you do what I did: run up the trail, it is a great workout! At three-quarters of a mile up the mountain, you will pass the carpeted takeoff/landing zone that caused me to say, “What the corndog!!!” over ten years ago. And, at one mile, you will arrive at a turnaround/fenced area that is on the saddle of the mountain just below the summit. At this point, you have two options: you can turn around and head back down the trail, or you can go around the fence heading up to the actual summit. Frankly, I’m not sure what’s going on with that fence – there’s no “Keep Out” or other warning signs, and there is a clear (and wide) trail to the actual summit from that point. If you want to disregard the fence (as it appears 90% of people are doing), you can follow the clearly delineated trail the remaining quarter mile to the summit of Black Mountain.
As Black Mountain is only 1,554 feet tall, it won’t confuse anyone with Mt. Everest anytime soon. What it does have, however, is a great 360 degree view of the mid-county of San Diego. On a clear day, you can see out to the Coronado Islands, and into the north-eastern interior of the county. Sadly, this is a peak like Woodson Mountain whose view is partially obscured by an antenna cluster at the summit – the cost of civilization! (http://lastadventurer.com/last-adventurers-fieldnotes/2012/2/10/woodson-mountain-eastern-approach.html) Despite that, this is a great mid-week, or mid-morning hike on a weekend to get your blood moving; and it’s great to see that this area is now being protected in the Open Space Preserve. Roundtrip, from the trailhead to the summit is 2.5 miles; without the last jog to the summit, the hike is 2 miles roundtrip.
Tips: This route, the “Northern” summit route is steep; so watch your footing, and for loose rocks on the ascent and decent, as it would be easy to slip and twist an ankle. I’ve also been advised by my friend Derek that this is an area with lots of rattlesnakes, so keep an eye out for them as well, especially during summertime. (http://www.100peaks.com/2009/07/03/black-mountain-peak-2-foggy-at-the-top/)
More Information: http://www.sandiegoreader.com/news/2004/sep/02/climb-black-mountain-rancho-penasquitos-inclusive-/
One of my favorite spots in San Diego County is the secret sea caves located at Cabrillo National Monument. In my opinion, the "trail" to the caves in Cabrillo National Monument is also the best "trail" in the monument as well. At this point, astute readers are probably wondering: “Why is ‘trail’ placed in quotations?” The reason I placed it in quotations is that the best trail in Cabrillo National Monument isn’t a trail; it's more of an adventure. And, in terms of full disclosure, this trail isn’t for everyone. For starters, it involves a little navigation, a little timing as it is only fully accessible at low tide, and a little swashbuckling. But, if your timing is right, and you are willing to take some small risks, the payoff is fantastic.
Trail to Lower Lost Creek Falls, Spring 2012
After discussing the Calico Hills last week, I received an e-mail that asked me if I knew what the best hike was to do in Red Rock Canyon National Conversation Area. I personally hate answering what the “best” hike is for any area. As I’ve discussed before – the “best” hike in my opinion, is the one that you want to do, which varies for all sorts of people. My second problem with the question was that I’m not that familiar with the area. Sure, I’d been there, and sure, I’d written that blog, and sure, I knew some recommendations, but, the “best” hike? I could name the best hike for a lot of places, but not that place easily. But, fortunately, I didn’t need to have personal knowledge: I had the internet.
Even better than having the internet, I had a good source on the internet: Jim Boone’s site, http://www.birdandhike.com/index.htm. Full disclosure: I’ve never met Jim, spoken to him, nor do I have any interest in his site. In fact, in an age, where a majority of people are promoting their own work (myself included) it may seem strange for me to promote another person’s work. But let’s think about this rationally – who’s the best expert on local hikes in each area? Locals. It’s so self-evident; it almost doesn’t even need saying (although since I’m so smarts, I mentioned this the other day). But, at times it does, especially when research about hiking is involved. If there happens to be a local who has a website, these are the best resources for finding out about things if you are visiting an area. Case in point, if I need information about Death Valley that I don’t know, I’d probably go to Steve Hall’s website (as I linked to in those postings). For the Mojave and Las Vegas, if I don’t know it, I know where I’d go: http://www.birdandhike.com/index.htm. I’ve received plenty of good information from it, especially before my initial trip to Red Rock Canyon. So, that’s what I did: I passed along good information that I knew; and I also recommended this hike here for any level of hikers in Red Rock Canyon, as I found it to be the most accessible hike for all skill levels.
The secret tunnel to Lower Lost Creek Falls
Directions: Red Rock Canyon NCA is located off of Highway 159, and is approximately a half hour drive from downtown Las Vegas (the strip). The park is administered by the Bureau of Land Management (BLM), and at this point in time, if you are going to enter the park from the Scenic Drive entrance (which this hike is located off of), there is a $7.00 day use fee. From the park entrance, the turnoff is halfway across the scenic drive. At this halfway point, you will see a well-signed road marked, “Willow Spring Road”. Turn right on this road and head North for .2 miles, at which point you will see a parking area, pit toilet, and signs for the trailhead. The trailhead leaves directly from the parking lot, and is well signed.
Did I mention this was a hike for all ages and skill levels? It is. It is short, and it is a great introduction to desert terrain, and the terrain of Red Rock Canyon NCA. It is such a good introduction, the BLM has produced a discovery guide with corresponding markers along the trail, and if you are a child (or have a child-like sense of wonder toward the world, as I do), you can check out the link to the BLM program below that is part of their Junior Ranger program. Another interesting thing about this trail is that the terrain present in it is completely different than that found in the Calico Hills. For starters, the distinctive bands of Aztec Sandstone present by the Calico Hills are not present on the Lost Canyon hike, and what rock you do find is a type of limestone.
From the trailhead, however, the trail goes across a flat wash before heading up into some Ponderosa Pines and sagebrush, and passes by the remnants of some Native American sites which are blocked off by fences and BLM signs.
Dry Lower Lost Creek Falls, Spring 2012
Past these sites, the trail takes a couple short turns before heading down a series of stone steps back into the wash. During the dry season, this is the only potential spot you could get lost, as the trail mingles with the wash; but both the wash and the trail leads you to the same spot: the base of Lower Lost Creek Falls. You will know if you are on the trail, however, if you pass through a narrow grouping of boulders that has formed a short “cave/tunnel” which you will pass through before arriving at the base of the fall.
Now, before I receive a number of e-mails stating that there is no waterfall, you should know that this waterfall is a seasonal waterfall, and is fed by snowmelt from higher elevations. So, if it is a dry year, there may not be any waterfall. Or, if it is a wet year, the waterfall and wash may be full of water. Chances are, the later in the year you go on this hike, the less likely the waterfall is to be flowing. When I visited this year, there was just a slight trickle heading down the black section of rock where the waterfall flows. Once you are done checking out the waterfall – or lack thereof, follow the trail back down to where it forks, and follow the other loop over the boardwalk and back across the wash for an easy .7 mile roundtrip distance. This is a great hike, and a great introduction to the park, or a great getaway from the helter-skelter nature of Las Vegas, if you’re a local.
More Information: http://www.blm.gov/pgdata/etc/medialib/blm/nv/field_offices/las_vegas_field_office/red_rock/lost_creek_trail_booklet.Par.5571.File.tmp/Lost%20Creek%20booklet.pdf, http://www.birdandhike.com/Hike/Red_Rocks/Lost_Cr_L/_Lost_Cr.htm
Good news: the world did not end on May 20, 2012, when the solar eclipse occurred. (http://lastadventurer.com/last-adventurers-fieldnotes/2012/5/18/partial-solar-eclipse-may-20-2012.html). Even better news: the world did not end today (June 4, 2012) when there was a partial lunar eclipse. (http://www.utsandiego.com/news/2012/jun/04/pre-dawn-eclipse-swallows-part-moon/?sciquest). Bad news: the next opportunity for the world to end will be tomorrow, June 5, 2012, when the transit of Venus occurs. I know, right? The word, “eclipse” already sounds sinister, but the word “transit” sounds so much worse. It could mean so many evil, horrible, apocalyptic things. However, in this case what it actually means is that the planet Venus (yes, it is a planet, unlike poor Pluto, or the purported “Planet X” a/k/a “Nibiru”) will pass between us and the sun. This phenomenon will cause Venus to appear as a black dot slowly crossing the face of the sun.
Eclipse, er...TRANSIT OF VENUS Glasses
If that wasn’t cool enough, you should know that the next transit of Venus will not occur until 2117. That’s right – I said 2117. Chances are, unless you have mystic powers from Planet X a/k/a Nibiru that I do not know about (and if you do, please e-mail me), you and I will not live to see the next transit of Venus. As an aside, I’ve also heard that there’s a slight chance the planet could be destroyed in December of 2012 due to some sort of calendaring issue. That means that this could potentially be the last transit of Venus ever. All of these factors make this transit of Venus a must-see in my book. If it’s not a must-see in your book, chances are you hate astronomy, or you have a day job. If it is the former, I have no pity for you. If it is the latter, I advise you do what I am going to do: sneak out of work and stare at the sun – safely.
That’s right: to view the transit of Venus, you will have to stare at the sun again. Let me paraphrase what I said several weeks ago, even though it still should be obvious: do not stare at the sun with your naked (uncovered) eyes. Don’t stare at the sun. Ever. If you stared at the sun at the solar eclipse, and are now blind, this is not a problem for you, and I’m sorry to say that even without you watching, the transit of Venus will still occur. For the rest of us: don’t stare at the sun with unprotected eyes. If you are like me, and you still possess your “Eclipse Glasses” (pictured above), they now are “Transit of Venus Glasses”. Find some white out, white out the “Eclipse Glasses”, and write in the correct term. Other than that, they are perfectly good for viewing the transit of Venus. If you do not own any Eclipse/Transit of Venus Glasses, I recommend you check out your local science museum (Here in San Diego, the Reuben H. Fleet Space Science Center: http://www.rhfleet.org/) to see if they are still selling these amazing items for the low low price of ~$2.00. If you can’t find any Eclipse/Transit of Venus Glasses, find some No. 14 Welders Glasses.
If you are on the West Coast of the United States, the transit of Venus will start at approximately 3:06 p.m., Pacific Standard Time, tomorrow, June 5, 2012. If you are not on the West Coast, do the math, and if you can’t do the math, get someone to help you with the math, because math is more fun with friends.
More Information on the Transit Here: http://www.transitofvenus.org/, http://news.nationalgeographic.com/news/2012/06/120604-transit-of-venus-2012-sun-planet-hubble-space-science-how-when/, http://latimesblogs.latimes.com/lanow/2012/06/transit-of-venus-2012-how-to-view-the-transit-of-venus.html, http://www.utsandiego.com/news/2012/jun/04/tp-a-must-see-event-for-sky-watchers/
Information on how to photograph the Transit here: http://latimesblogs.latimes.com/lanow/2012/06/how-to-photograph-the-transit-of-venus.html, http://www.space.com/15987-venus-transit-2012-lunar-eclipse-photography-tips.html
And, historical context of the Transit here: http://www.latimes.com/news/opinion/commentary/la-oe-0603-wulf-venus-science-20120603,0,3927430.story
Calico Hills, Red Rock Canyon NCA
Las Vegas. A city that’s home to every kind of strange phenomenon in North America. And, perhaps surprisingly enough, a city that’s has some great natural resources and places to get away from all the things one initially came to Las Vegas to experience. To the West of Las Vegas is the Mojave National Preserve, which has some interesting sights (Zzyzxx: http://lastadventurer.com/last-adventurers-fieldnotes/2012/1/13/zzyzx-mojave-national-preserve.html) and some great trails (http://lastadventurer.com/last-adventurers-fieldnotes/2012/1/10/ring-loop-trail-mojave-national-preserve.html). However, if you don’t want to drive an hour or two outside the city, there’s a better, closer option: Red Rock Canyon National Conservation Area.
Red Rock Canyon is one of those places that everyone seems to have heard about in the wilderness community when you mention Las Vegas, but a place that few people have actually visited (other than locals, of course). For years, I heard about how it had great climbing, great hiking, and great geologic features. But, when I asked tough questions like: “What kind of climbing routes?”, “How long are the hikes?”, and “What kind of geologic features are we discussing?” I usually received blank stares. Simply put, everyone has heard of Red Rock, but few people actually know Red Rock (aside from locals). The other day, I finally had the time to head out there, and I now can say that all the speculation about the park is true: it is an amazing place. Even better, I can tell you that there is all types of climbing, from scrambling, bouldering, and aid assisted; that there are short and long distance hikes; and that there are many interesting geologic features out there, including the red Aztec Sandstone bands. (http://www.redrockcanyonlv.org/geology.html). I went on a couple hikes out there, and was struck by how this hike, Calico Hills was a great introduction to the park for all ages and experience levels.
Some of the smaller Calico Hills - note that Aztec Sandstone!
Directions: Red Rock Canyon NCA is located off of Highway 159, and is approximately a half hour drive from downtown Las Vegas (the strip). The park is administered by the Bureau of Land Management (BLM), and at this point in time, if you are going to enter the park through the Scenic Drive entrance (where this hike is located), there is a $7.00 day use fee. From the park entrance, it is approximately a mile (1) to the first Calico Hills parking area; and a mile and a half (1.5) to the second Calico Hills parking area. A word to the wise: while both of these parking areas are well signed, and impossible to miss, they are quite popular. It is likely that you will not find parking at either of these locations; and will have to continue up the road to the third Calico Hills parking area. During my visit, there was no room in the first Calico lot, despite it being mid-day on a weekday, and I ended up parking at the second parking area.
From any of the trailheads, the Calico Hills trail runs a whopping 3.2 miles from the entrance station to the Sandstone Quarry. (http://www.redrockcanyonlv.org/hikes_map.html) The trail additionally links up to a number of other trails that can be used to make the hike longer. (http://www.birdandhike.com/Hike/Red_Rocks/Calico_Hills/CHTrail_Map-O.htm). The trail is mostly flat and not challenging, and in my opinion, is suitable for all ages. The real attraction of this trail, to me, and from what I observed, was its proximity to the Calico Hills themselves, which are a brilliant red formation of rocks made out of – you guessed it – Aztec Sandstone! In fact, I would say that the majority of the time spent by me and my hiking group was up in the Calico Hills, scrambling around on the rocks. And honestly, why not? If you’re at Red Rock, this is what you should be doing – getting up close and personal with time traveling rocks. Depending on how long you spend on and about the Calico Hills, this trail can take you anywhere from an hour to a day.
Looking down the Calico Hills at more Aztec Sandstone Tips: The other day I was talking about Good Mountaineering Karma (“GMK”), and the Calico Hills is yet another place where this concept applies. When my group and I were scrambling around on the rocks, we came across a father with a very distraught daughter “trapped” on a ledge ten feet above us. While they weren’t in a spot where they couldn’t descend on their own, the girl’s fear had trapped them both. Naturally, I climbed up a little and helped them down to an area that was less steep – GMK, pass it on. The lesson to take from this though is that the Calico Hills are deceptively steep in spots. While most of this area is nothing but simple bouldering/scrambling routes, there are some areas where it is possible to get stuck, and should you not be paying attention, plenty of spots where you can take a nasty fall. As always, be mindful of the terrain around you and your ability. Finally, it is the desert: be prepared with water, food, sun protection, and should you be headed deeper into the Calico Hills, a map or GPS.
More Information: http://www.lasvegasoutdooradventure.com/2012/03/las-vegas-hiking-red-rock-canyon-calicohills/, http://www.blm.gov/nv/st/en/fo/lvfo/blm_programs/blm_special_areas/red_rock_nca/planning_your_visit.html, http://www.redrockcanyonlv.org/hikes_trails.php#, http://www.birdandhike.com/Hike/Red_Rocks/Calico_Hills/_CH.htm